Textile Art

Looking Up ...

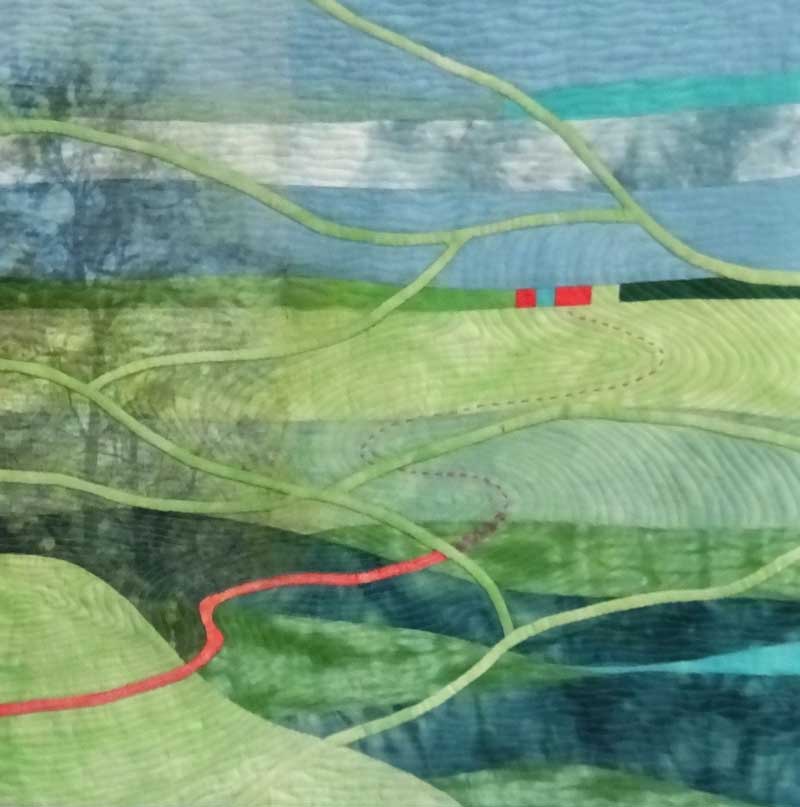
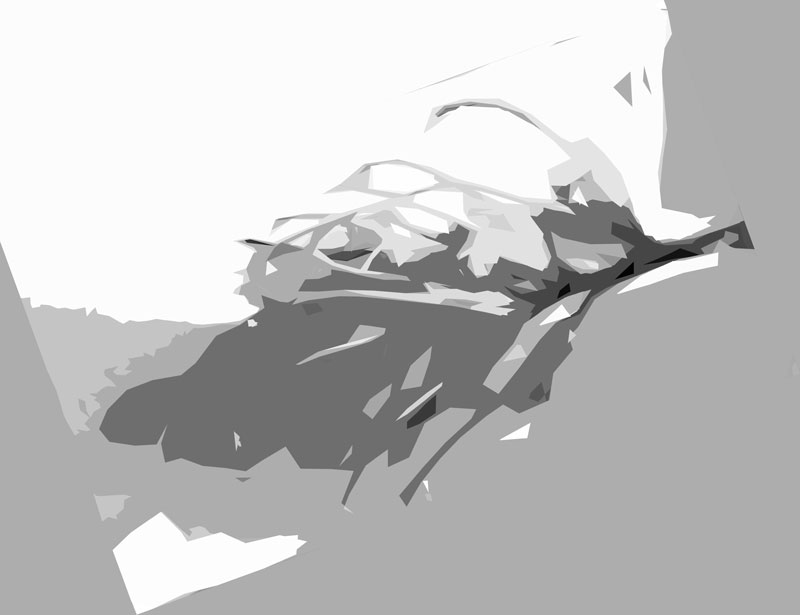
When I was a little girl (ooh … such a long time ago !) I used to love lying on the grass and watching the changing patterns of the clouds. These days I still get an opportunity to do just that when the weather is kind an my wonderful yoga teacher takes our Tuesday class down to the beach!

Where is all this going you may ask …. well I had the idea that in these unusual times it might help to look at the world from a different perspective … from the ground up!

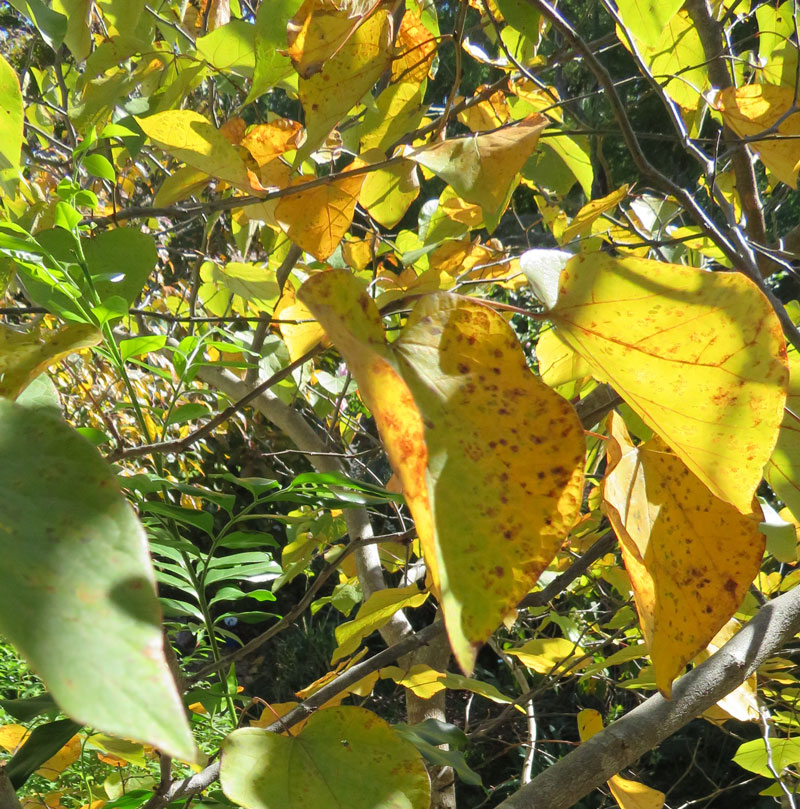
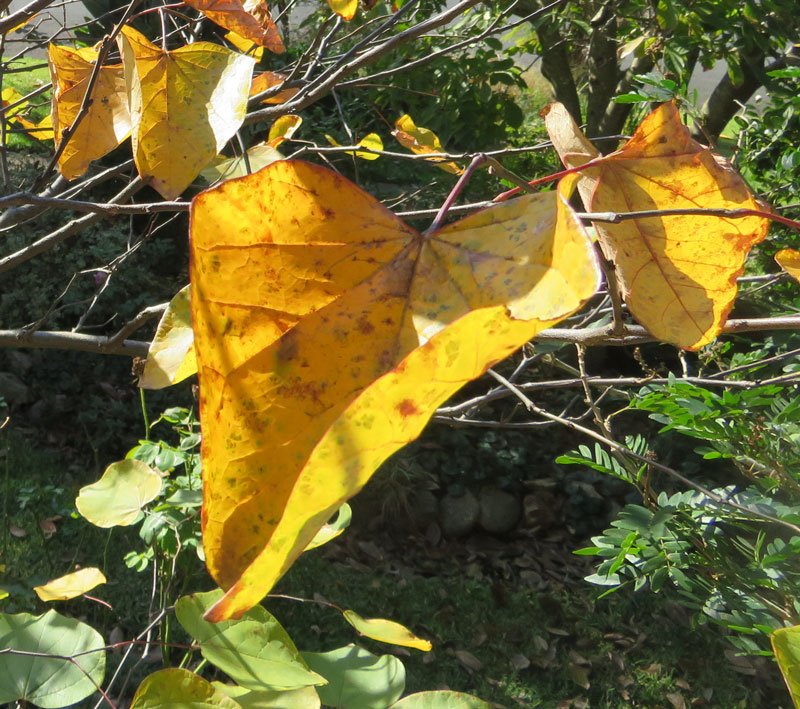
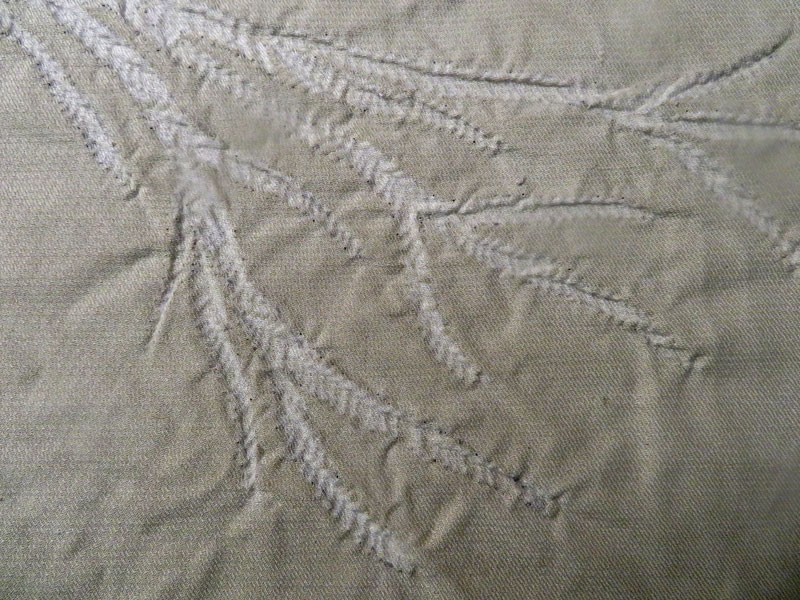
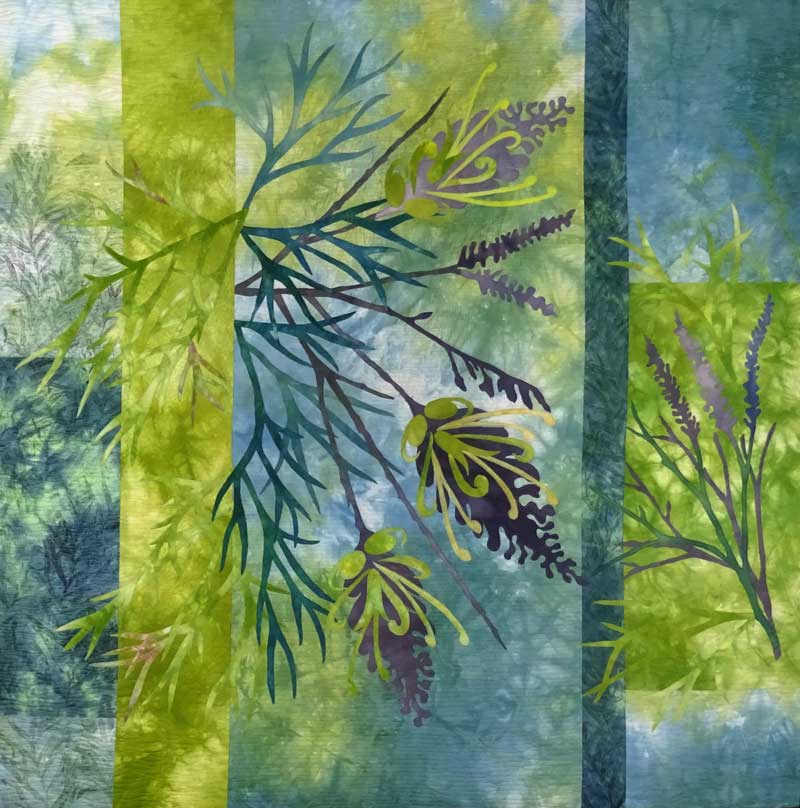
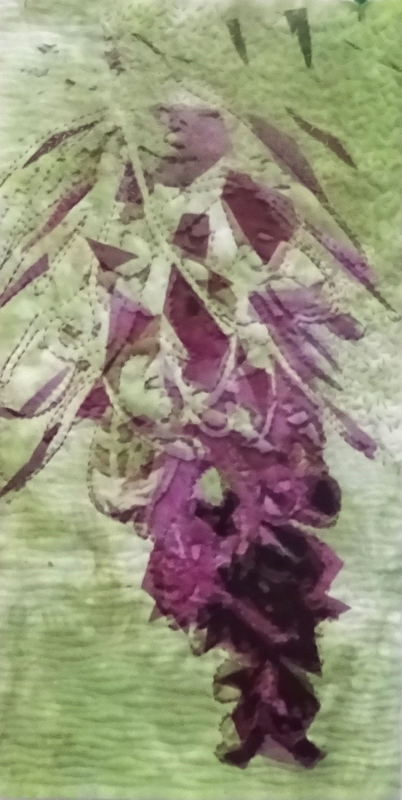
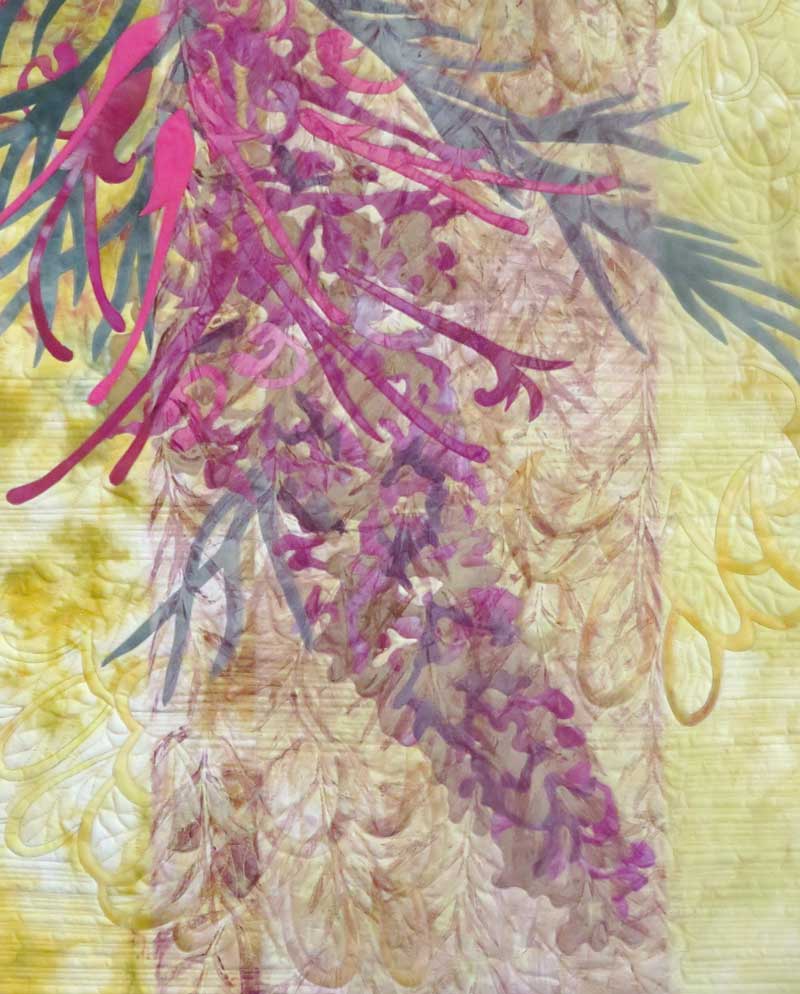
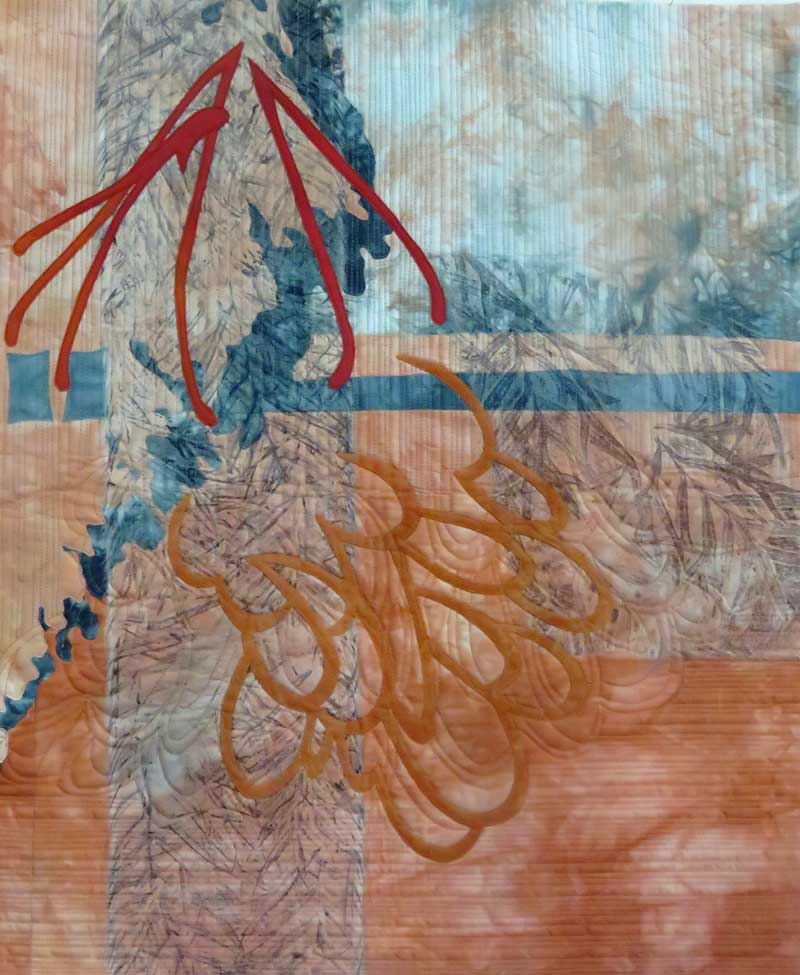
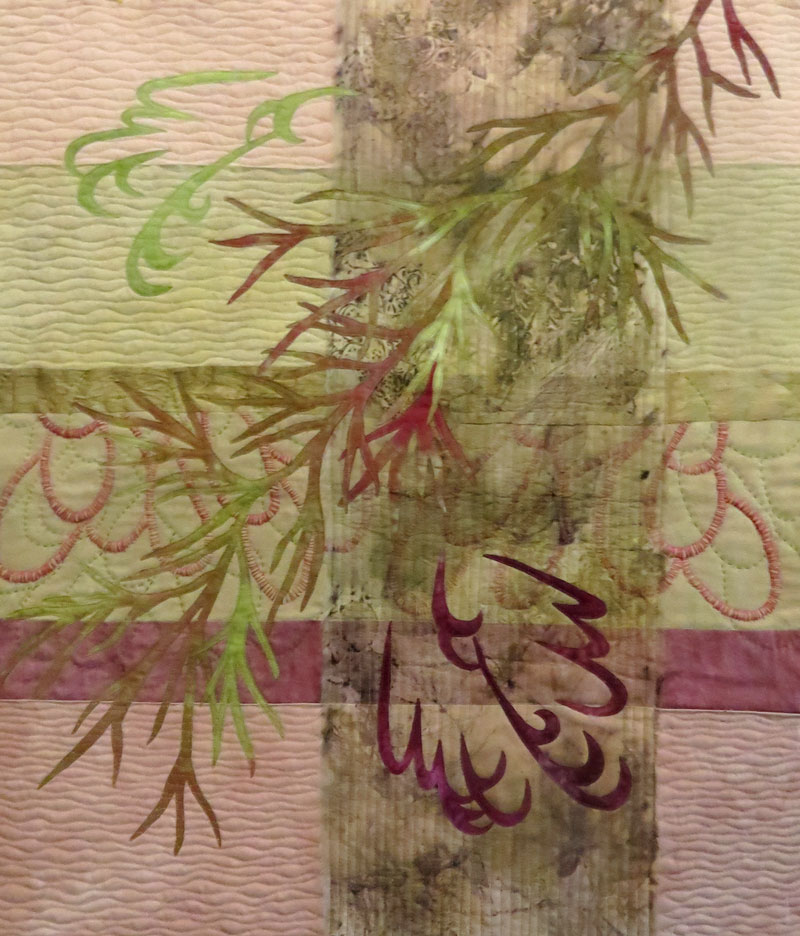
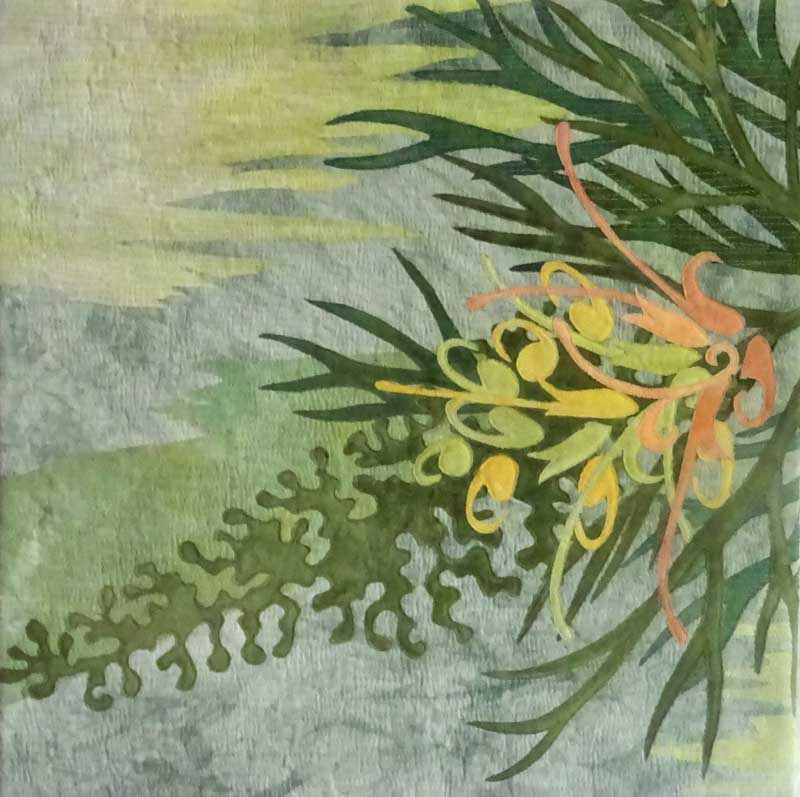
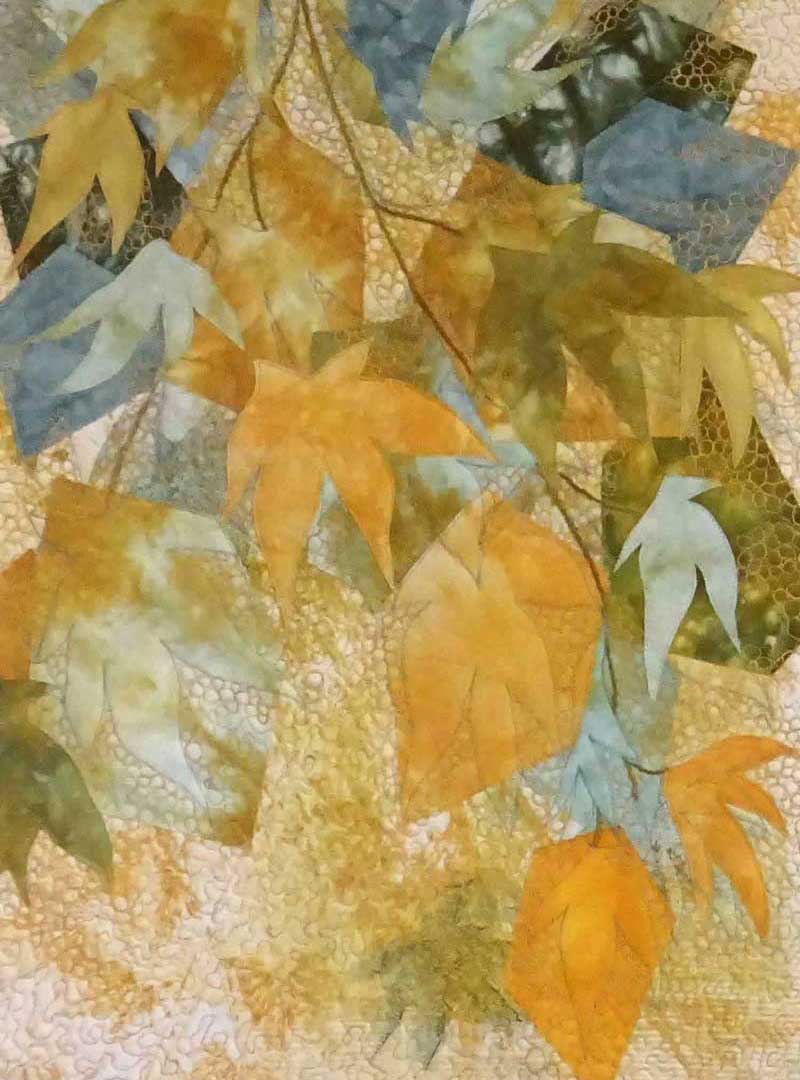
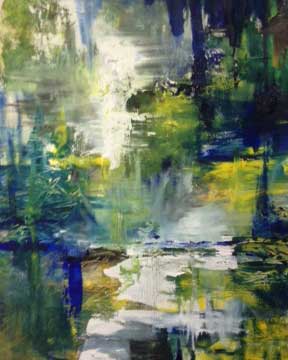
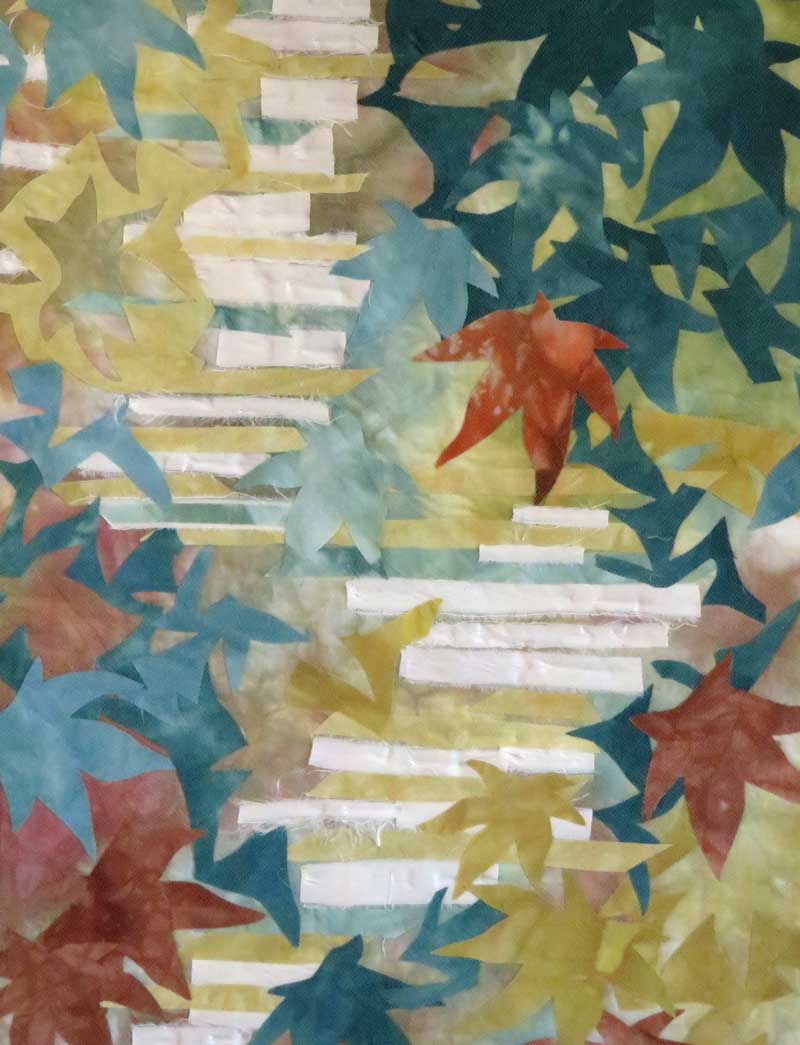
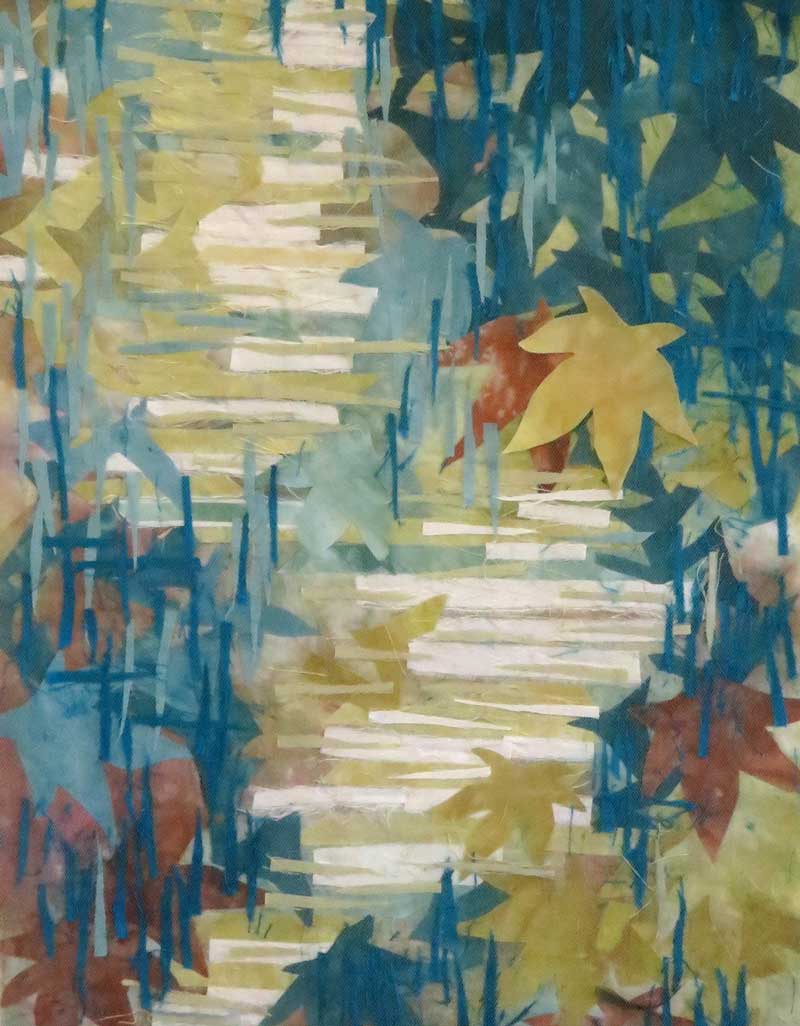
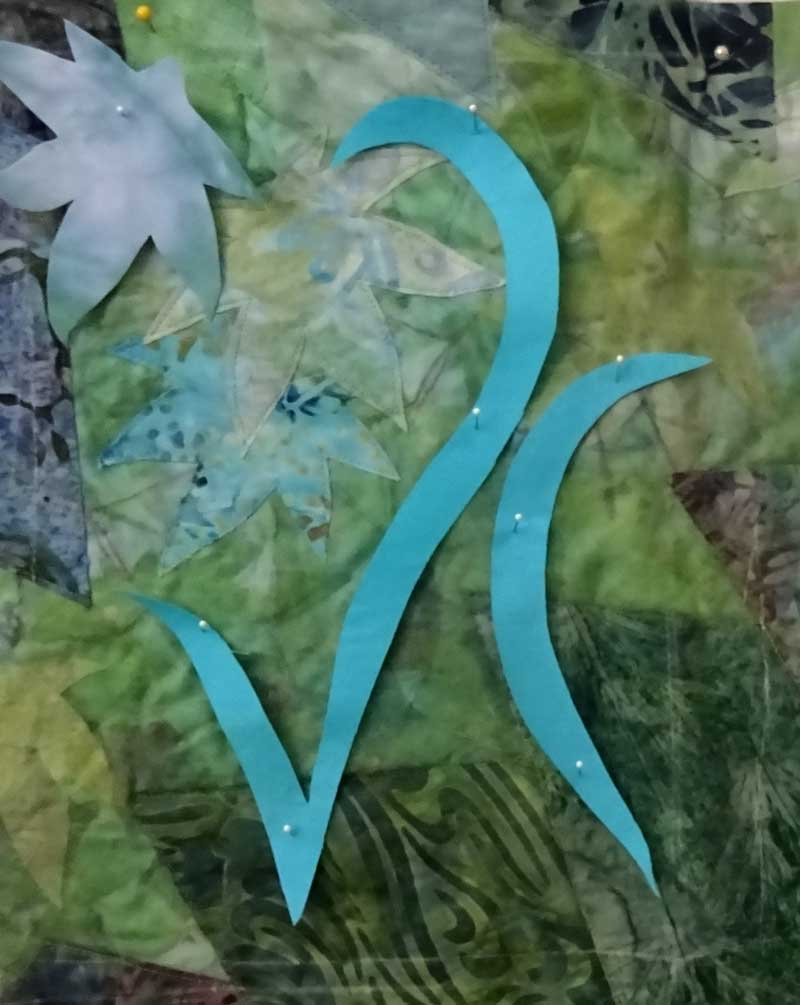
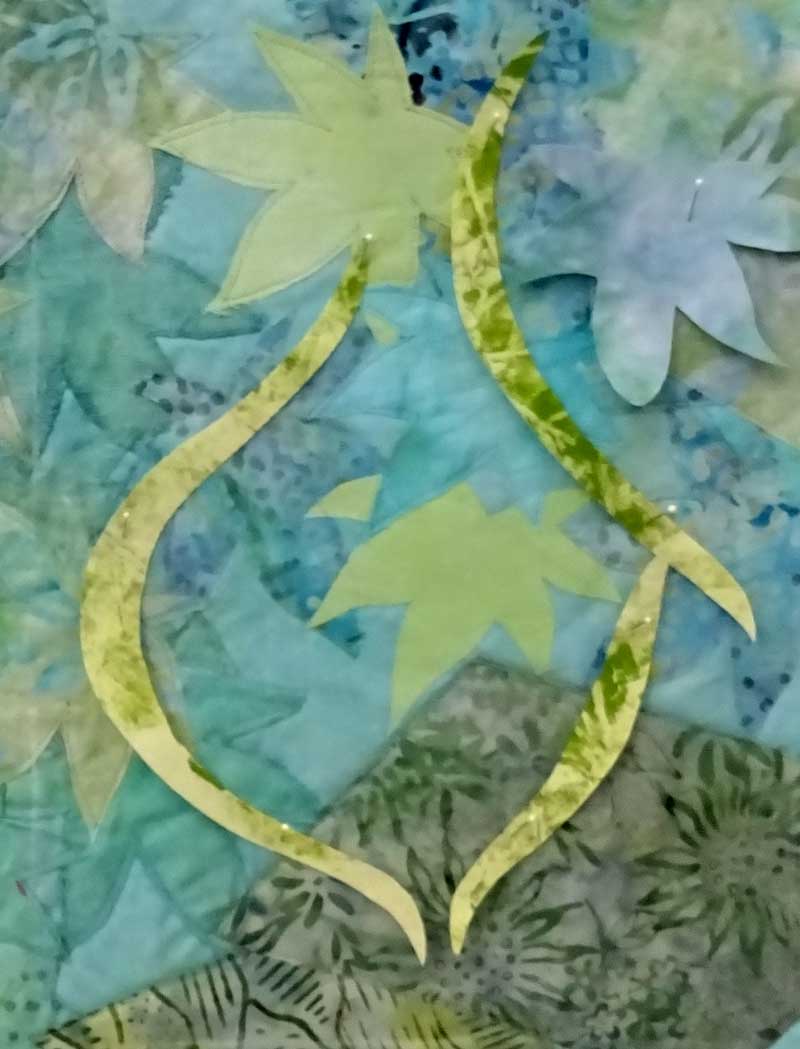
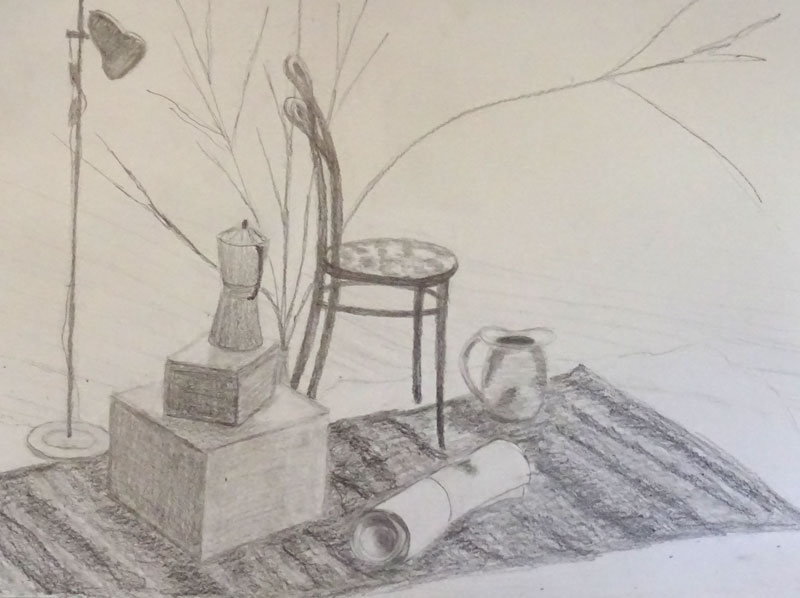
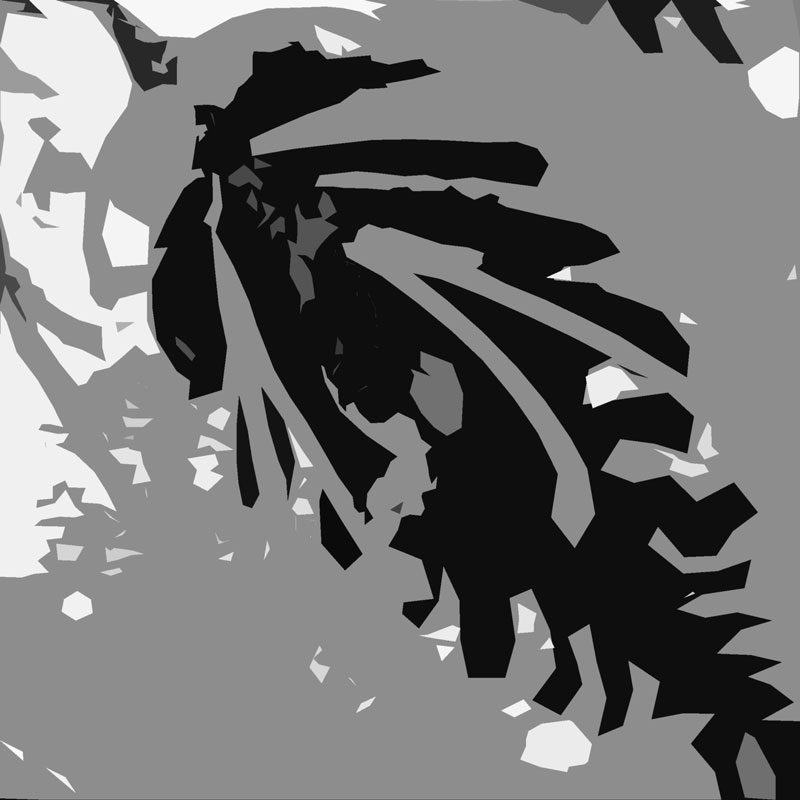
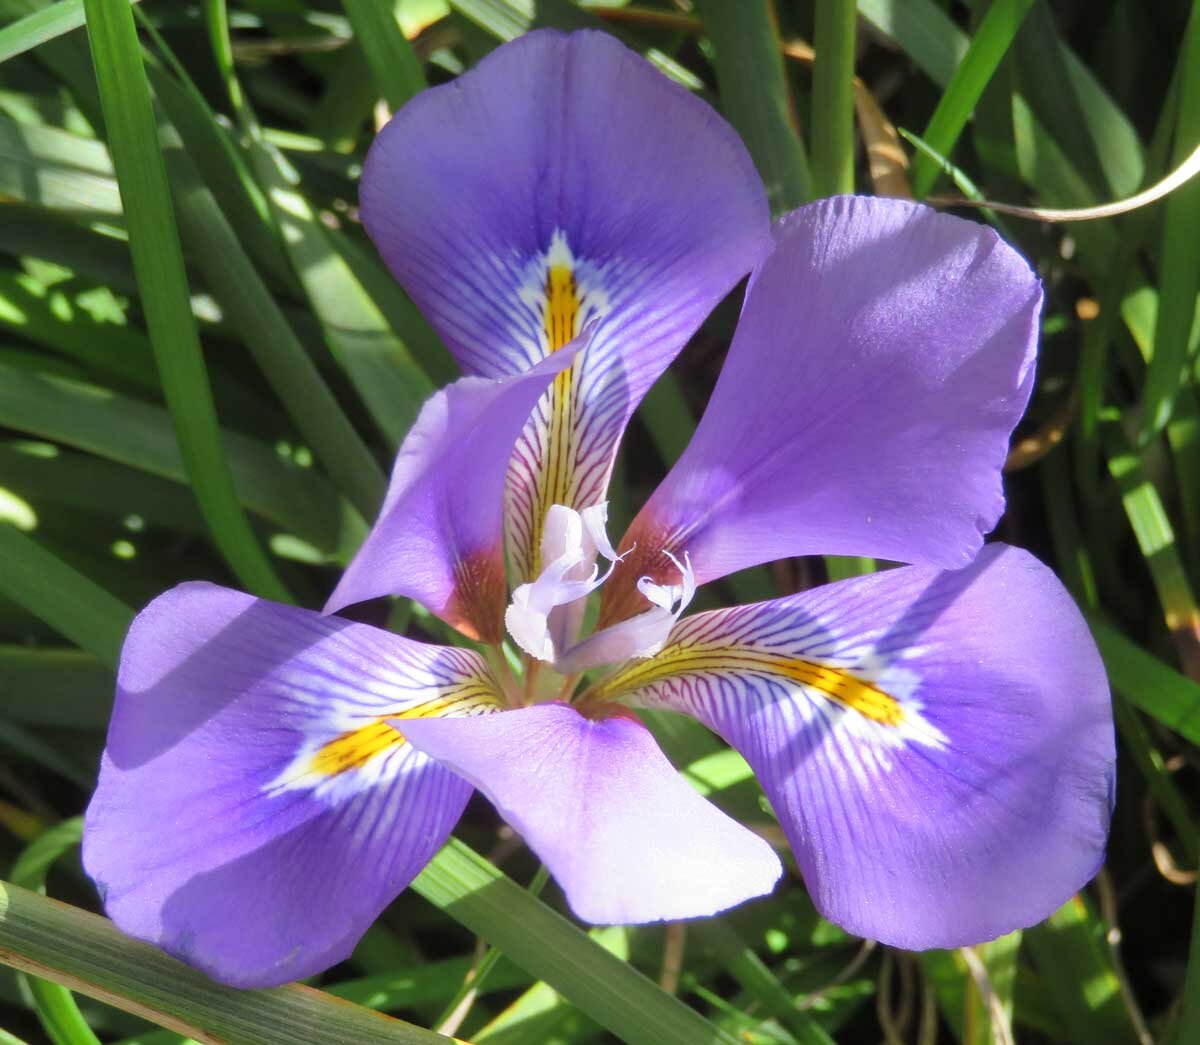
I started taking some photo’s in my garden with my phone on the ground … capturing what was above and got some interesting results. I’d been doing some sketches of the Winter Iris in my garden for my drawing class and when I tried photographing from the ground below I also captured the branches of the Japanese Maple above and thought this might make and interesting work.

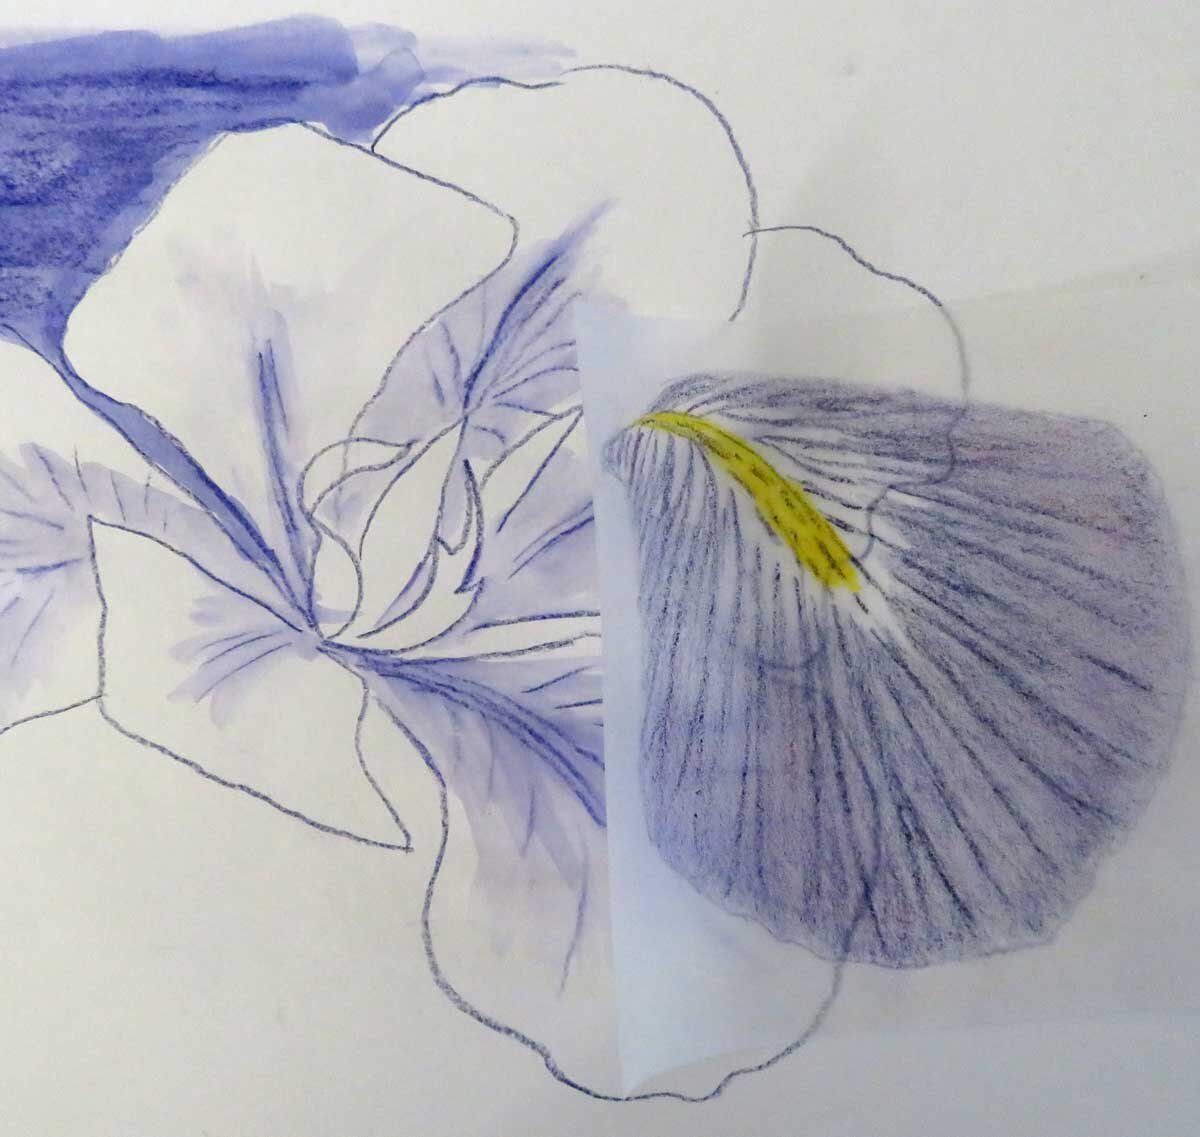
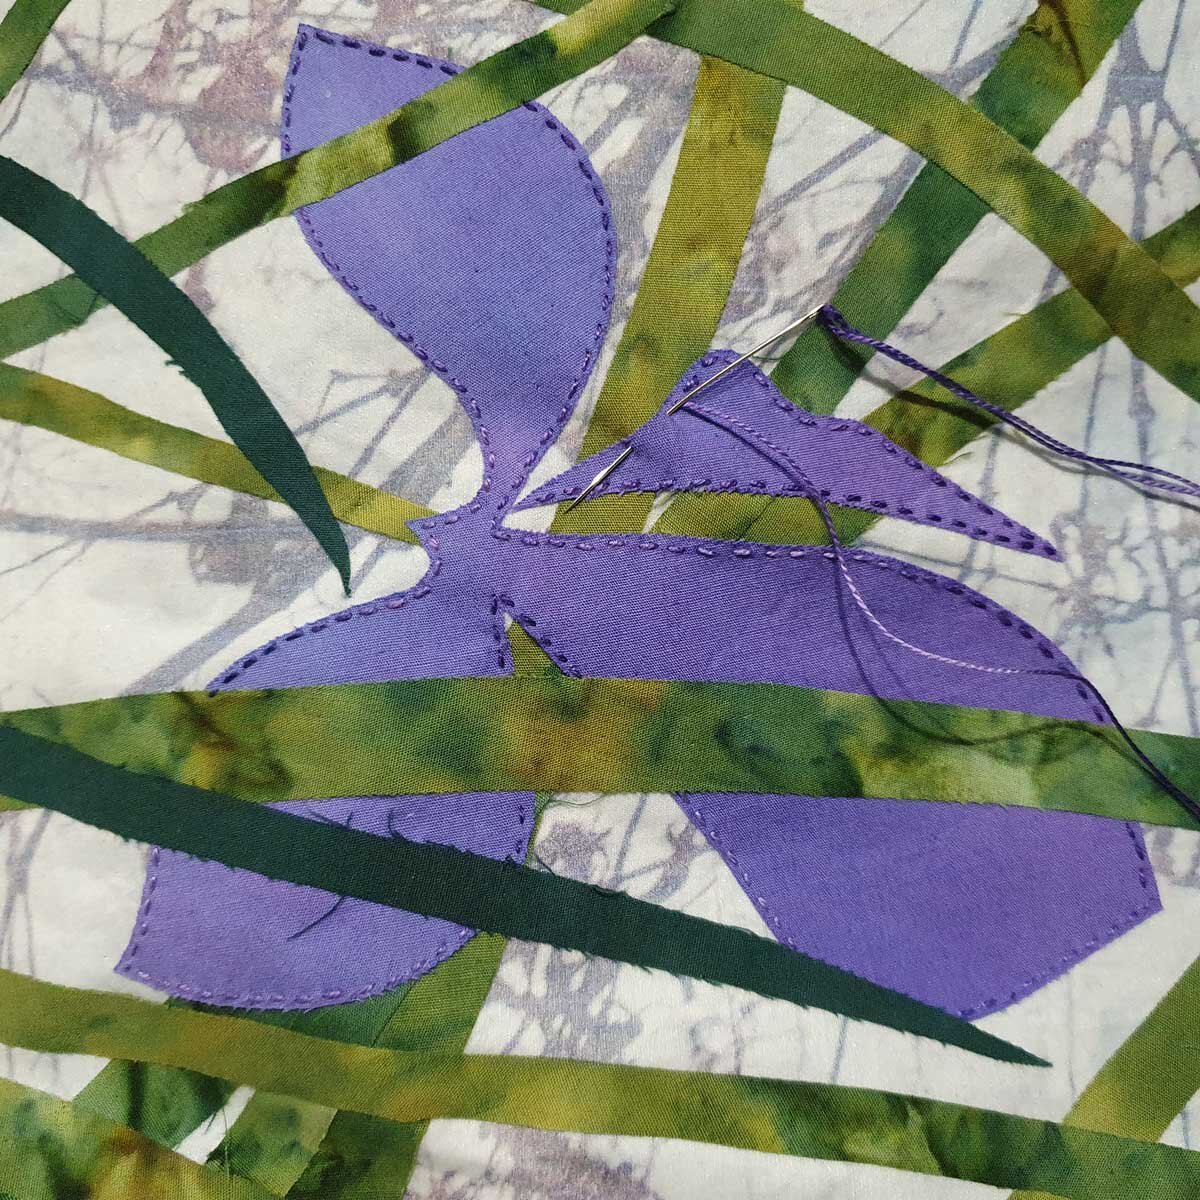
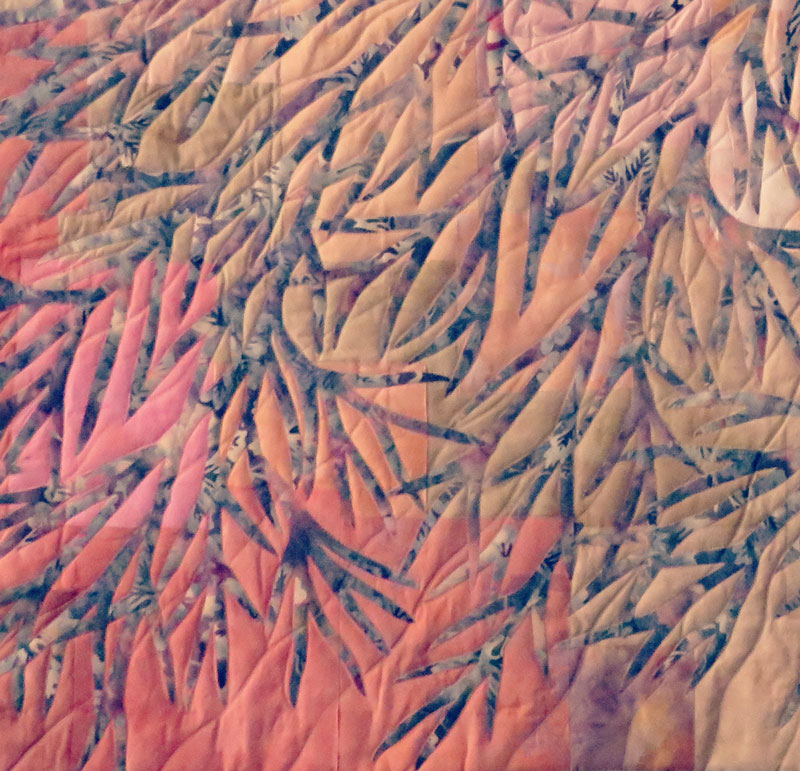
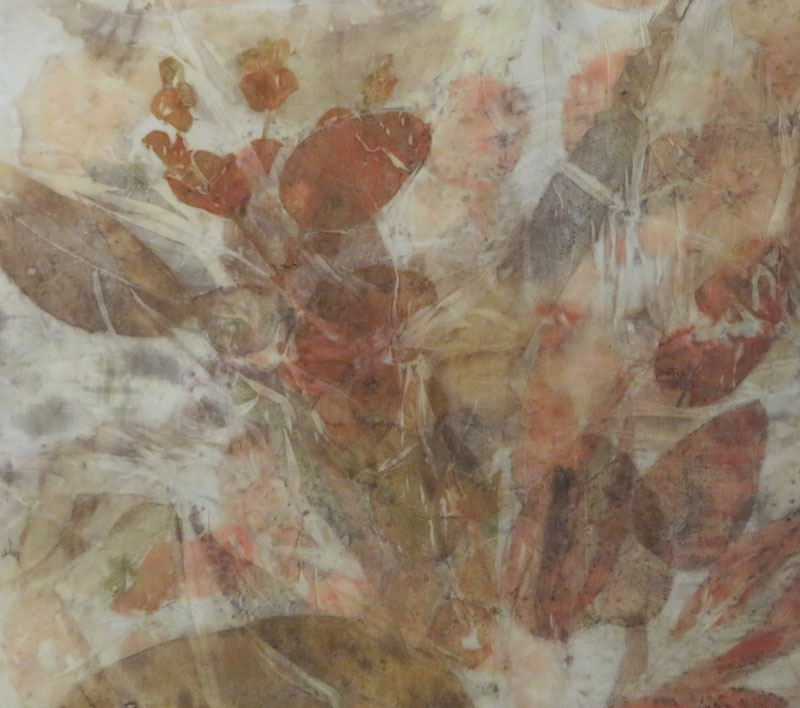
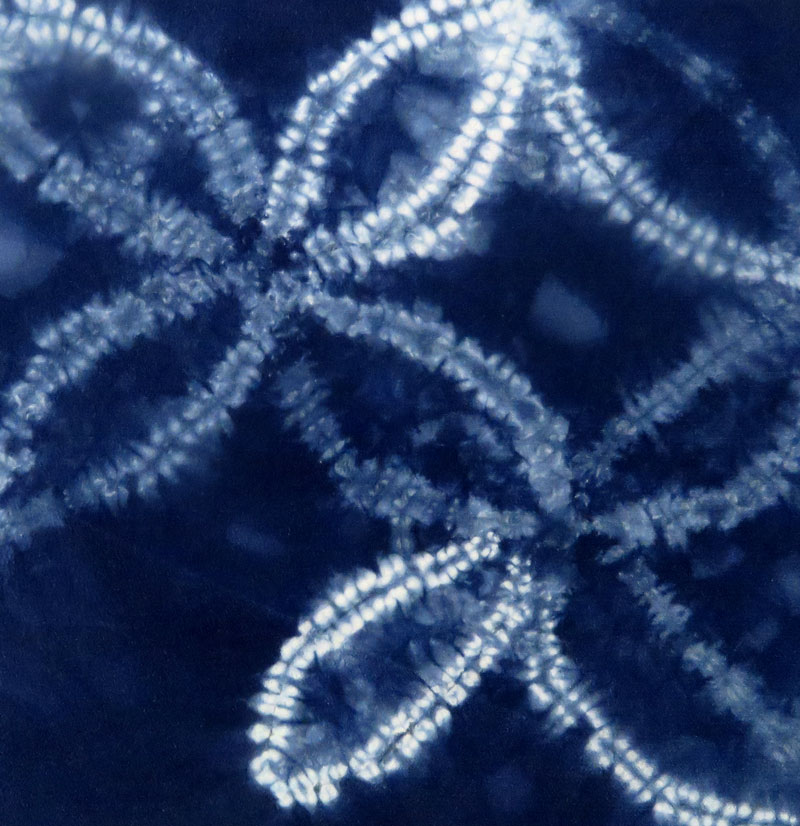
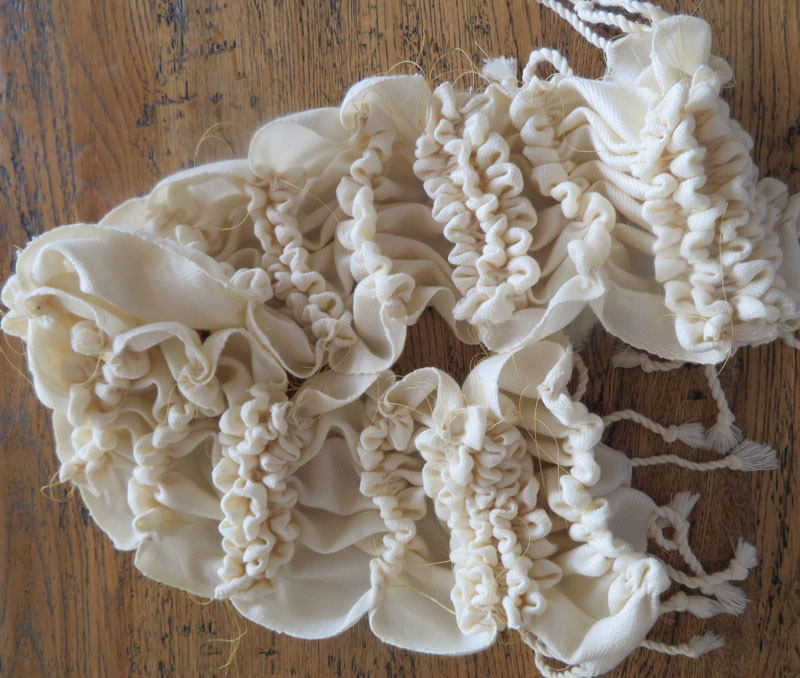
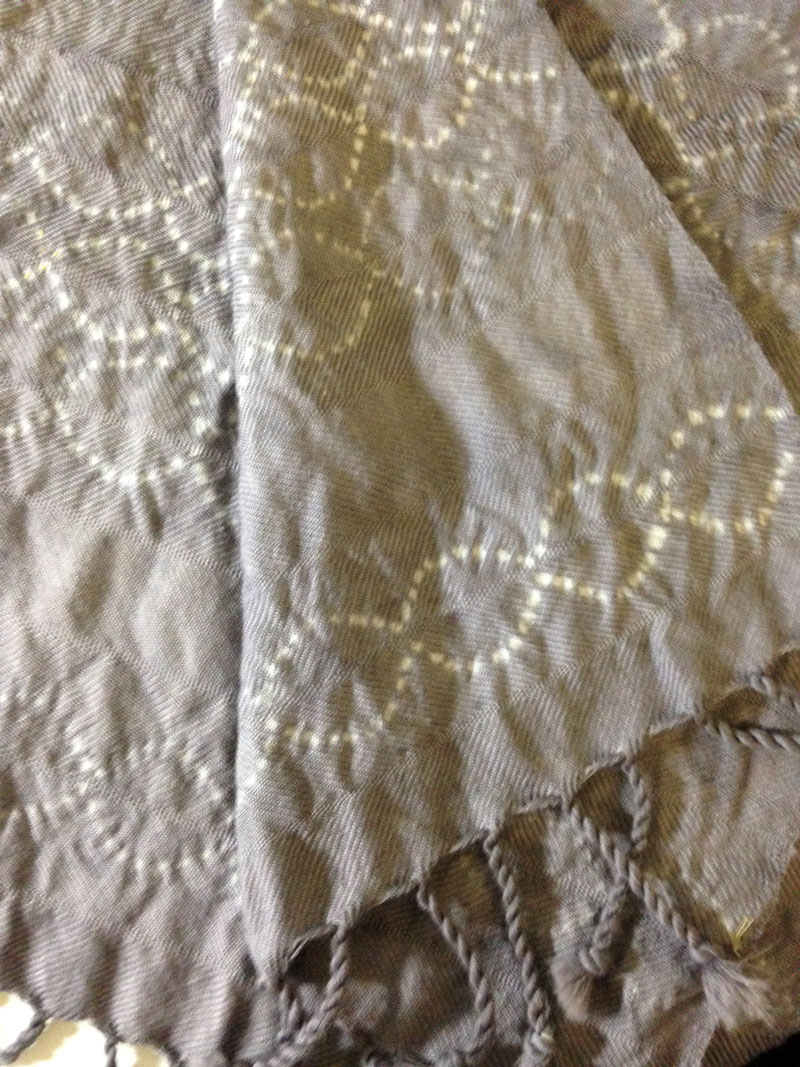
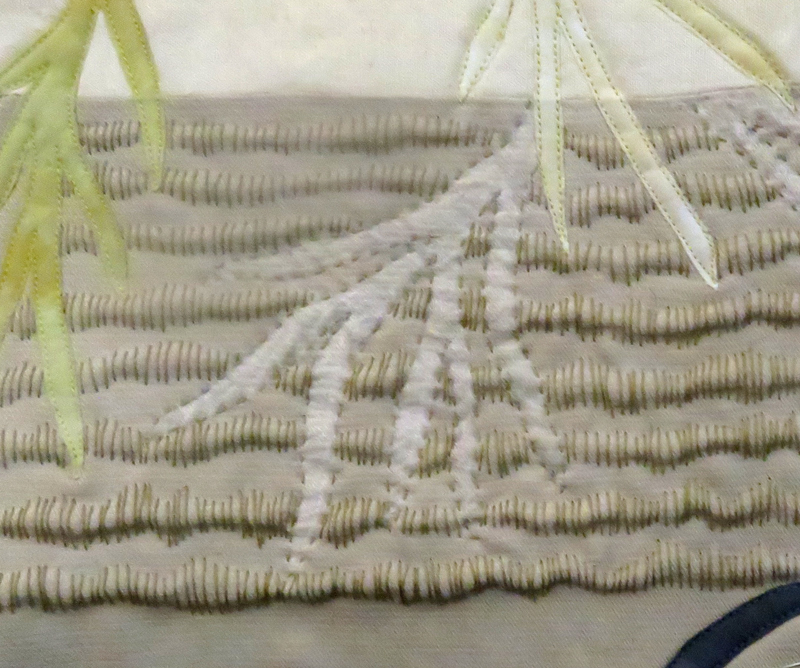
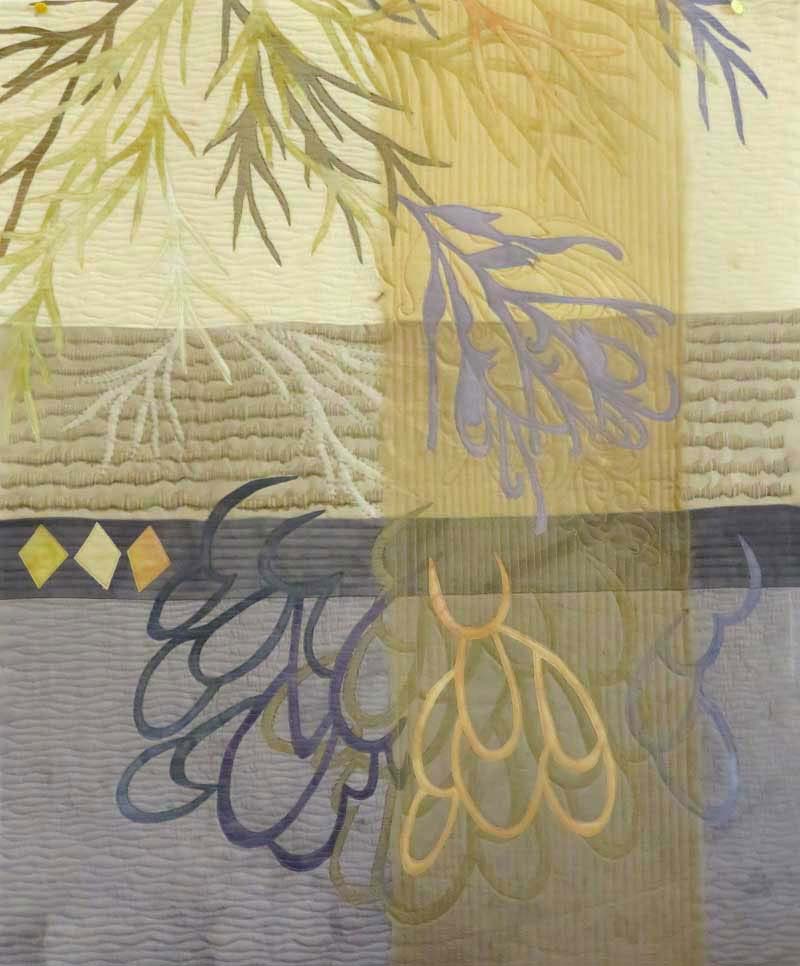
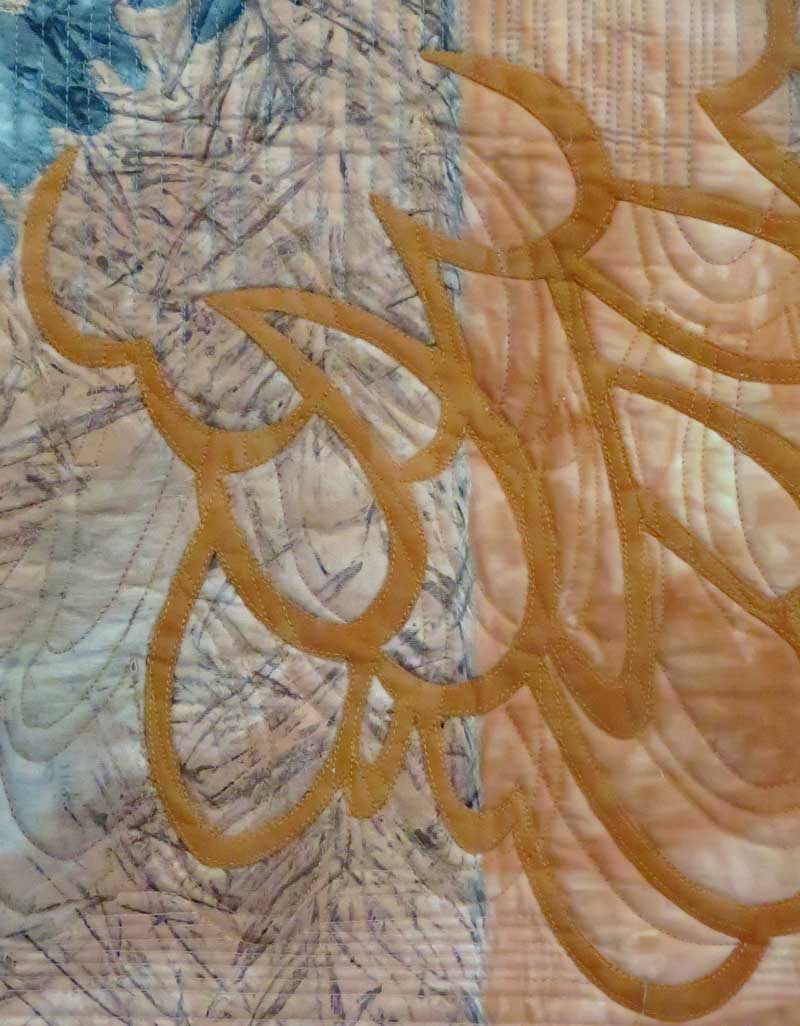
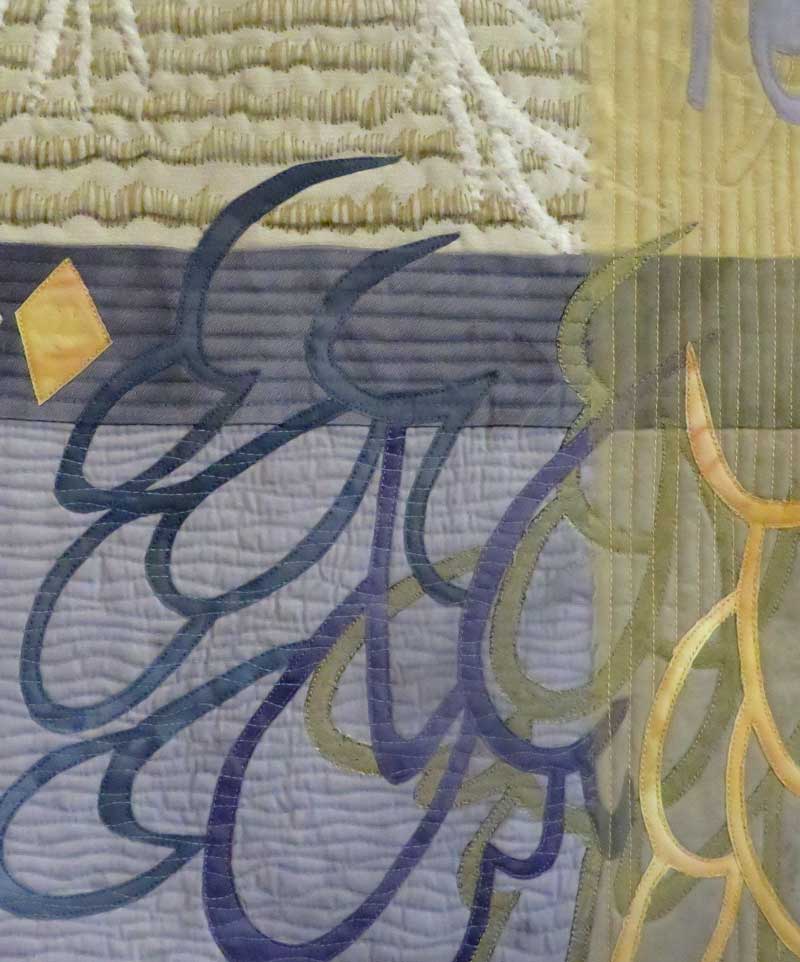
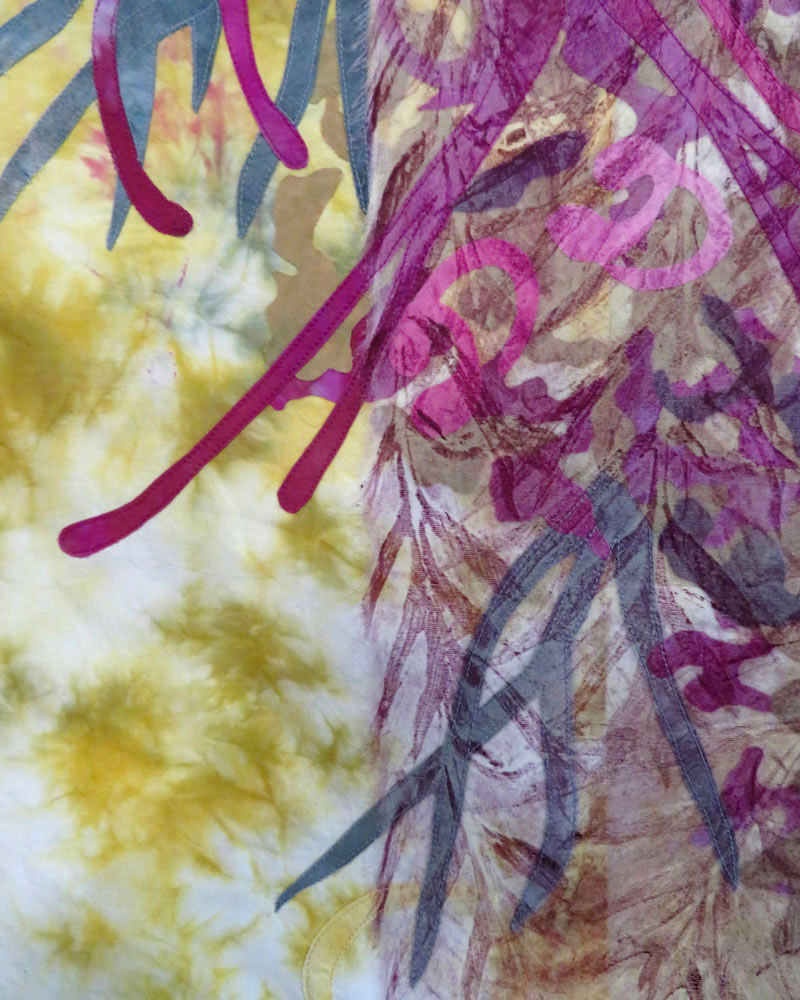
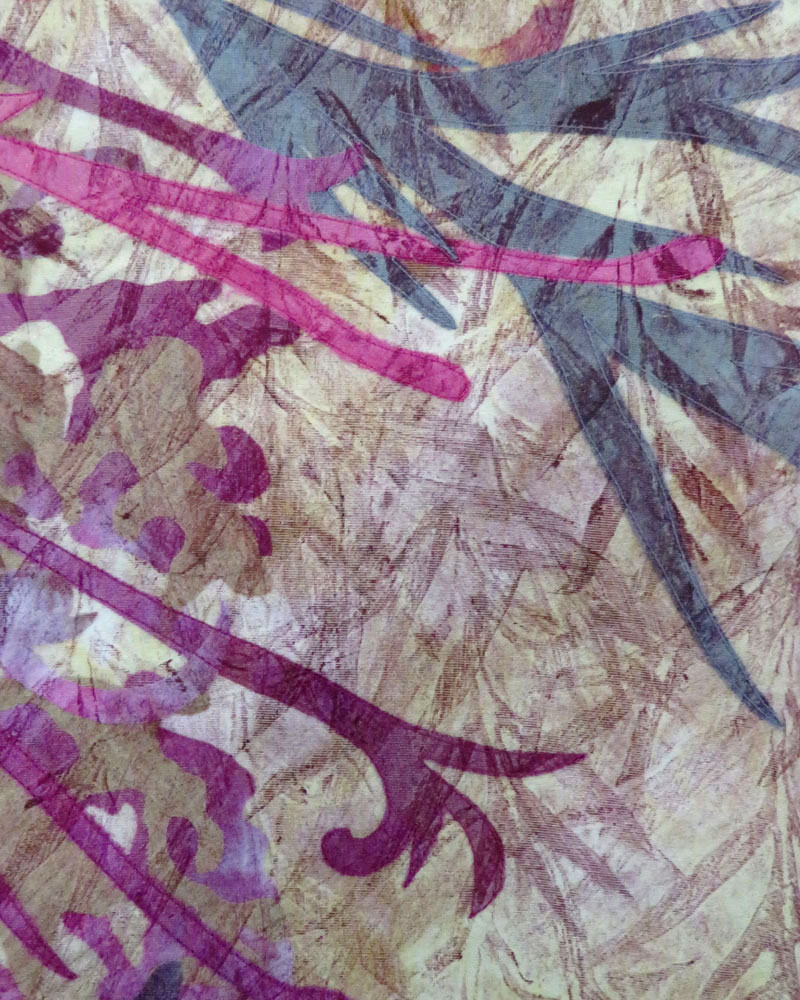
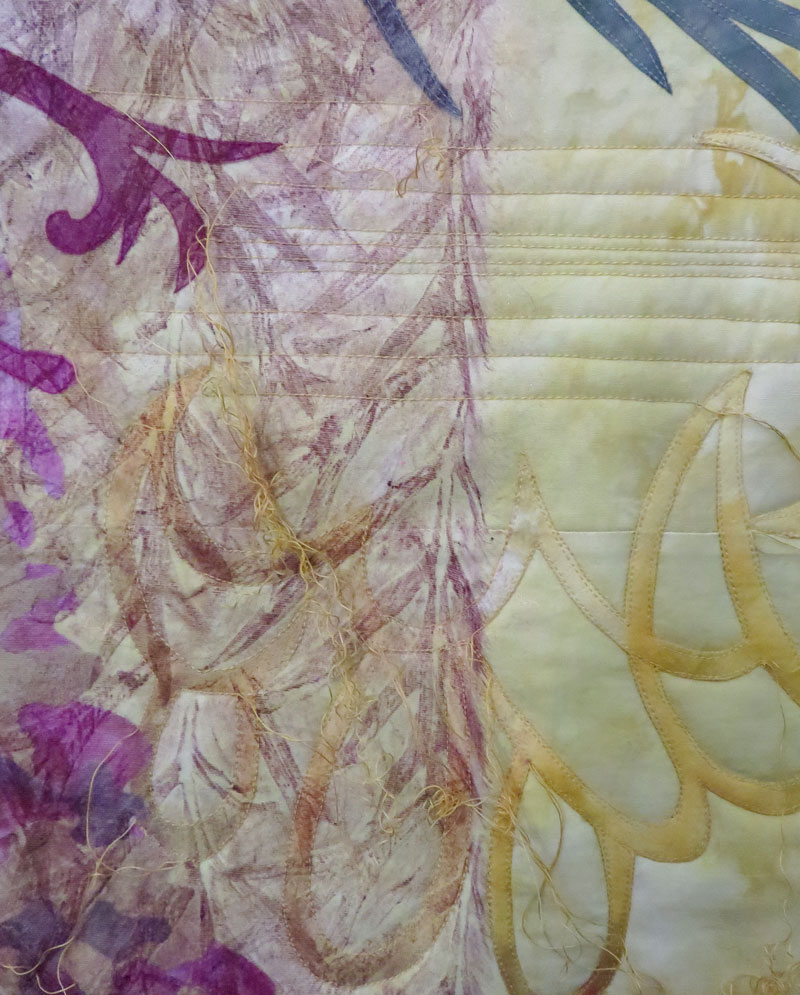
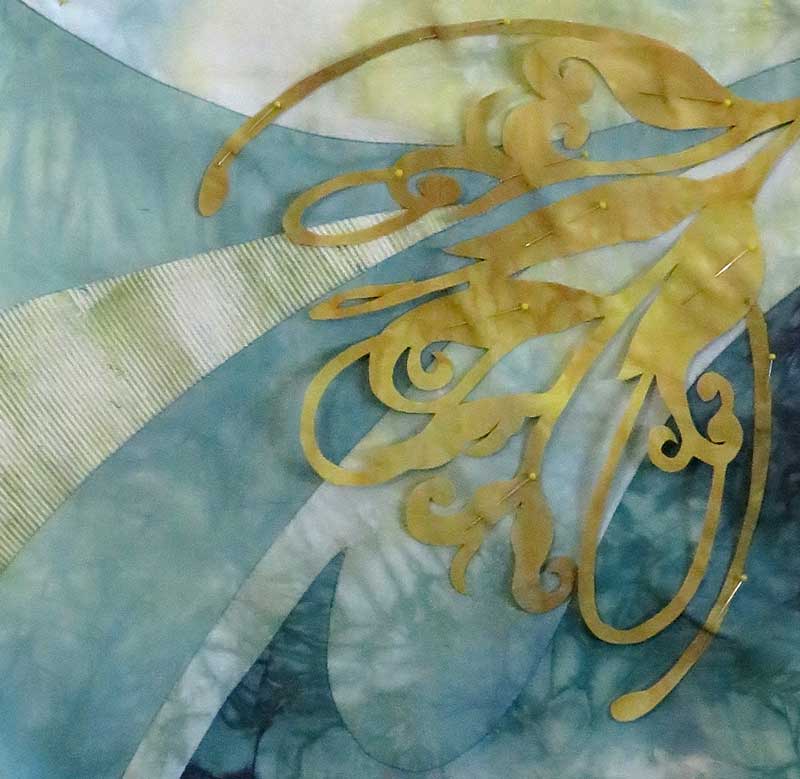
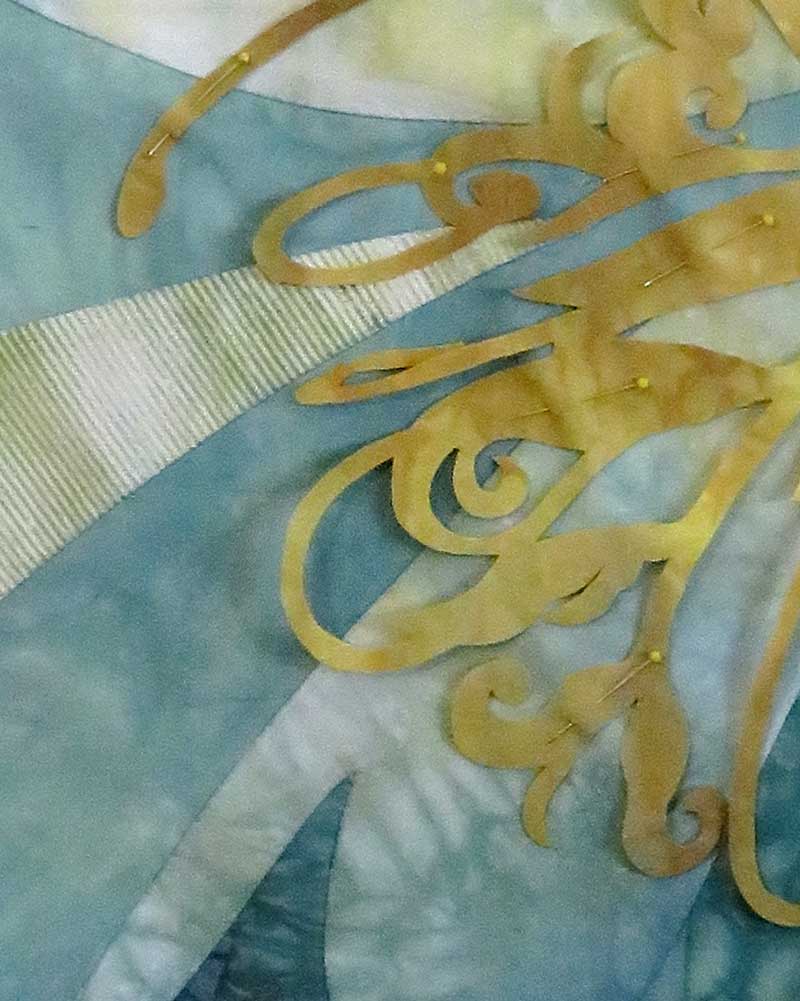
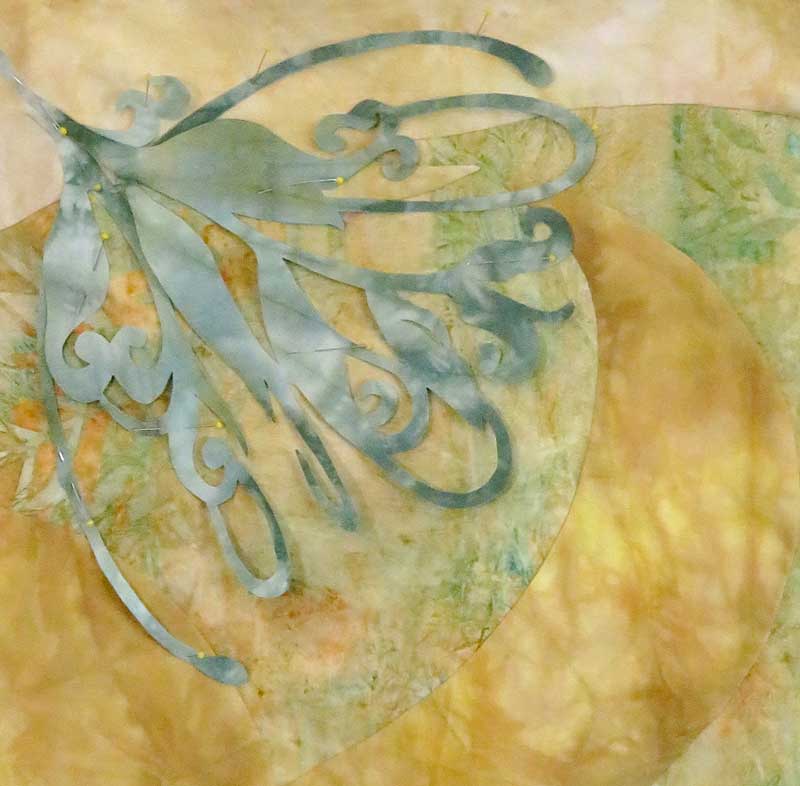
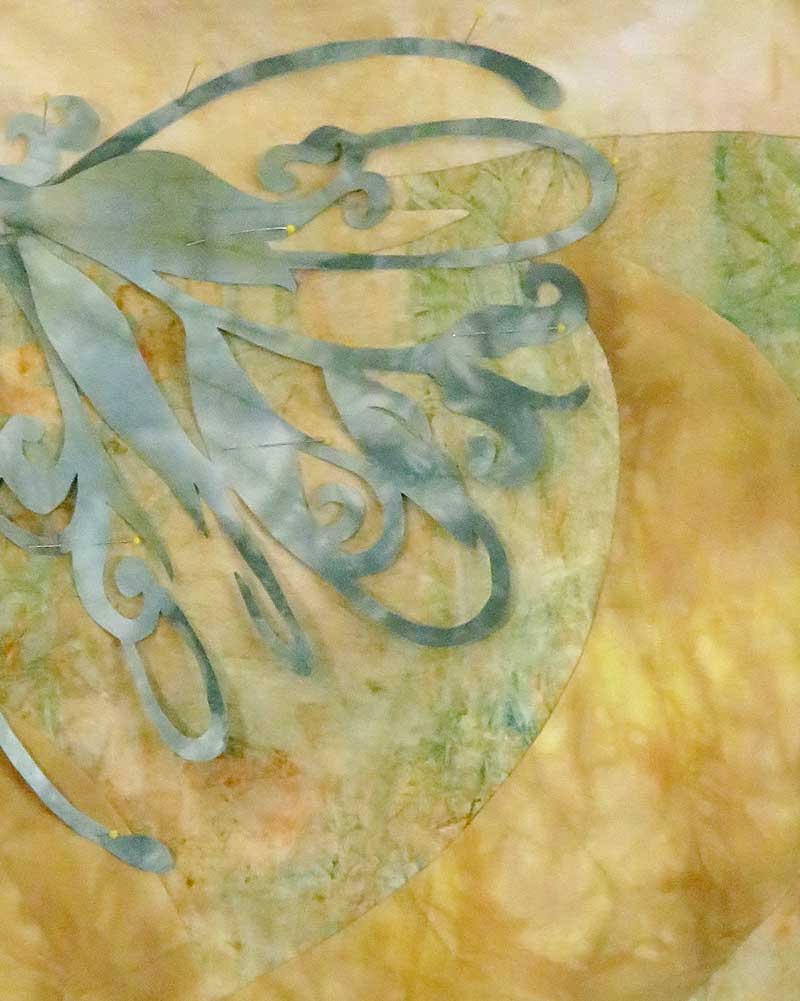
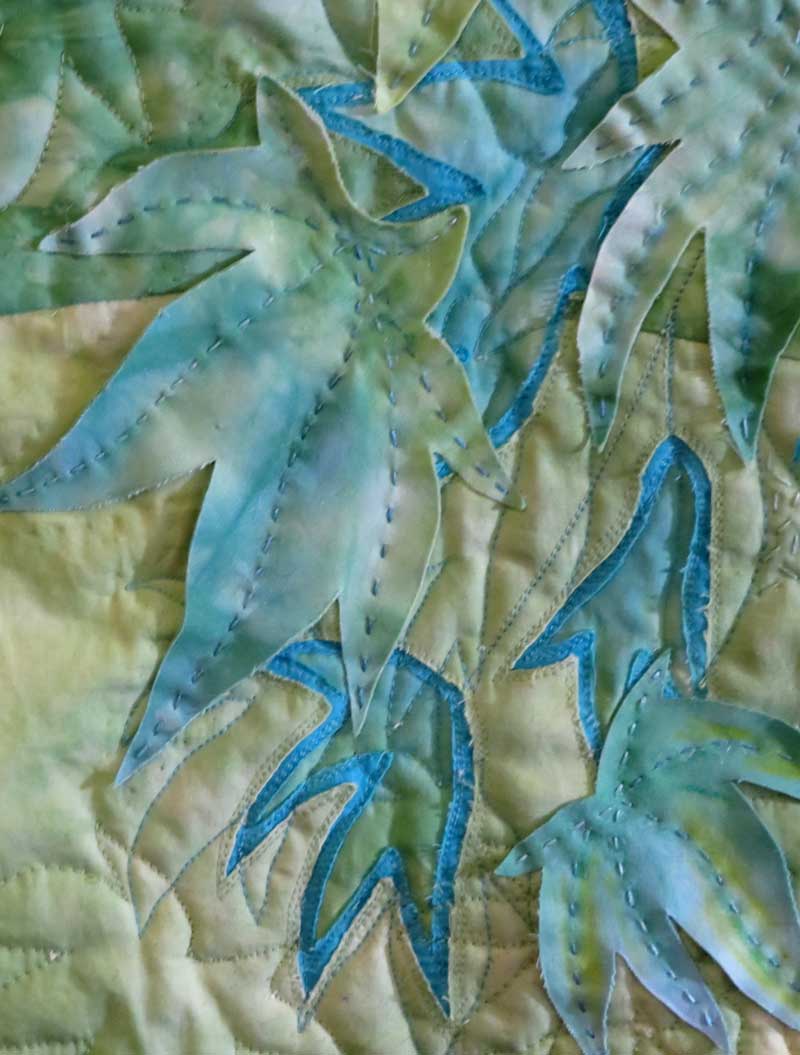
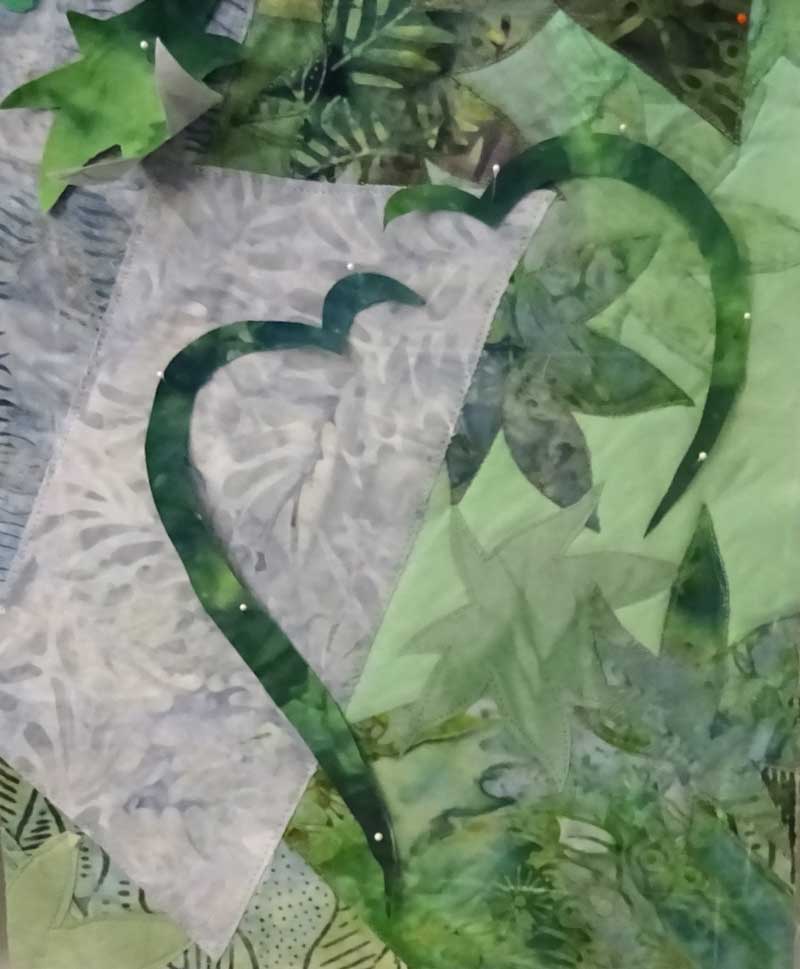
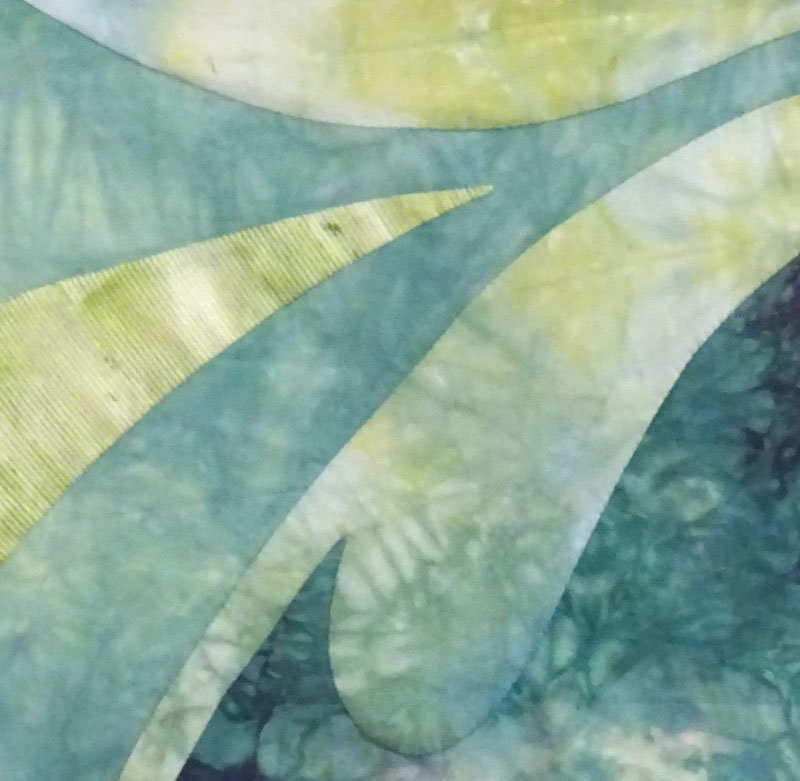
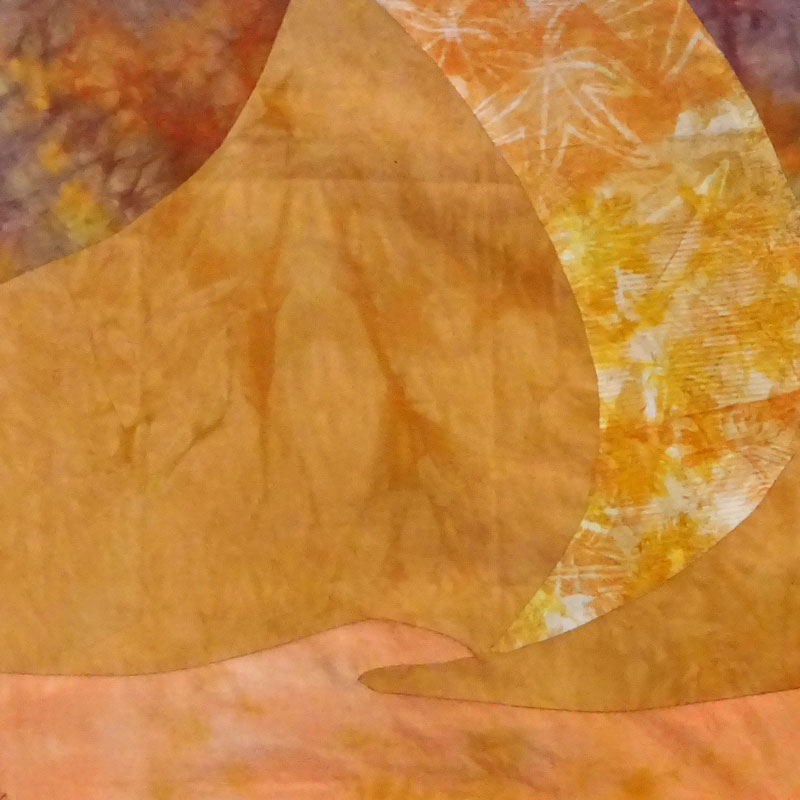
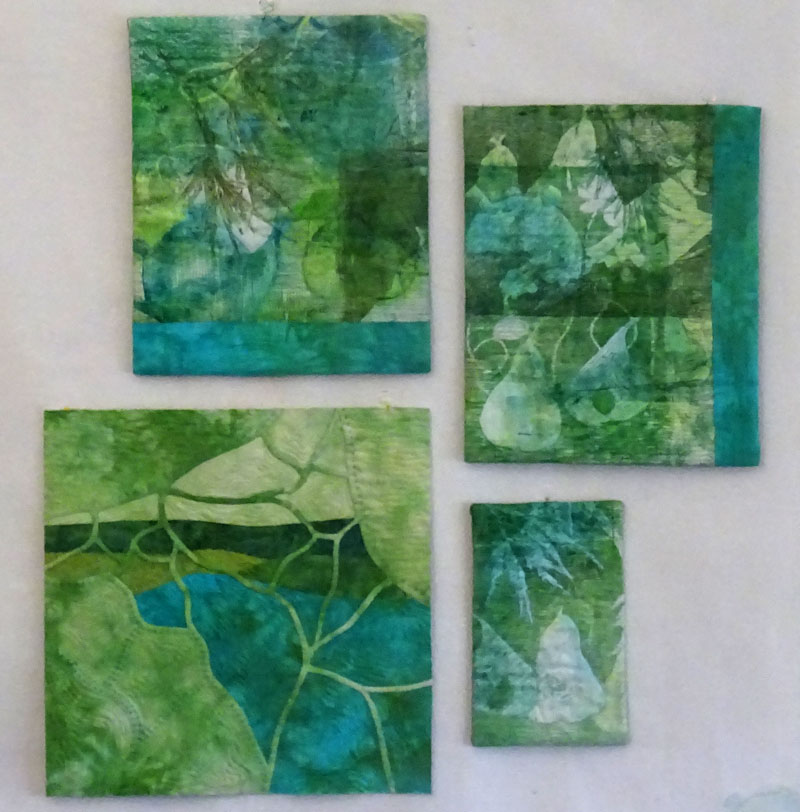
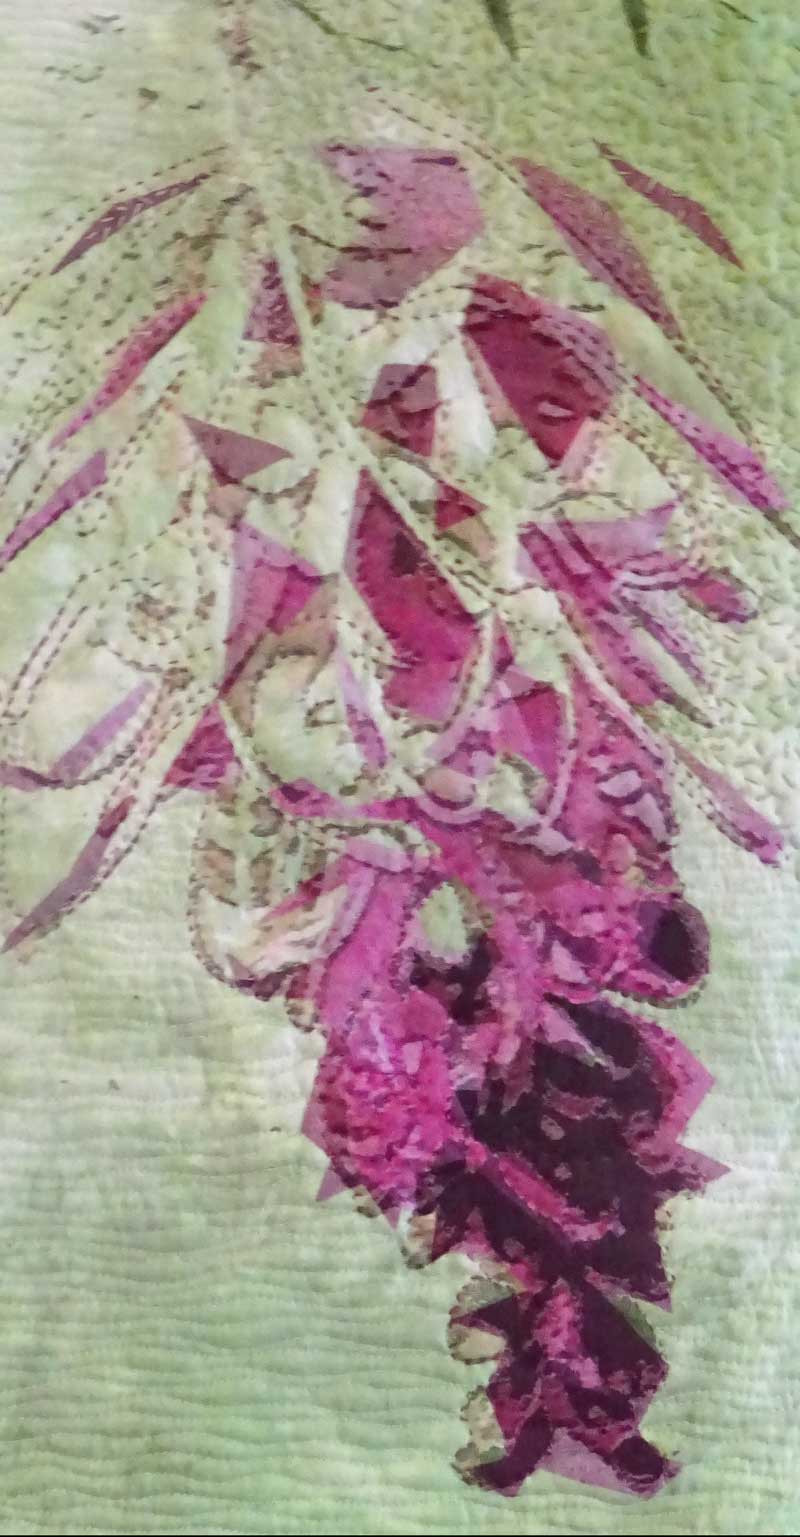
I’ve used a digital image of the maple for the background and overlaid the appliqued Winter Iris. The stitching is a traditional kaleidoscope design and I’ve added some areas of dyed silk organza to add some depth.

I’m pleased with the end result … but not sure what to call it ….. suggestions would be very welcome!

Thank you for your interest in my work and for taking the time to read this post. I hope you find an opportunity to look up next time you are outdoors …. and smile!

Art Quilt Australia 2019

I’m sorry to have been absent from my blog for so long … life has been tough the last few months with the loss of my much loved husband and soulmate earlier in the year. The support of family and friends has been amazing and I’m picking up the pieces and getting back to my art practice….

I had some good news recently, my work, “Autumn Day on Victoria Street” has been selected as part of Art Quilt Australia 2019 and will be on show at the National Wool Museum in Geelong, Victoria (go the Cats!) from 6 September to 15 December 2019 ….

I also have a couple of new projects underway …..

The first is the outcome of a wonderful online workshop with Lisa Call …. “Finessing the 4th Dimension” . The workshop and the project both explore incorporating time in an artwork. This project is definitely pushing the boundaries for me in terms of the concept and the development of technique. The starting point was to photograph the changing patterns and colors of autumn in my garden as the season progressed. Here are some of the images I am working with ….

The second project involves developing my knowledge and experience with direct contact botanical prints (eco prints) with a specific focus on eucalyptus trees … I’m calling it the ‘BlueGum Project’ and I have had some pleasing results ….

There will be more to come shortly on both of these new projects.

Thanks for your patience and for your interest in my work ….CC


Stiched Shibori ... Freeform

I've ventured down the Shibori path before ... I tried some Arashi Shibori (pole wrapping) a while back, loved the resulting fabric but found it very hard to incorporate into my work!

Recently I have been looking for ways to build different textures and variations into my surface design, especially when using natural dyes ...so I've been looking again at Shibori techniques and in particular stitched shibori.  I was delighted to find Jane Callender's book "Stitched Shibori - Techniques, Innovation,Pattern, Design" ... which provides a comprehensive reference to stitched shibori.  Jane describes stitched shibori in the following terms  ....

"Pulling up the threads of hand-sewn rows worked with small stitches creates tiny folds,  and as a row of stitching can follow a drawn line, specific shapes, motifs, patterns and designs can be composed."  

I've experimented with a range of traditional stitched shibori designs ...

and tried out a stitching technique on a wool scarf - for fun   .....  here are the stages in the stitched shibori process...

but it's the flexibility to stitch freeform designs that is exciting ....  I've been stitching my own designs using an oversewing technique called 'guntai shibori'  which creates a lovely effect.  

I can see lots of possibilities ...... Thanks for reading and for your interest in my work ...CC


Leaf Works

When I began developing textile art designs,  I went back to my horticulture studies for inspiration.  My fascination with plants has become my inspiration.  My early work focused on leaves from  Forest Pansy to Maple leaves  ...

I have often used direct leaf prints in my work and have recently been exploring the world of 'Eco Printing'.  This form of direct printing has led me back to leaves and to creating a new collection of works.   These new works incorporate leaf prints, natural dyed silks and hand stitching ...

© 2017 CarolynCollinsArt

© 2017 CarolynCollinsArt

I am enjoying exploring the possibilities for handstitching .....

© 2018 CarolynCollinsArt

© 2018 CarolynCollinsArt

adding  new layers of pattern, texture and tone to the work. 

Thanks for read ... CC

Looking Back at 2017 ...

With the New Year at hand, I've been thinking about what I've achieved in 2017 ... and sometimes it feels like not so much!

After reading Lisa Call's blog post  'The Power of The New Year'

I was wondering how many accomplishments I could list for 2017.  When I went back to look at the artworks I had made I was quite surprised to find 18 pieces of finished work and these were mostly of a larger size than in previous years.

There were a number of experiments and some works that did not fly,  as well as one piece that was reworked into a 4 smaller works .... I haven't included these...

I decided it would be fun to see all of 2017's works in a gallery format ..... they are pretty much in the order they were made and you can see the focus has been on the Grevillea Series ....  

Now for 2018 !   

Wishing you a fun and creative year ....

Thank you for reading   CC


New Grevillea Pieces .....

Returning to my series work has resulted in three new pieces  that are moving my series forward in many ways ......

The first piece Grevillea  'Pink'  while still representational,  incorporates some imagery from my Grevillea drawings,  in addition to the leaf printed organza I have used on other pieces ....

Exploring the imagery from the drawings led to a more abstract approach ...  a deconstructed grevillea ....

The third piece 'Golden Gem'  pursued this idea of deconstruction and incorporated some my recent experiments with natural dyed silks.   The result is a more neutral color palette ....

This piece has also incorporates some stitched shibori and hand stitching to add tone and texture ... opening a whole new world of possibilities!  I just need more hours in the day ....  I'll tell you more about the stitched shibori and hand stitching in future  posts. 

Thanks for reading ...CC

Back to Series Work .....

What I love most about working in a series is seeing the work develop with each piece I make ... I discovered this 'magic' when taking Lisa Call's  'Working in a Series' class a couple of years back....

There are lots of reasons for working in a series .... here is a link to a post by Katherine Tyrrell which gives an excellent review of the reasons why artists choose this approach ...

https://makingamark.blogspot.com.au/2008/09/what-are-your-reasons-for-working-in.html

With the Grevillea Series that I started last year, I have worked on a number of smaller pieces developing design ideas and techniques  ......

and then a couple of larger exhibition pieces, including the work for Art Quilt Australia 2017.

So now it is time to get down to the serious 'series work'!! 

I have defined a number of parameters for the series work to come,  in terms of size, techniques and materials and I'm making good progress with the first piece with the stitching is coming along nicely.  Here are some detail shots of the work in progress ....

I also have the next couple of pieces starting to take shape on the design wall .....  It feels really good to be back into the flow of series work!

If you work in a series .... why do you take this approach??

Thanks for reading .... CC

On The Design Wall - New Grevilleas

This week I've been trying a new grevillea design on the pieced backgrounds I developed about a month or so ago.  

Decided to try just the tip of a flower as the basis for the design and to applique the design. The earlier pieces on these background designs were stitched and colored.  At this stage they are just pinned to the design wall.

I started out with two backgrounds in a square format ....

Then in the process of editing the photos for this blog,  a couple of Photoshop Element's  "suggested crops" caught my eye ... so I've included the rectangular format for comparison and I think they are rather more interesting?  Any thoughts?

Now all I need to do is commit to the design and get the stitching done!!!  

Thanks for reading .... CC

Experimenting with Leaves and Landscapes

This last week I have been playing with ideas for my Leaf Series,  in part prompted by the drawing class challenge I shared last week (I'll show you how I'm going at the end of this post).

Decided to try combining a simple landscape with one of my favorite leaf designs and to make the leaves using a 2 step reverse applique to give a line effect.  I wasn't altogether satisfied with the result.  I think it would have worked better if I had used a darker tone for the line element?

This seemed like a good opportunity to try our another idea for adding a dimensional effect, by using what I might describe as free form applique.  In this case I stitched the leaf shapes to the piece along the vein lines so the edges are free to lift and curl.  

I have also been adding some hand stitching for texture to complement the machine quilting which is less dense than my usual style (the hand stitching is  nice work to do in front of the fire on these chilly evenings!!)

And now in a completely different style .... I've added another layer of dark tone to the drawing class challenge piece from last week.   I've used "shards" of dark turquoise silk and covered the piece with some wedding tule to keep it in place. 

I'm still playing with it and there is still the stitching to be added .... what do you think.... an improvement????

Thanks for reading ......CC

A Bit of "Backward Design"!

I've discovered a new design technique ...  well at least a name for it!! 

I was browsing through on of my favorite textile art books "Stitch Stories"  by Cas Holmes and in a section on collage she talks about a process she calls 'backward design' .....  extracting compositions from a larger design .....  and that's just what I've been doing this week. 

I had a larger piece that I made a year or so ago and although there was a lot I liked about it,  something was missing so I set it aside (.... waiting for inspiration !) 

Inspiration came in the form of an idea from an old sketchbook .... putting the two together meant cutting sections from the larger piece as the basis for the new compositions.

 The result is a series of new leafline pieces on the design wall ready for stitching .....  here are three of them .....

I think this will be a very useful design technique for the future   ..... 

And I can highly recommend ............"Stitch Stories" by Cas Holmes,  Batsford, London 2015    if your are looking for inspiration !! 

Have you tried some 'backward design' ??      Thanks for reading ............CC  


A Question of Background ....

The most recent pieces in my Grevillea series have used strip pieced backgrounds ... a mix of hand dyed and hand printed fabrics to add some variation.  

This approach worked nicely but what if I 'push the boundaries'  a bit ...

Artists often create compositions from small areas of detail in a drawing or painting, scaling up the size to create and new composition.  We used this approach in my weekly drawing class recently.  

We started with a still life drawing and then using a small area of detail from that drawing created a new composition and then added tone and color ......

From one of my Grevillea drawings I made a number of detail sketches looking for compositions with 5 to 7 shapes.  I picked  3 to try out and made them up this week .....

I'm pleased with the way they look ... the shapes and the color combinations.  The plan is to stitch my Grevillea flower drawing onto these backgrounds ... so I'll need to work out the color and weight of thread and the best way to place and mark the design.   

I'm hesitating a little bit about the stitching so I keep telling myself I can always make a new background piece if I mess it up!!!!  

I'll let you know how I get on......

Thanks for reading  .....CC


On the Wall ... Turquoise and Green

My design wall is usually filled with work in various stages of design and construction ...   at the moment there are a couple of pieces.... monoprints in blues and greens .... basically complete with stitching and facings, just waiting for the next steps in the process.

I recently completed work on the latest Stepping Stones piece "Lake in the Clouds"  which includes some favorite turquoise fabric, the same fabric that I had use to complete the monoprints.

The two monoprints looked a bit unbalanced when I hung them as a pair because of the way I'd placed the turquoise fabric.  But when I set them with the new Stepping Stones piece and a miniature piece, I thought they looked terrific as a set .......

                " Turquoise and Green"  © 2017 CarolynCollinsArt   Set of 4 pieces

                " Turquoise and Green"  © 2017 CarolynCollinsArt   Set of 4 pieces

This got me thinking ....  while many of my pieces are relatively small they have the potential to work really well together in sets.  

 I've recently been working on upgrading my Pinterest site so I've added a new board  "On the Wall"  and  started pinning ideas for grouping art on the wall  ... here is a link to the board if you are interested ....

 https://au.pinterest.com/carolyncollinsa/art-on-the-wall/

Do you have any tips or suggestions for hanging groups of art or photographs ?

Thanks for reading   .... CC

New Grevillea .... experiment

With all my new found Photoshop Elements skills .... I am doing the second module of the "Photoshop Elements - Essentials 2"  online class with the Pixeladies,  Deb Cashatt and Kris Sazaki ....  I've been playing with ways of creating simplified/abstracted grevillea designs!

This is terrific fun and as you might imagine I now have a stack of design possibilities!!!!   

The next questions is how to translate these into fabric!!

My first idea is to try a version of shadow applique ...  working from the abstract design  to create a base layout made up of geometric shapes and then combining this  with a digital image of the flower printed on organza,  as an overlay.

I found an interesting piece of fabric with a range of shades of  plum and pink .... not a piece that inspired me when I dyed it some time ago but perfect for this experiment and a soft mottled green to use for the background.  After fusing the geometric shapes .... some very thin and too small to applique with my usual technique ... I added to overlay of printed organza.  This is how it turned out ......


"Grevillea 6"

CarolynCollinsArt © 2017

8" x 16"

Hand dyed and printed fabrics, digital image


After some time contemplating the possibilities, I decided on a mix of hand stitching  .... a running stitch and some seed stitches  and a simple horizontal machine line to finish.   The overlay makes working with thin strips and small shapes very stress free!!!  

I like the results of this experiment .....  but there are more ideas to try !!!

What have you been experimenting with lately??   

Thanks for dropping by .....CC