The last few weeks I've been spending quite a bit of time helping with the Art Quilt Australia 2017 Exhibition and Advancing Art Quilts Conference organised by the Ozquilt Network Inc .... I have recently joined the Ozquilt Executive Committee ....
The Art Quilt Australia 2017 exhibition was officially opened on 8 September at the Queen Victoria Art Gallery (Royal Park) Launceston and the winners announced.....
OZQN Award of Excellence: Chinese Whispers Judy Hooworth: $3000 sponsored by Ozquilt Network Inc;
Highly Commended: OZQN Award of Excellence: Overland Track Sandra Champion
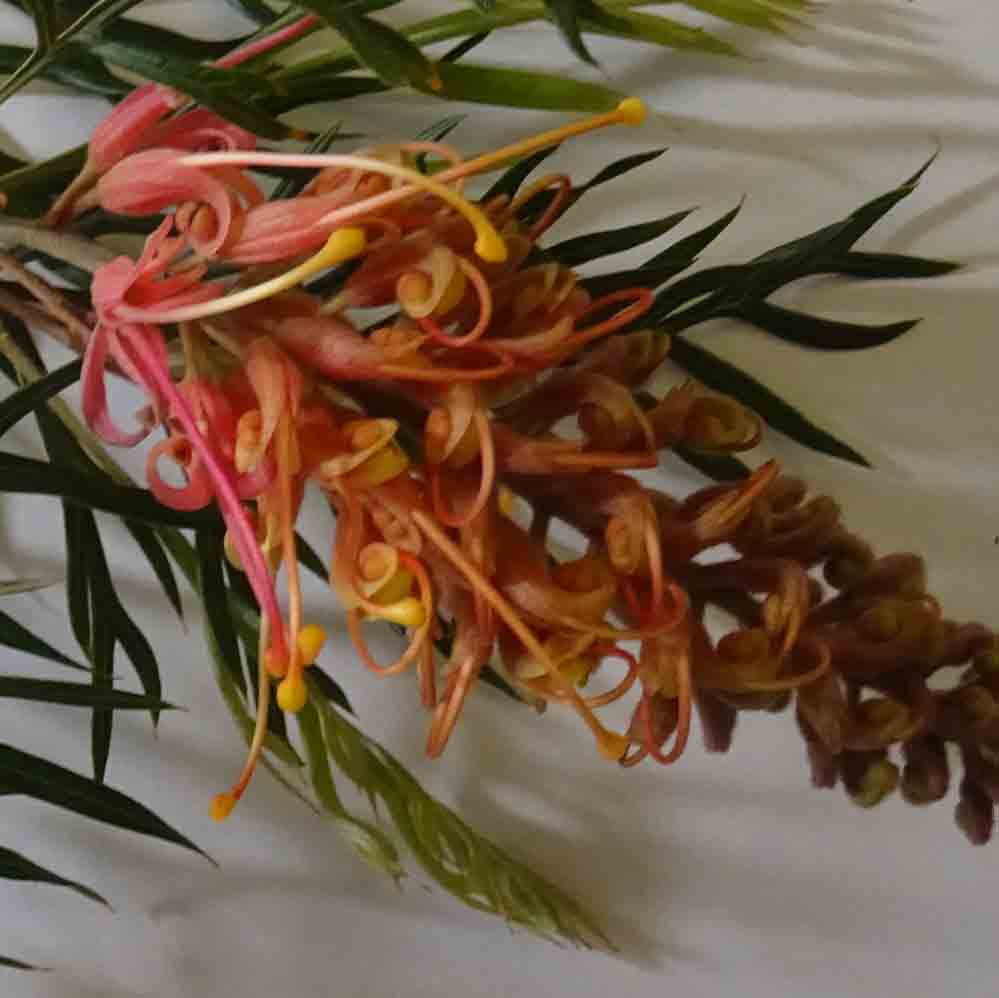
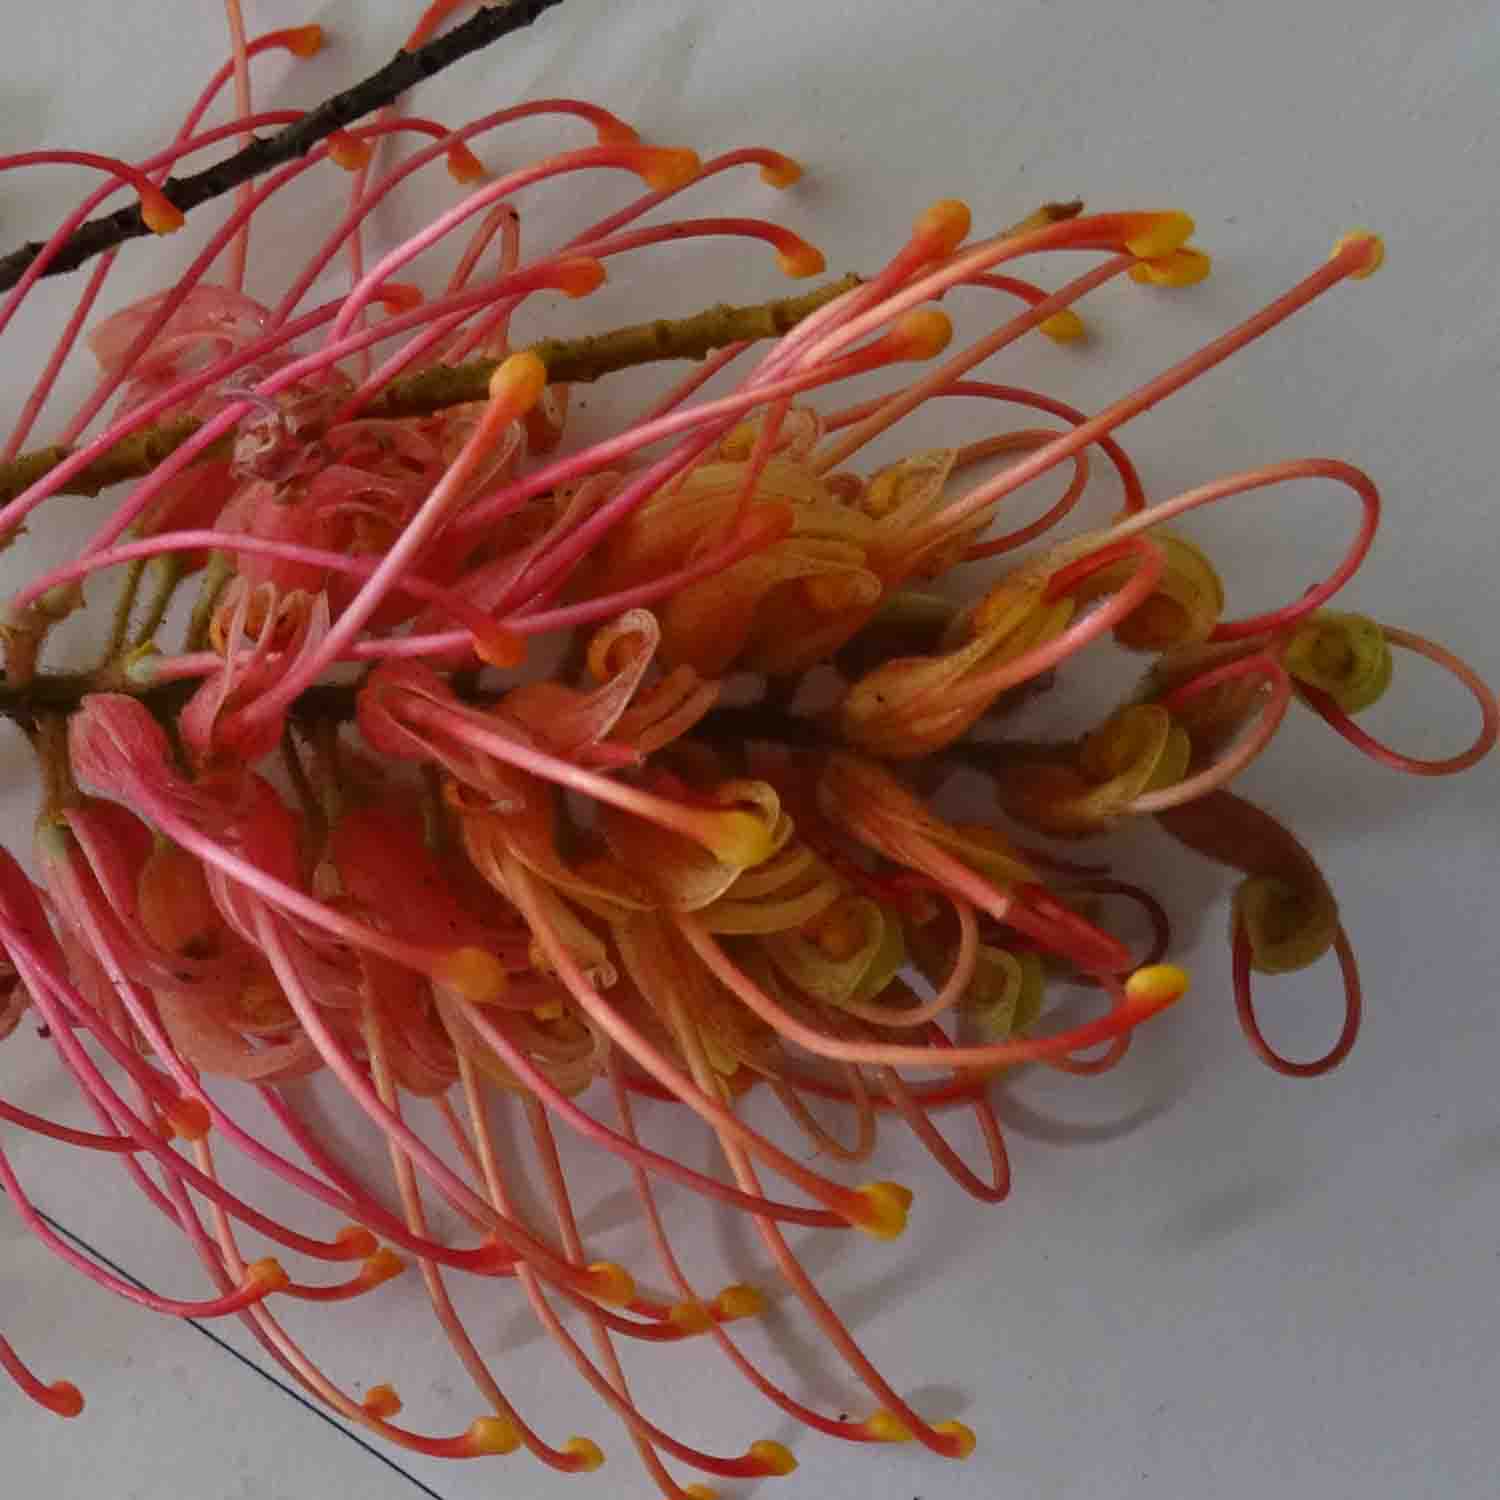
Highly Commended: OZQN Award of Excellence: Ode to Banksias #7 Susan Matthews
Expressions Wool Quilt Prize: Klimt Print #2 Suzanne Reid. $3000 acquisitive award sponsored by the National Wool Museum.
Highly Commended Expressions Wool Quilt Prize: Knit One Purl One #2 Jan Mullen
You can see all of the fabulous works in the exhibition including the prize winners in the online gallery posted at https://www.ozquiltnetwork.org.au/exhibitions/art-quilt-australia/
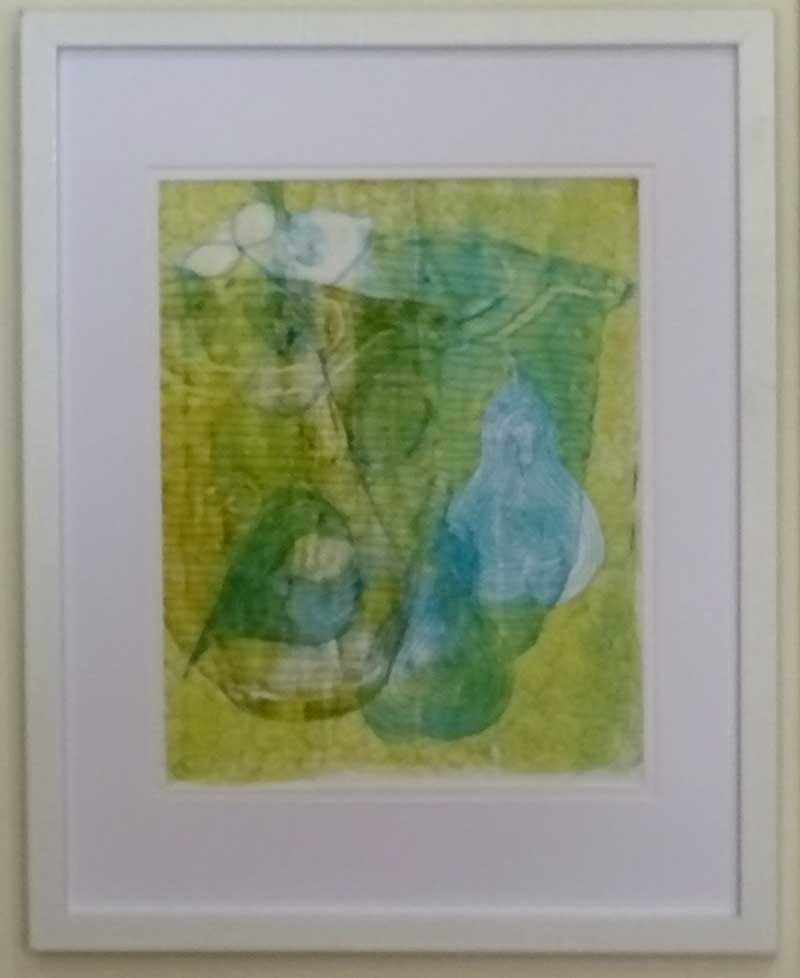
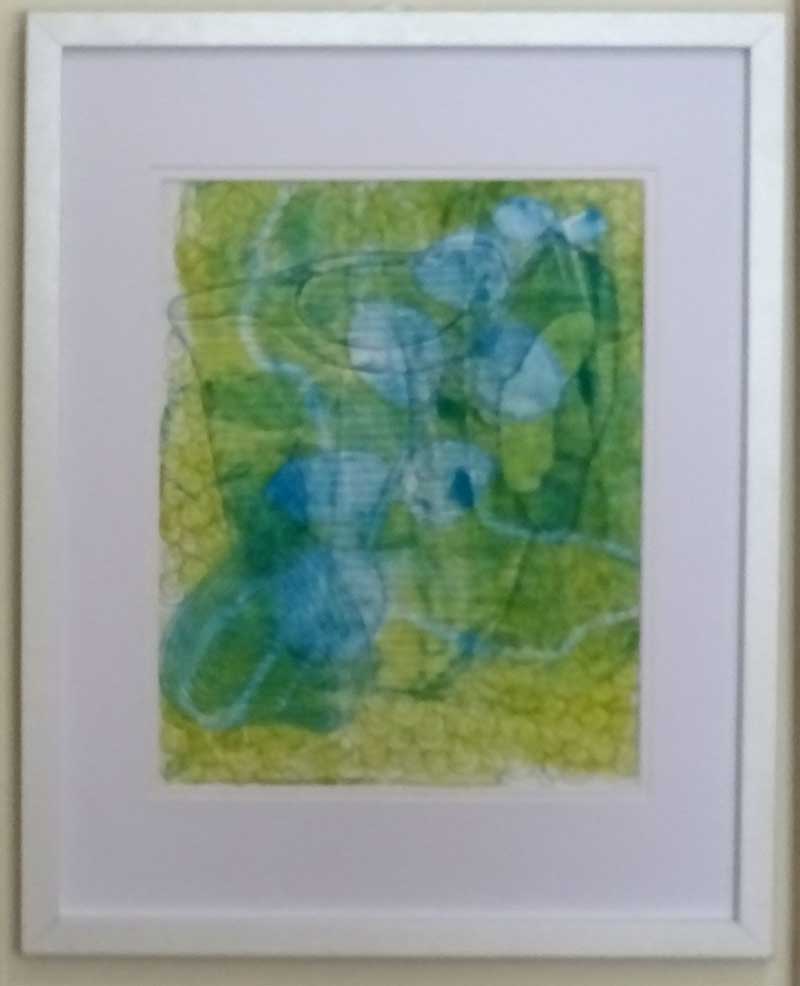
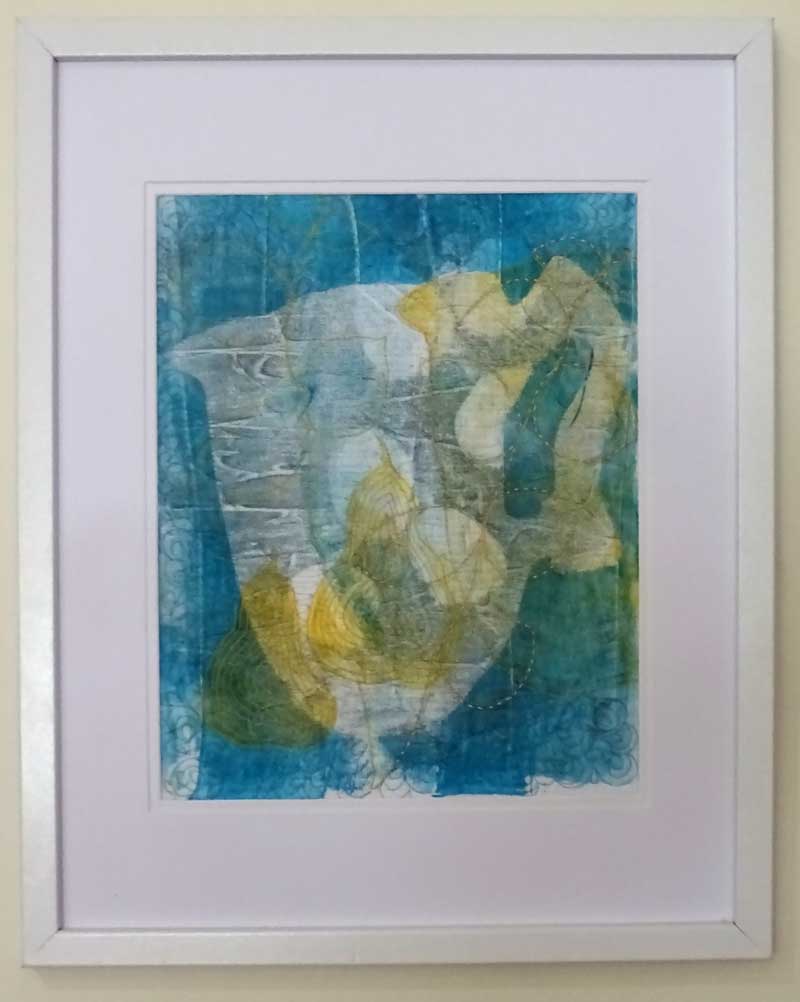
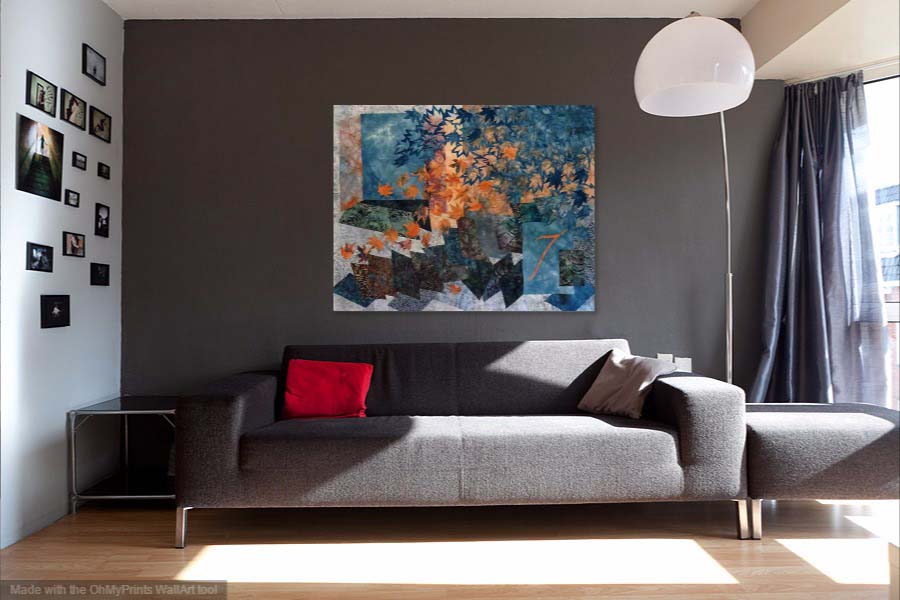
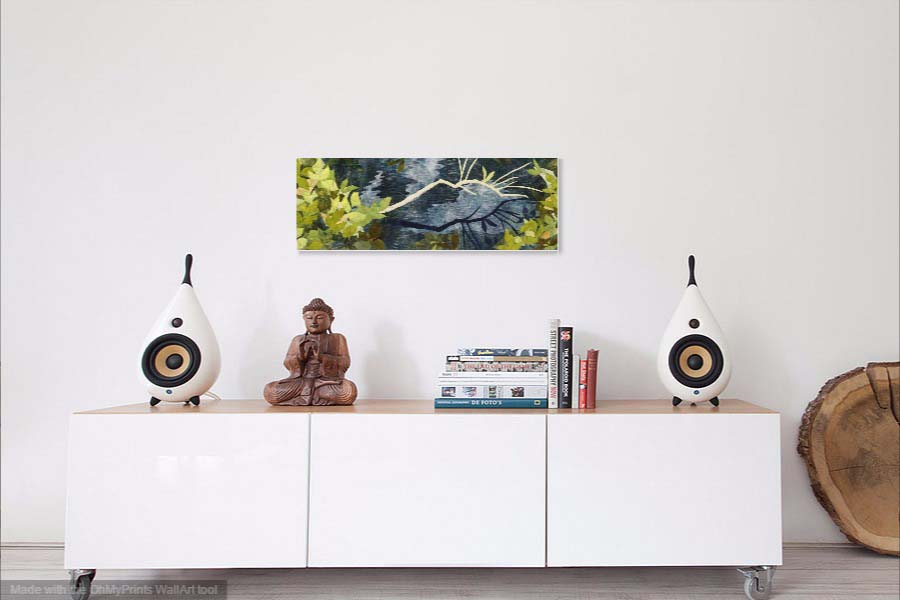
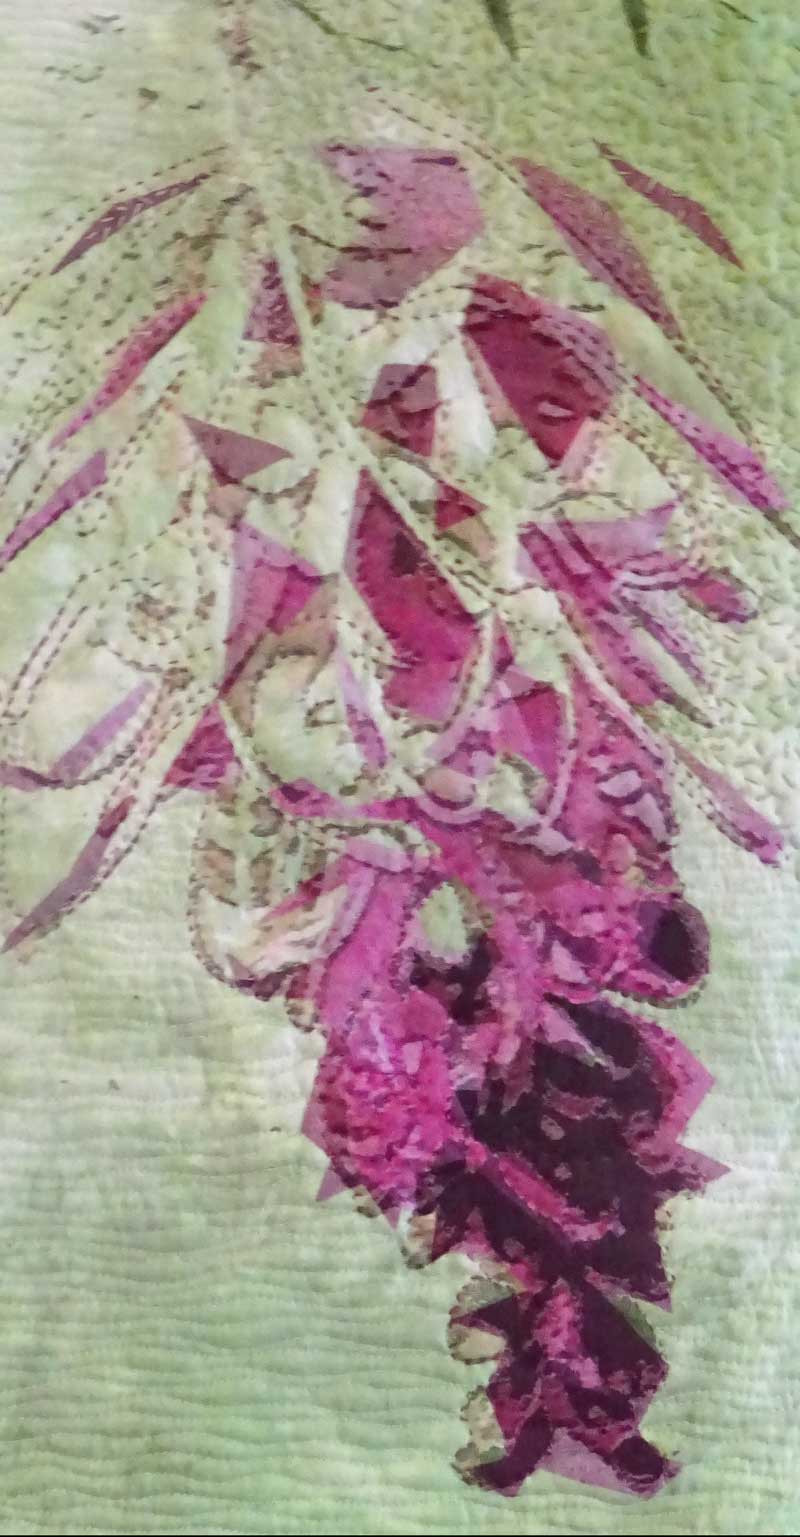
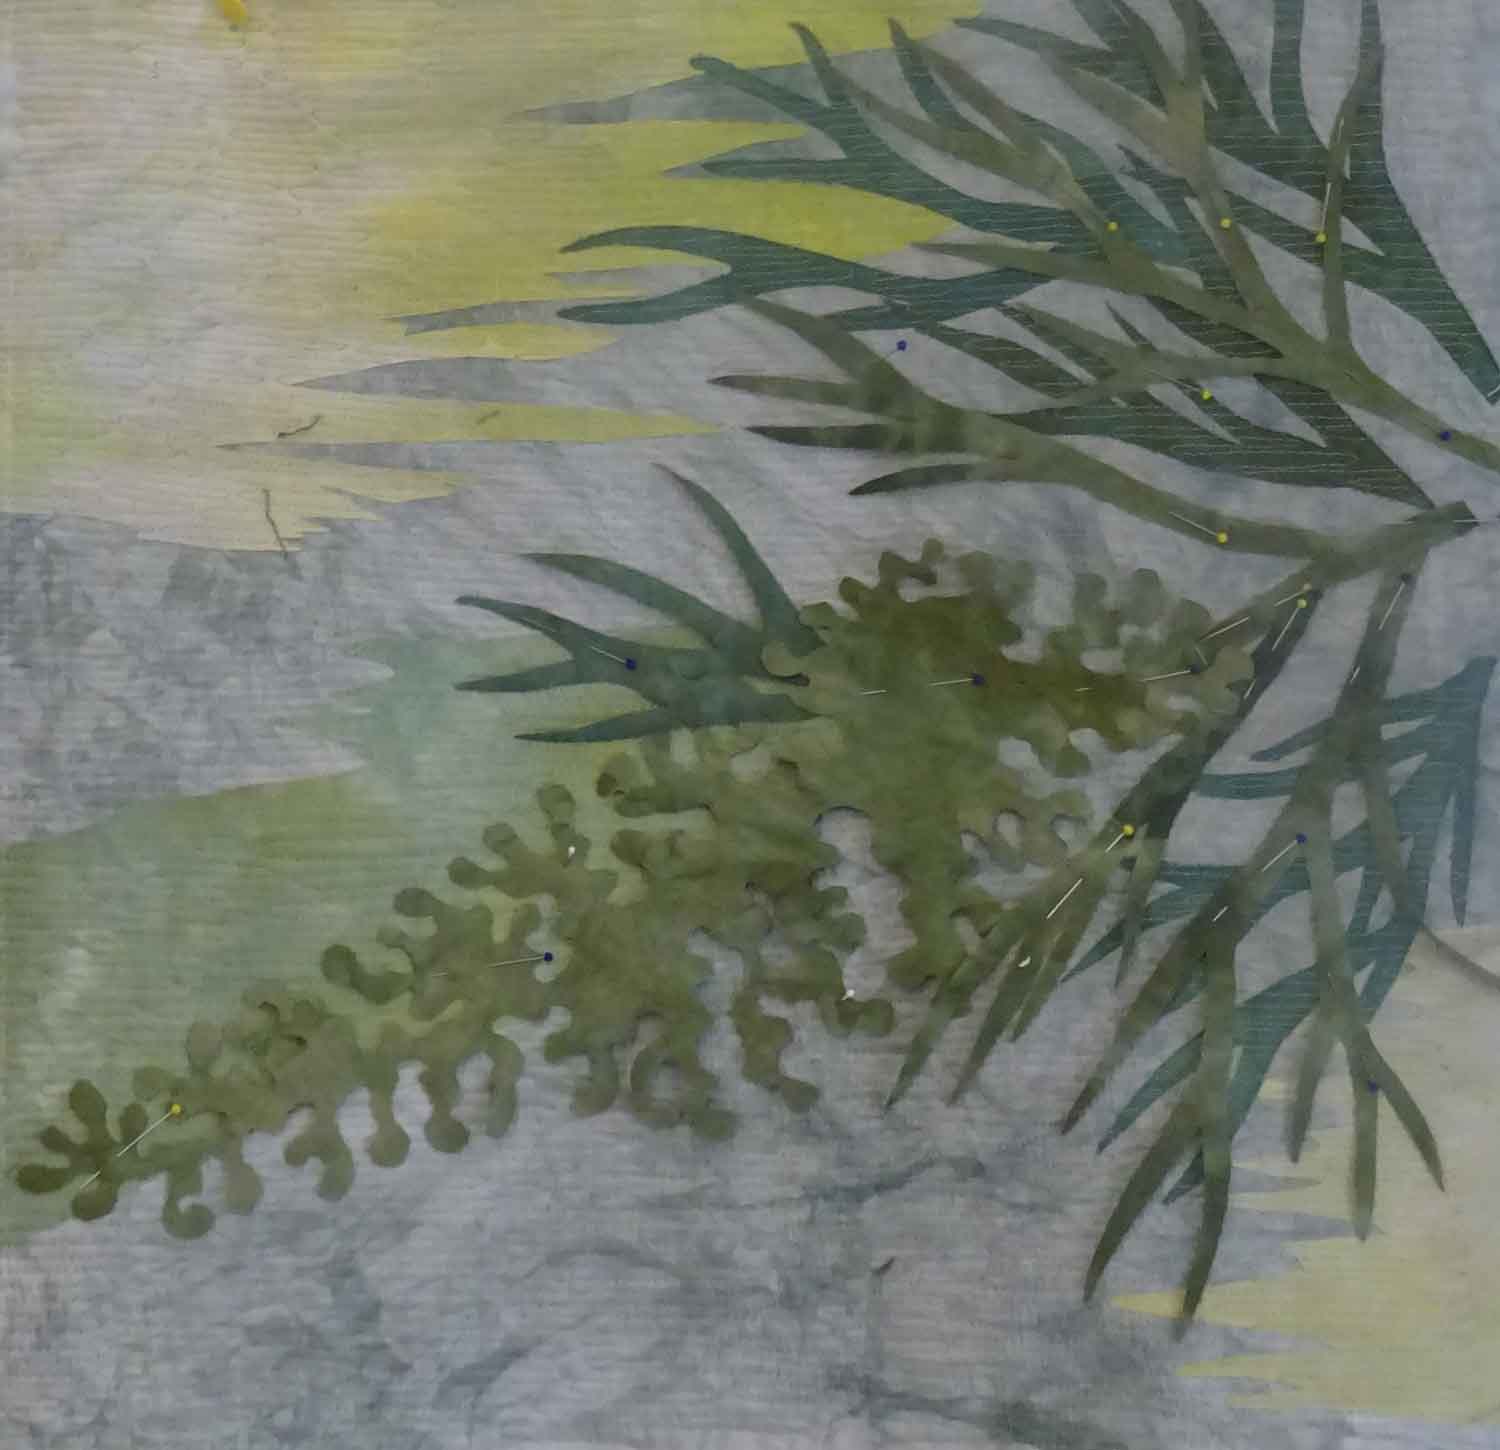
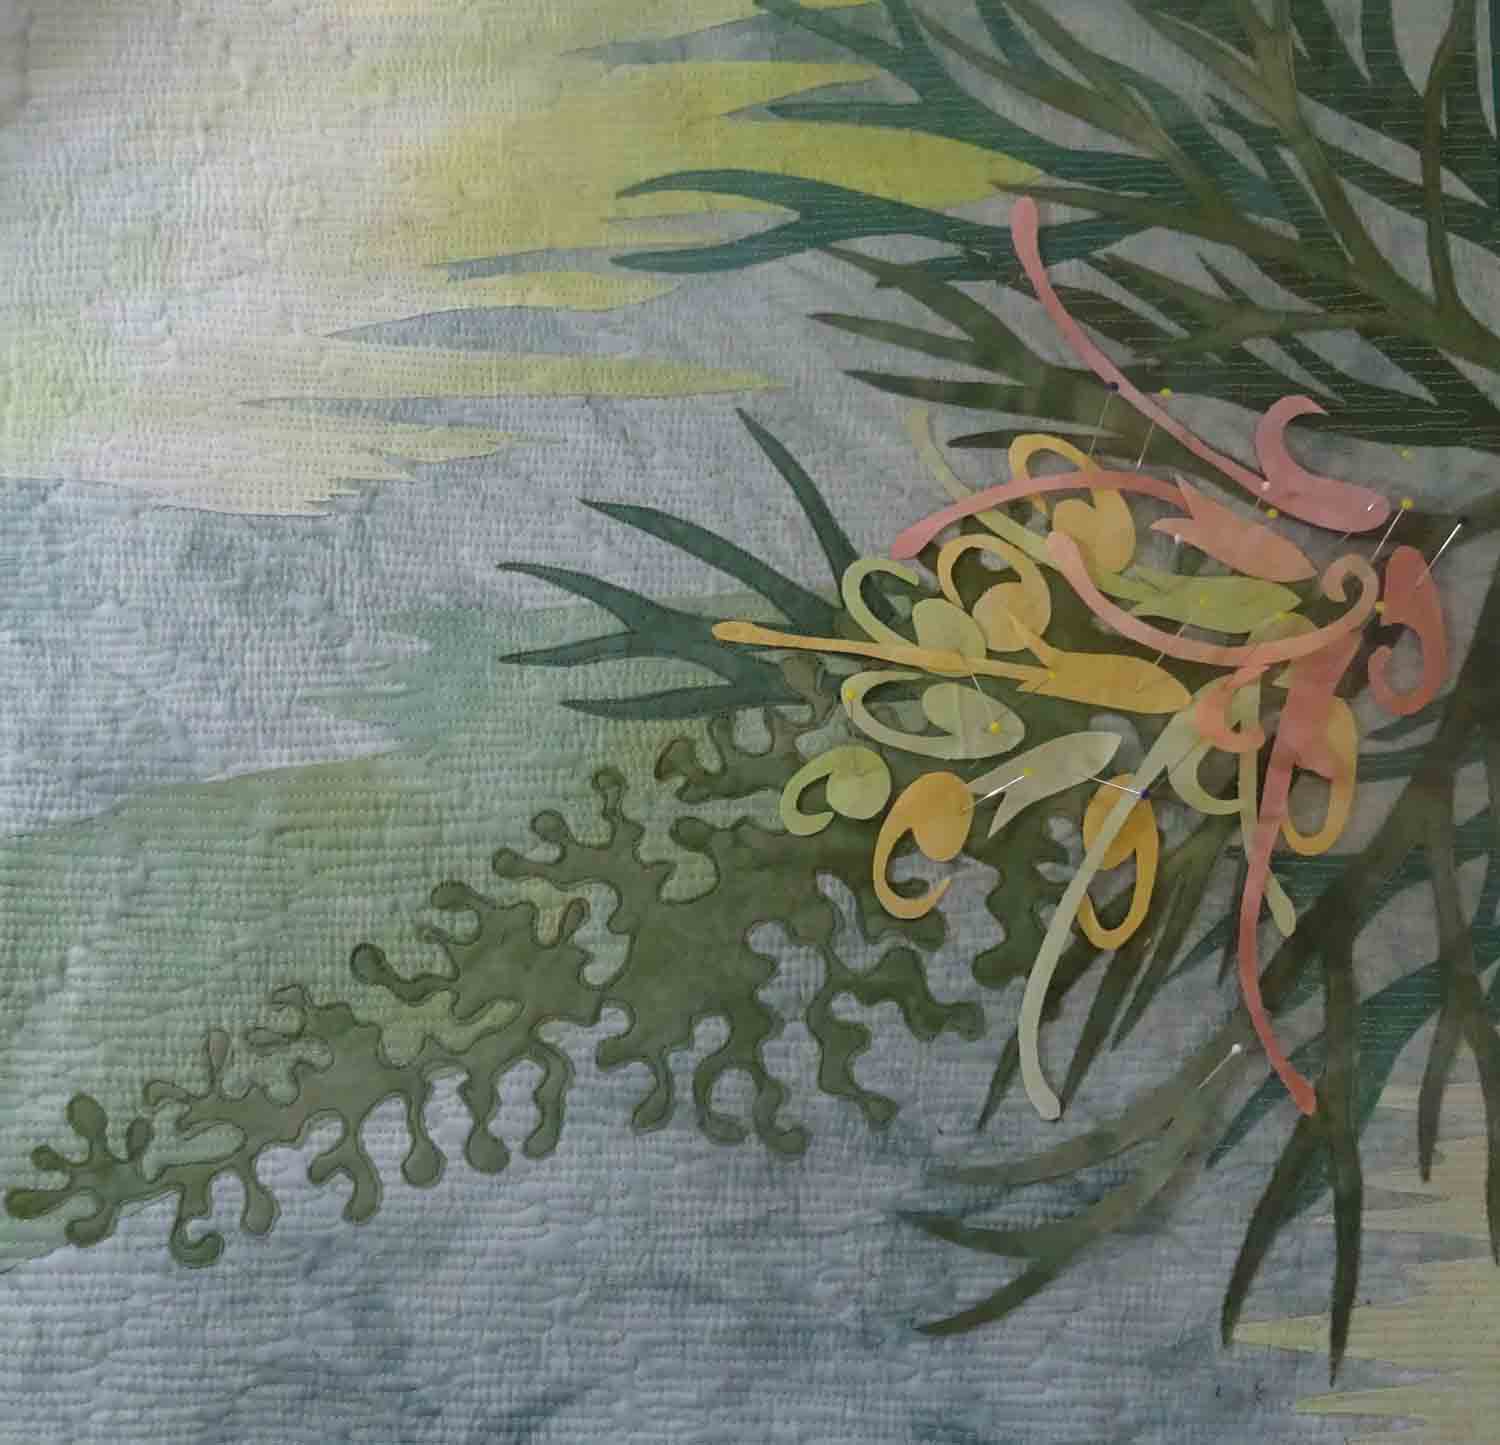
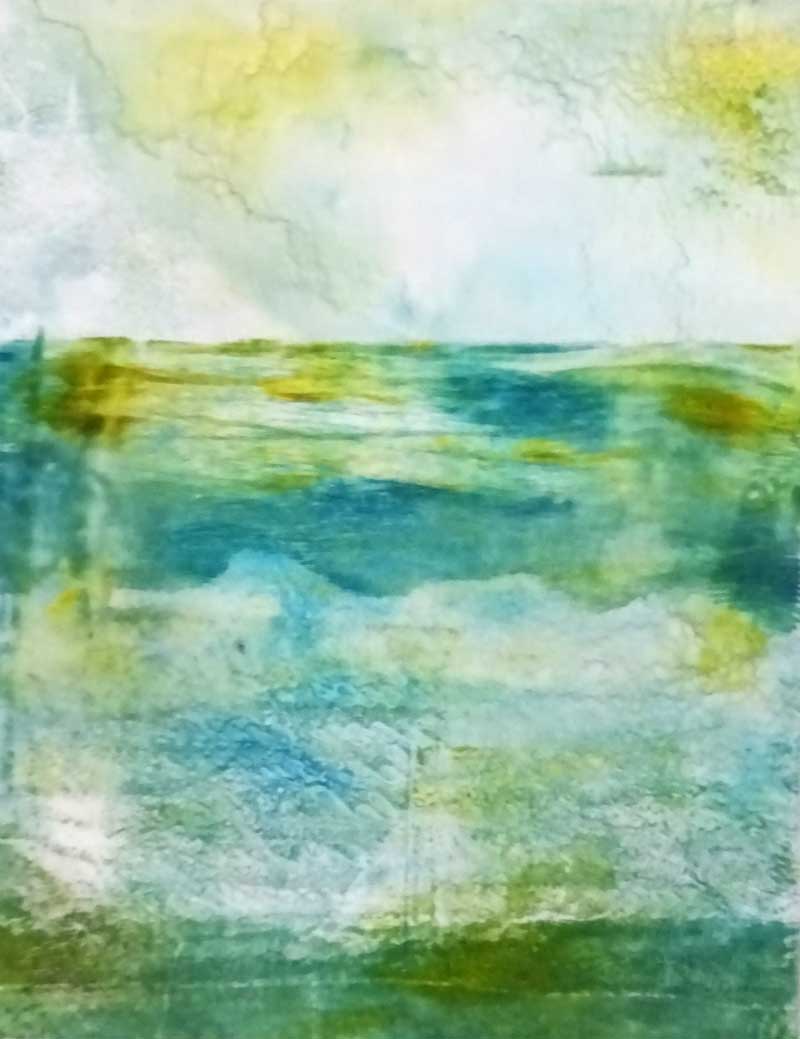
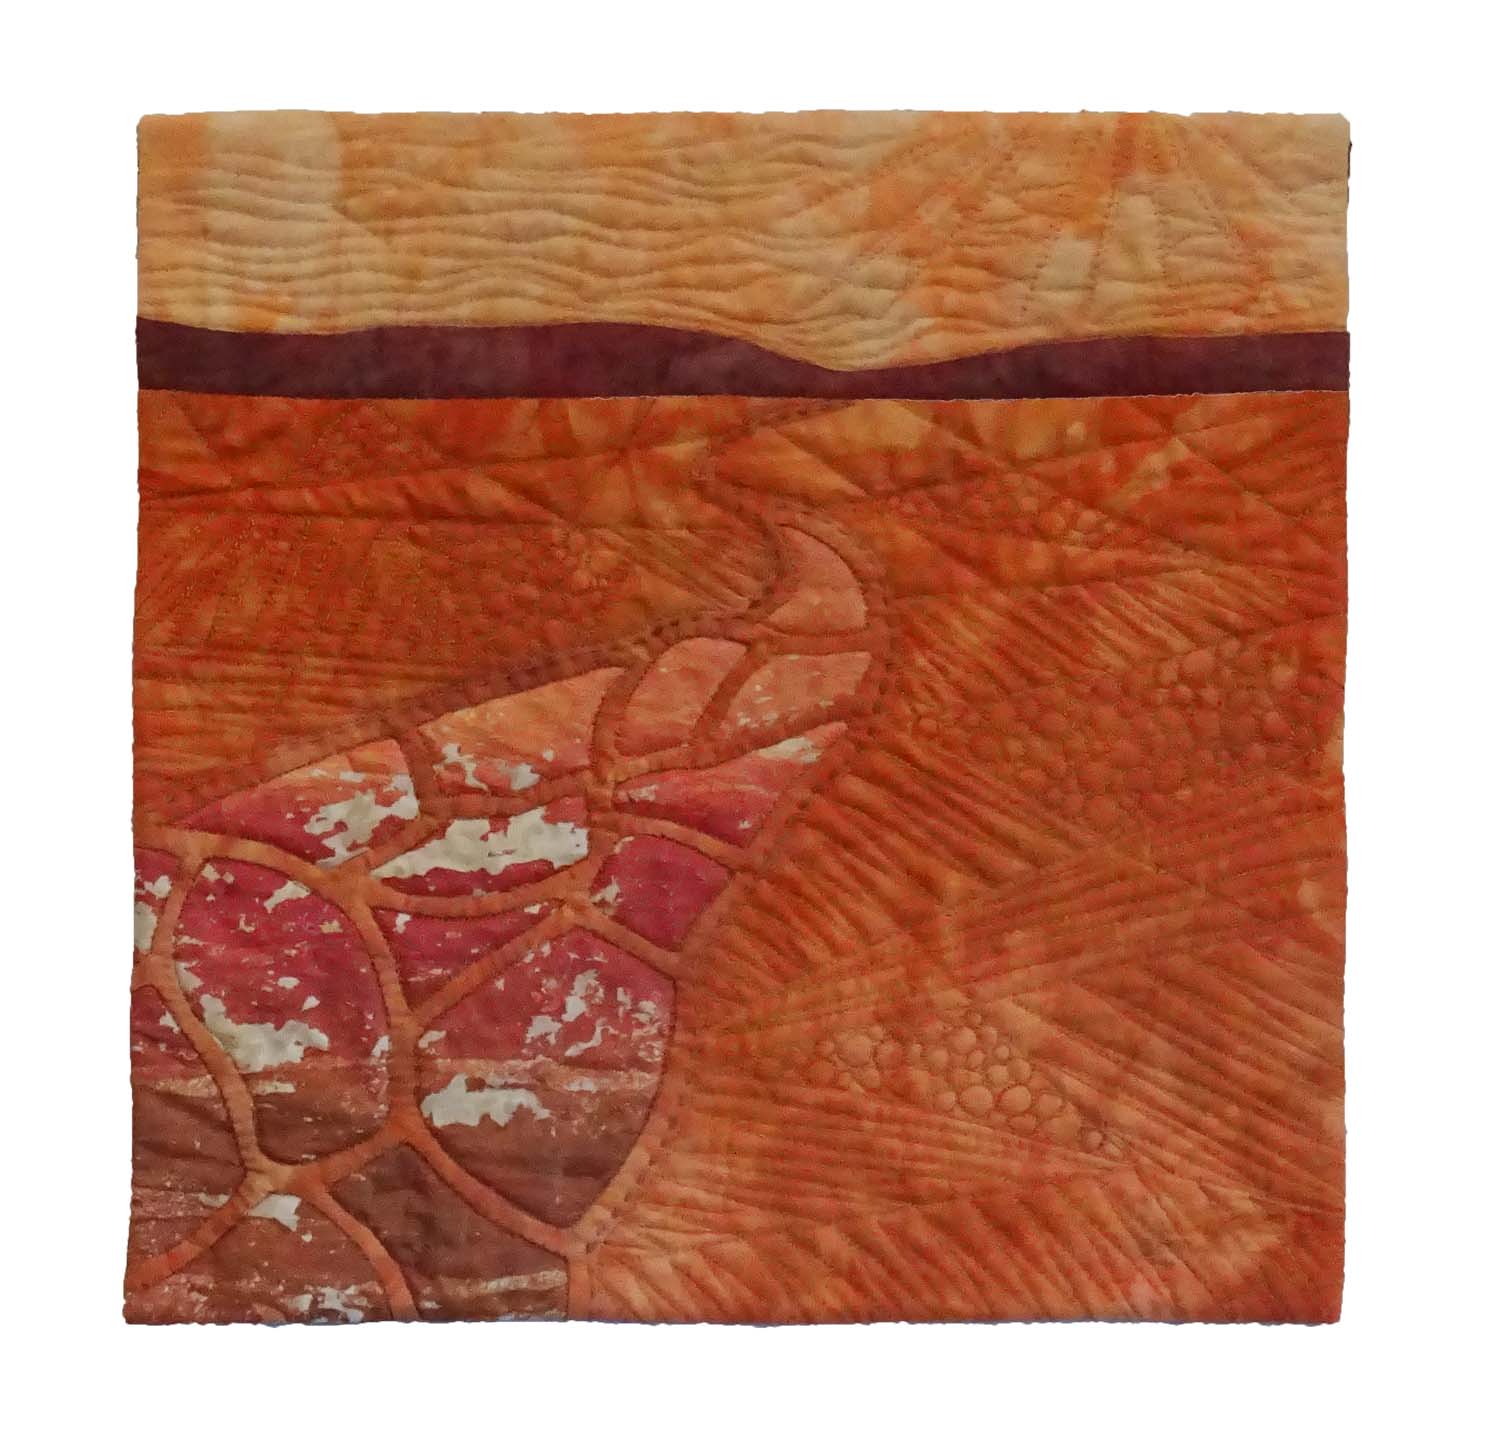
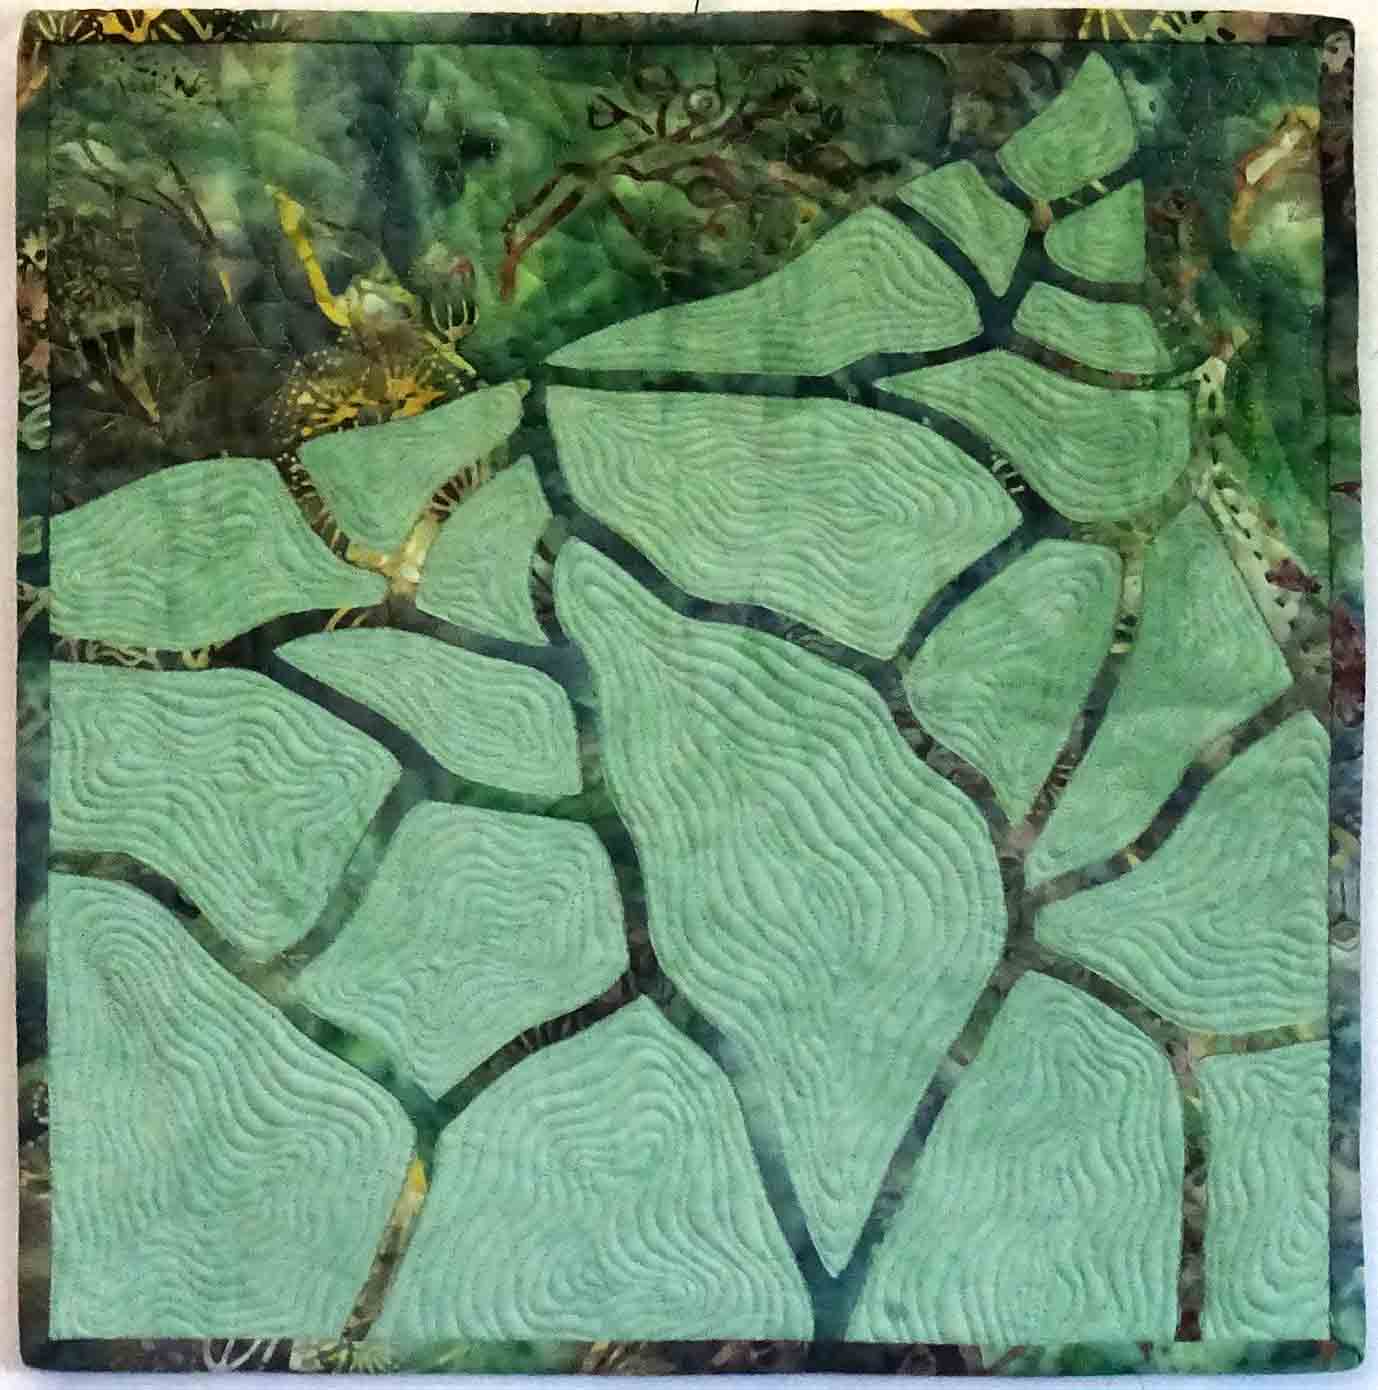
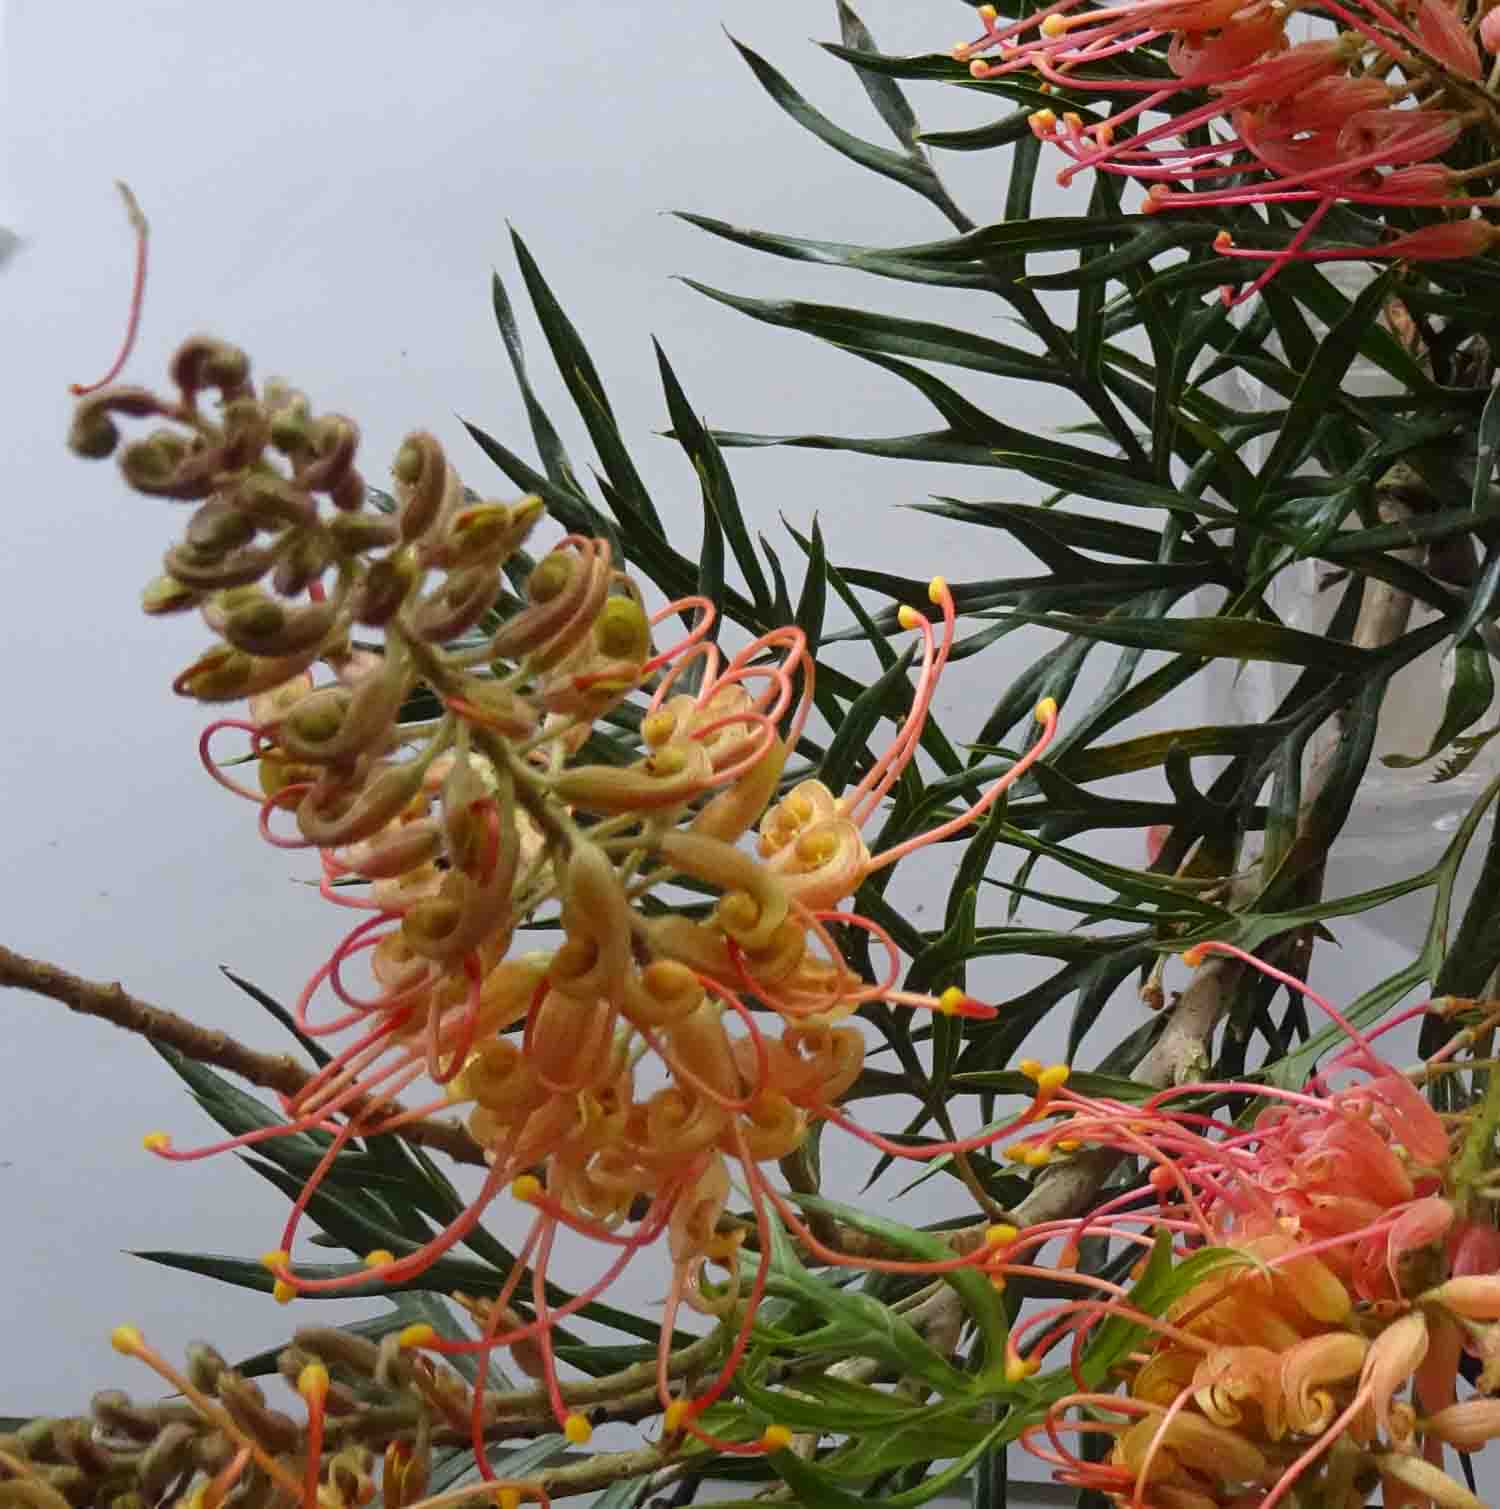
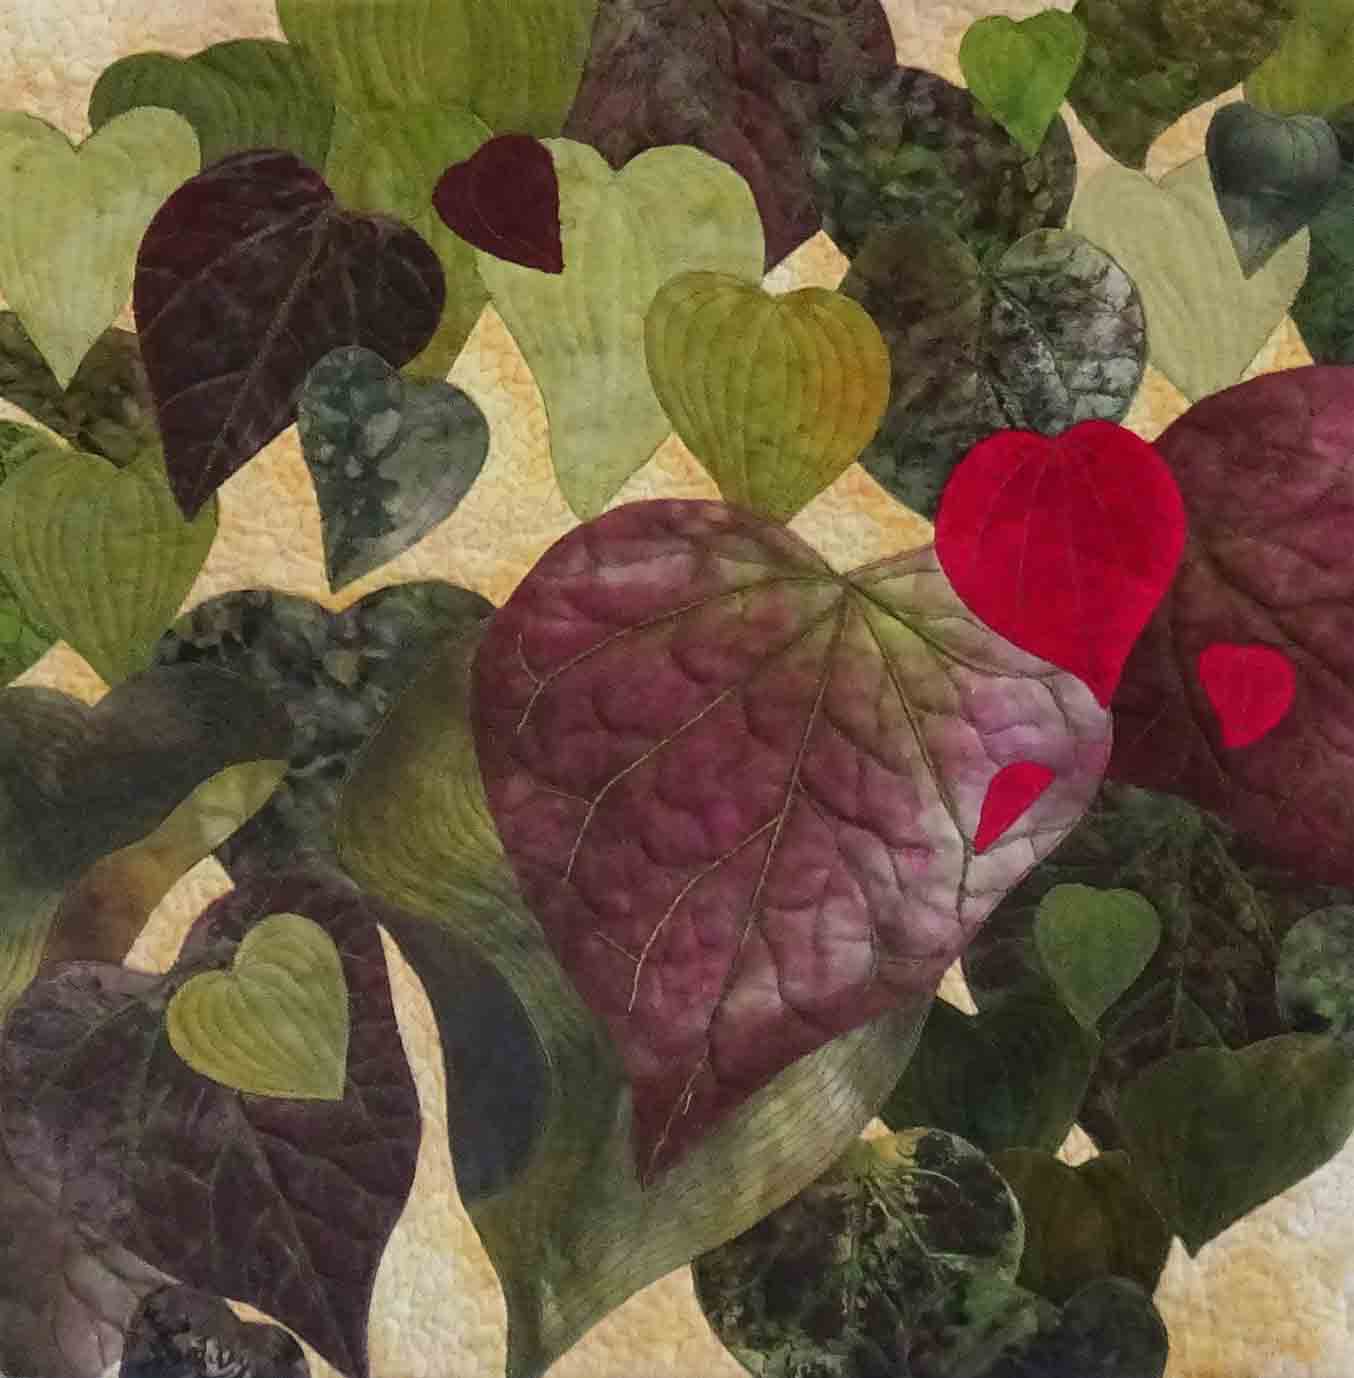
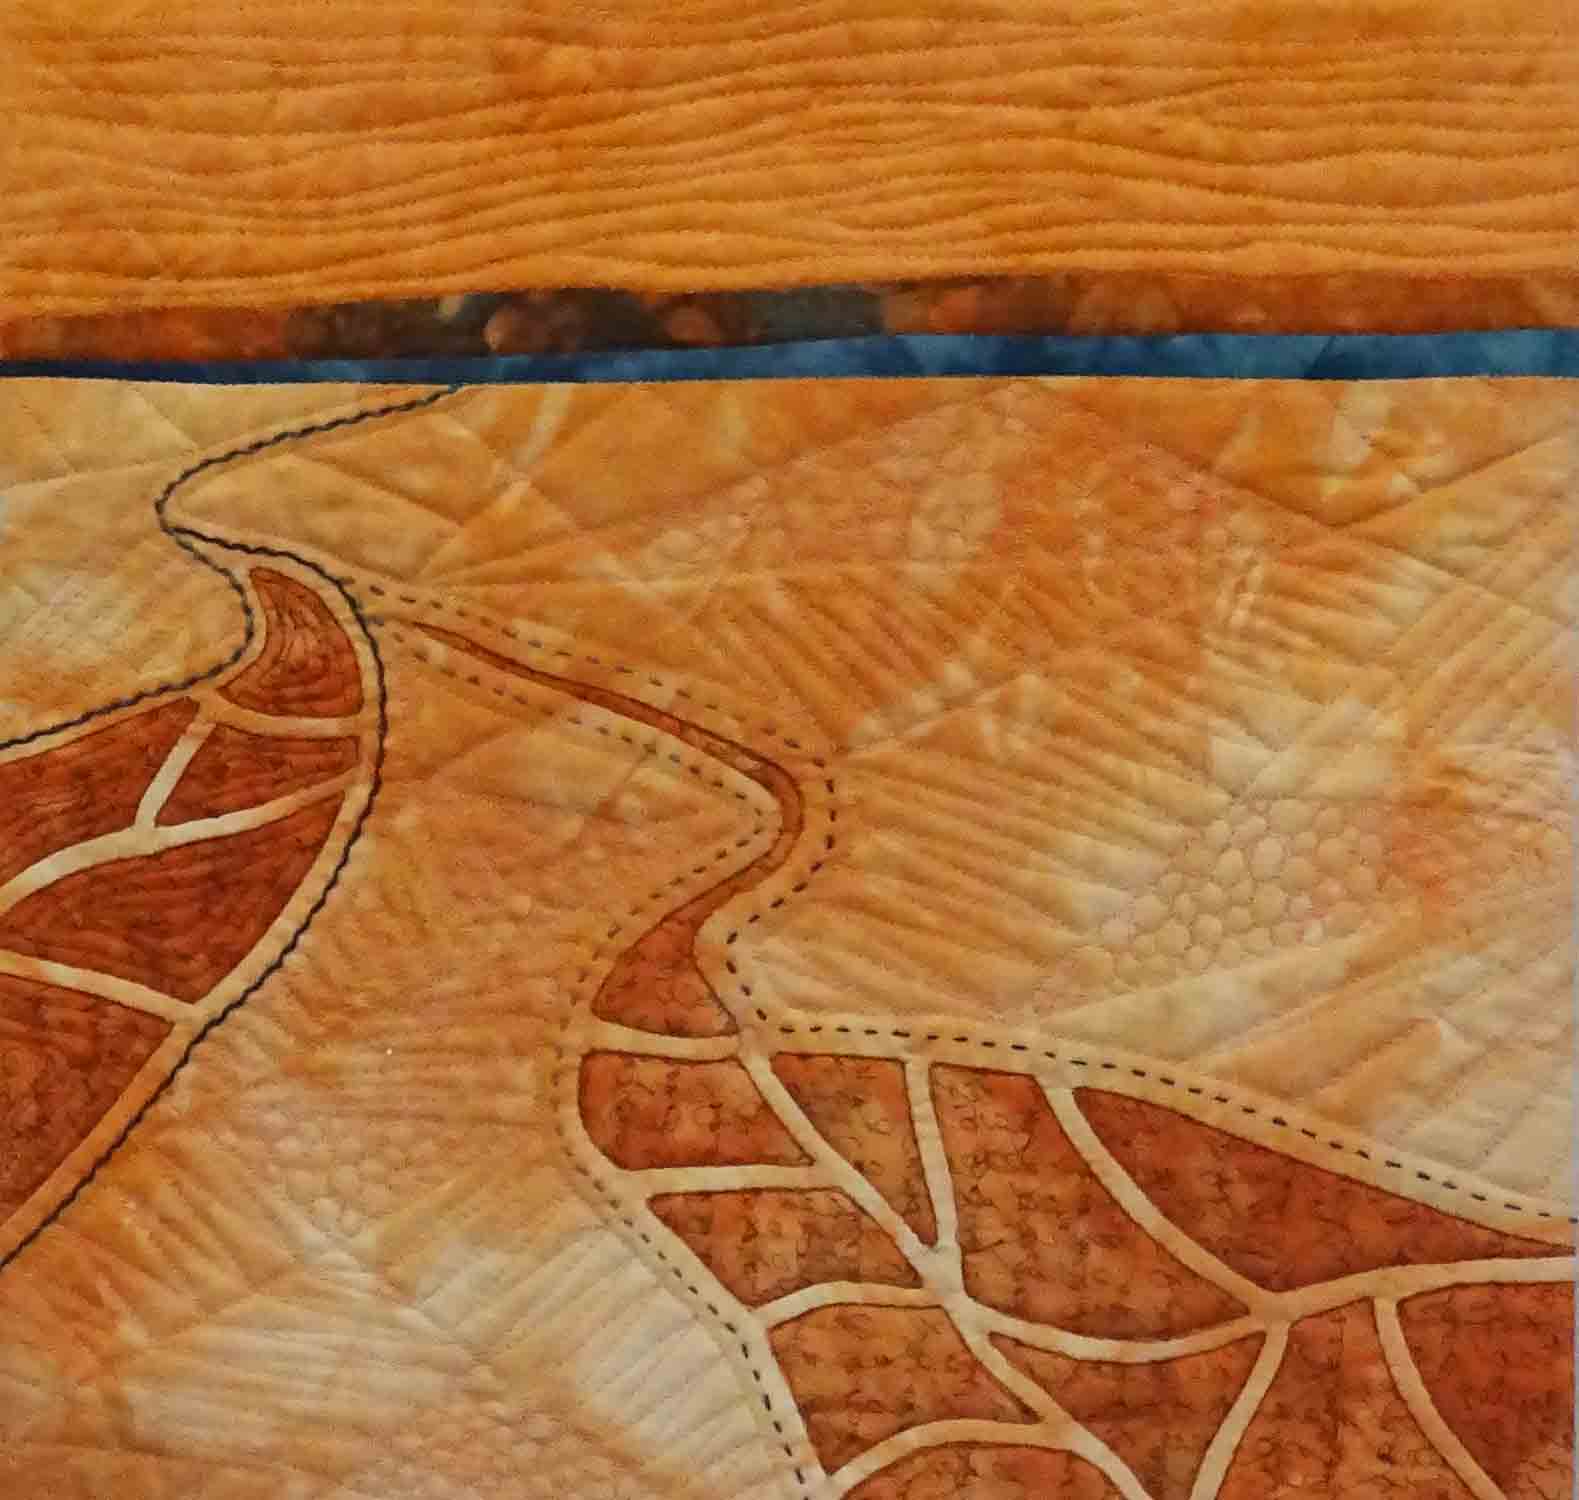
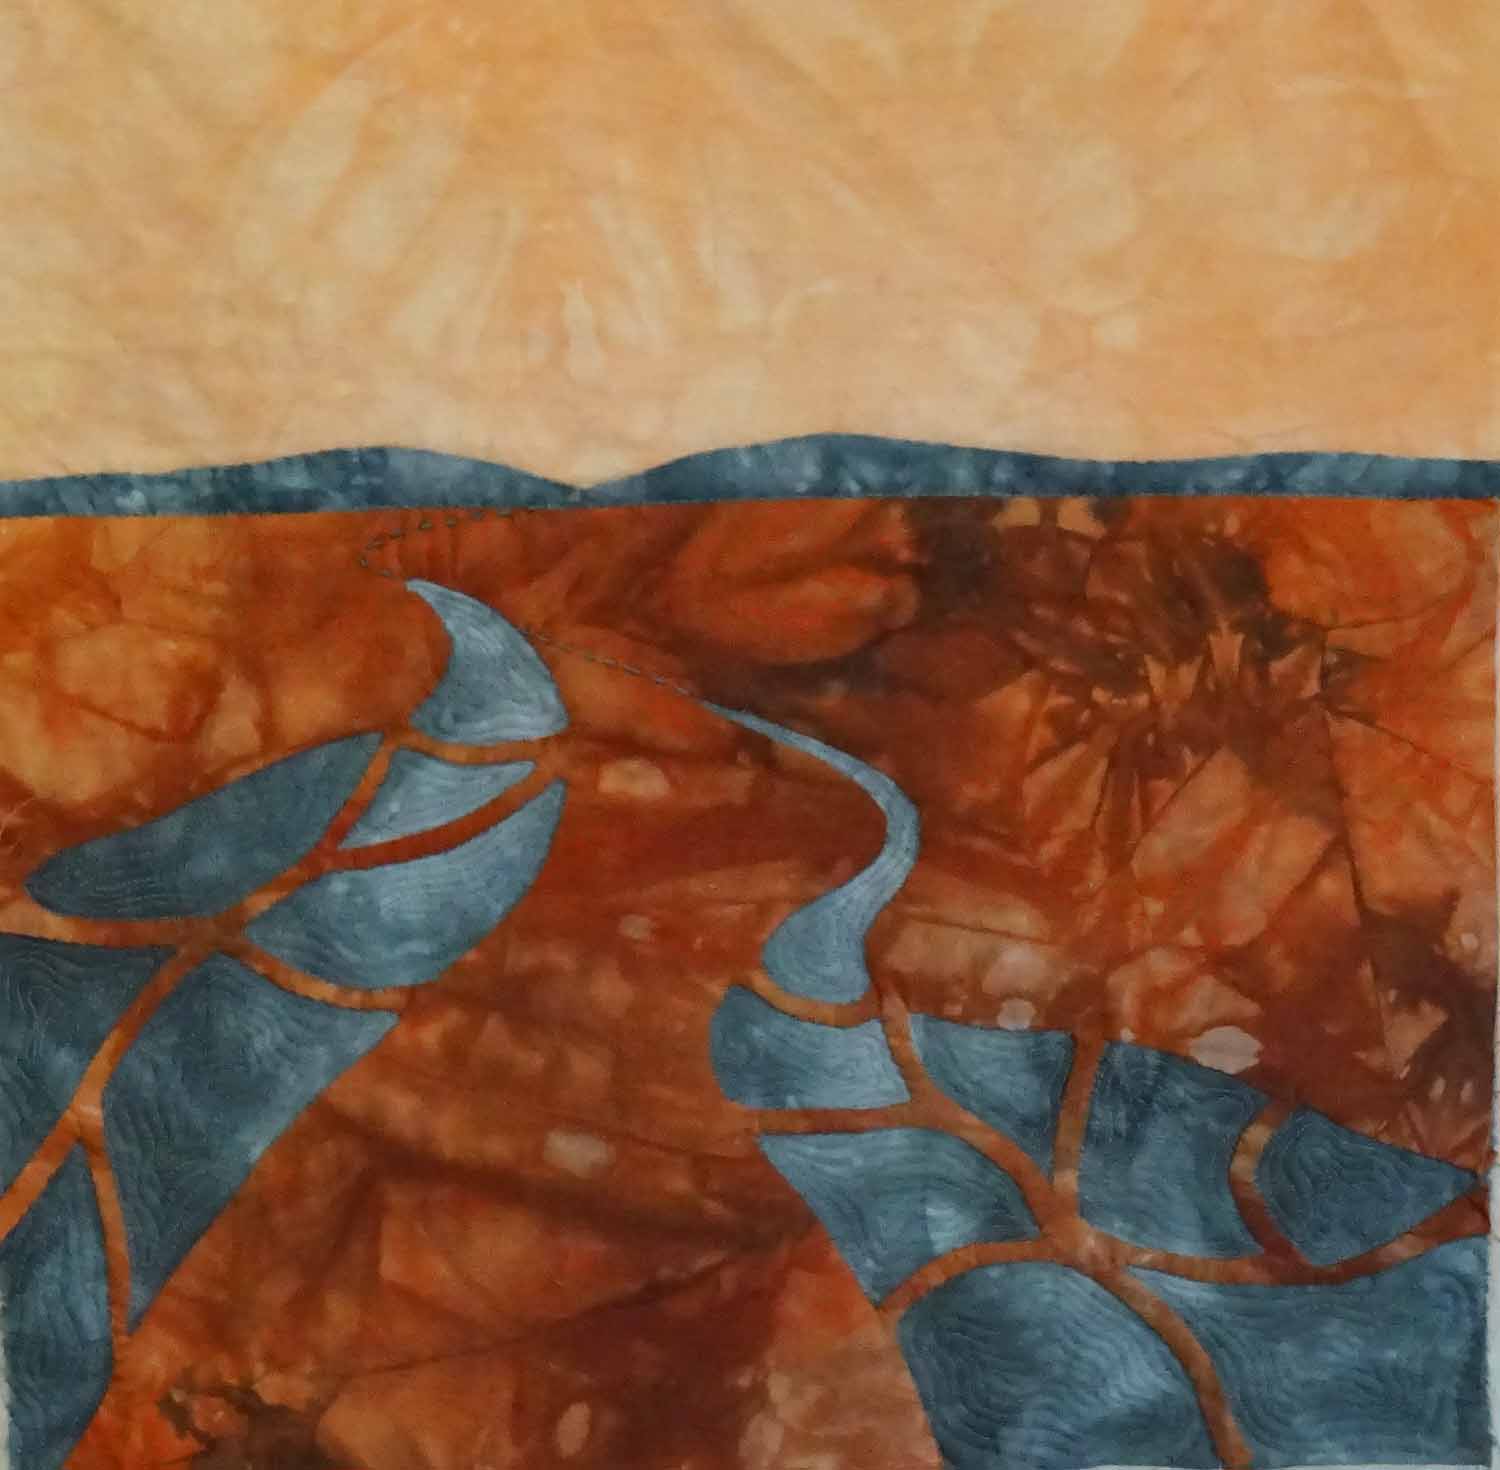
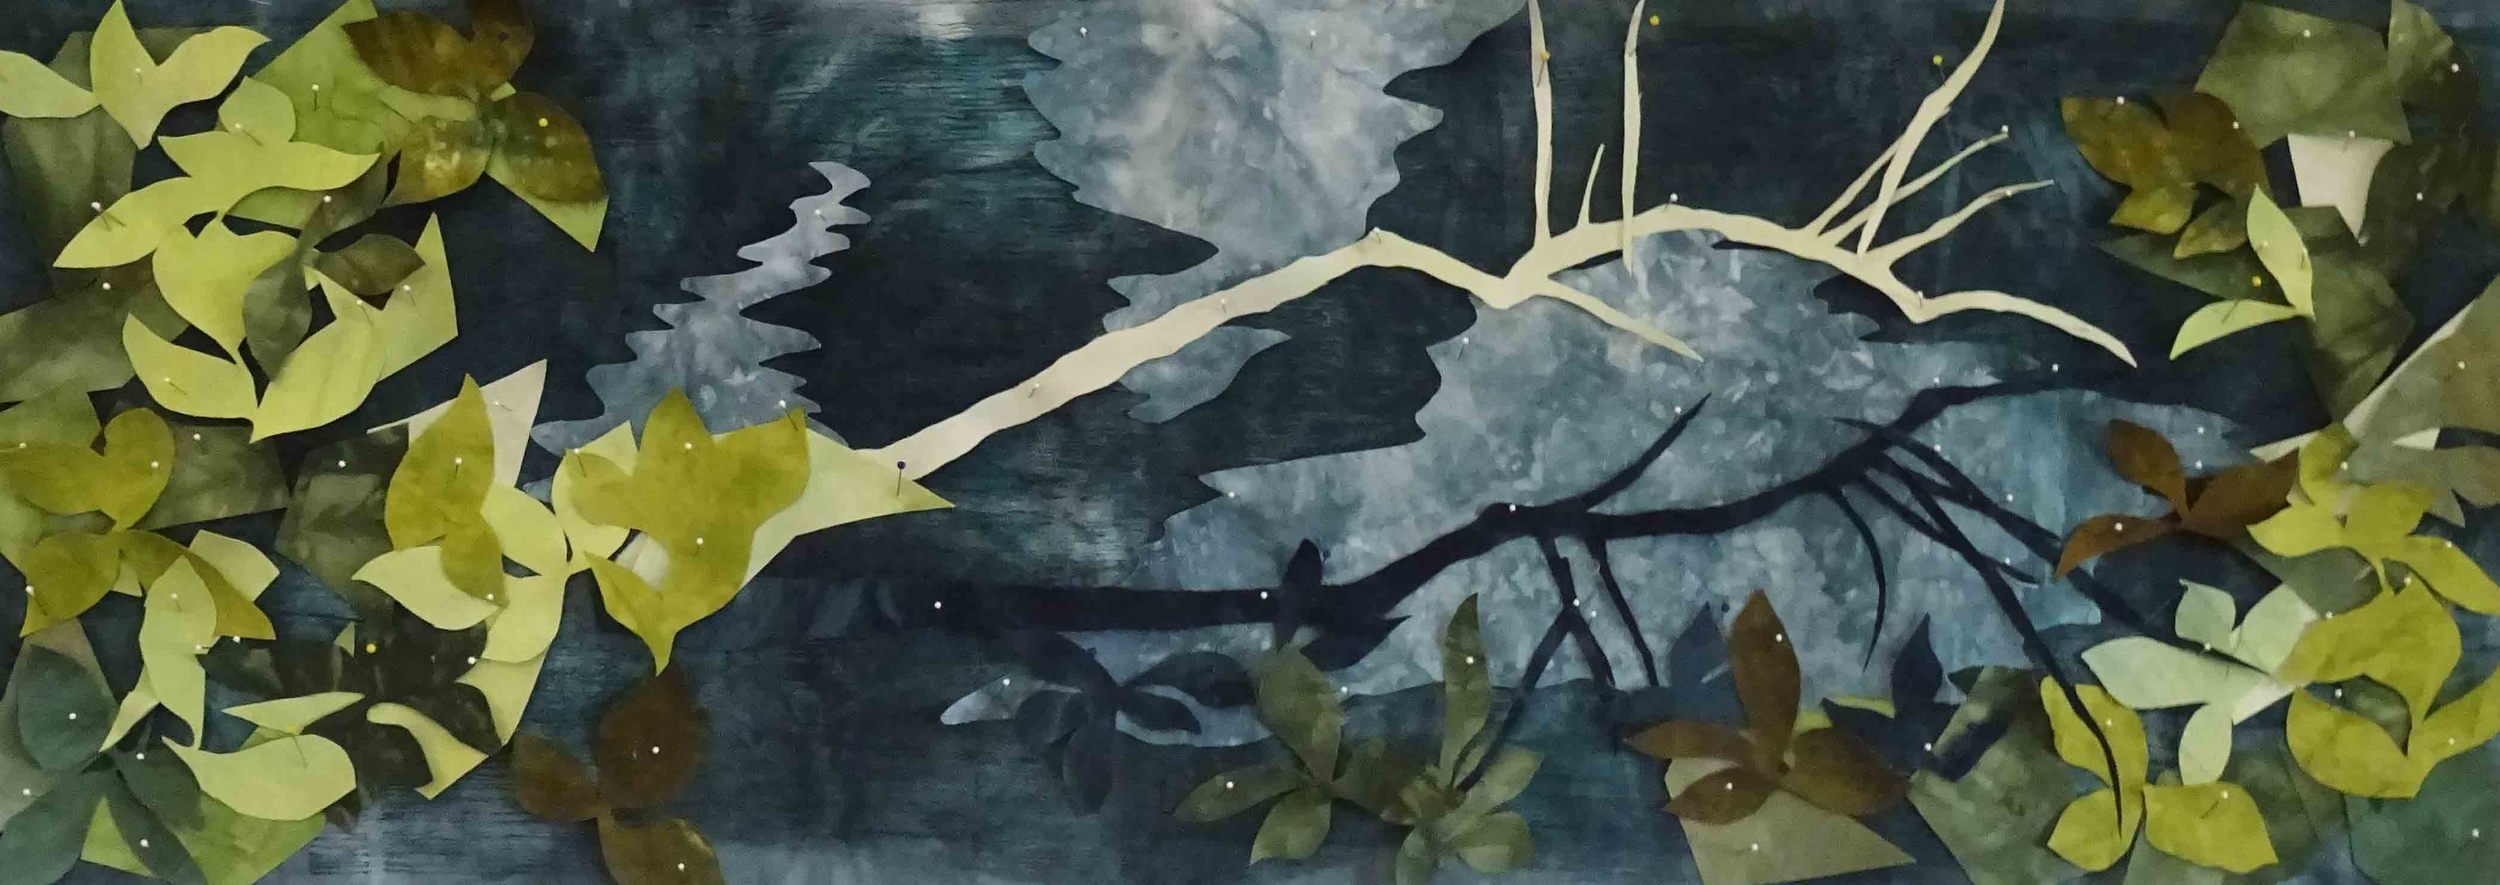
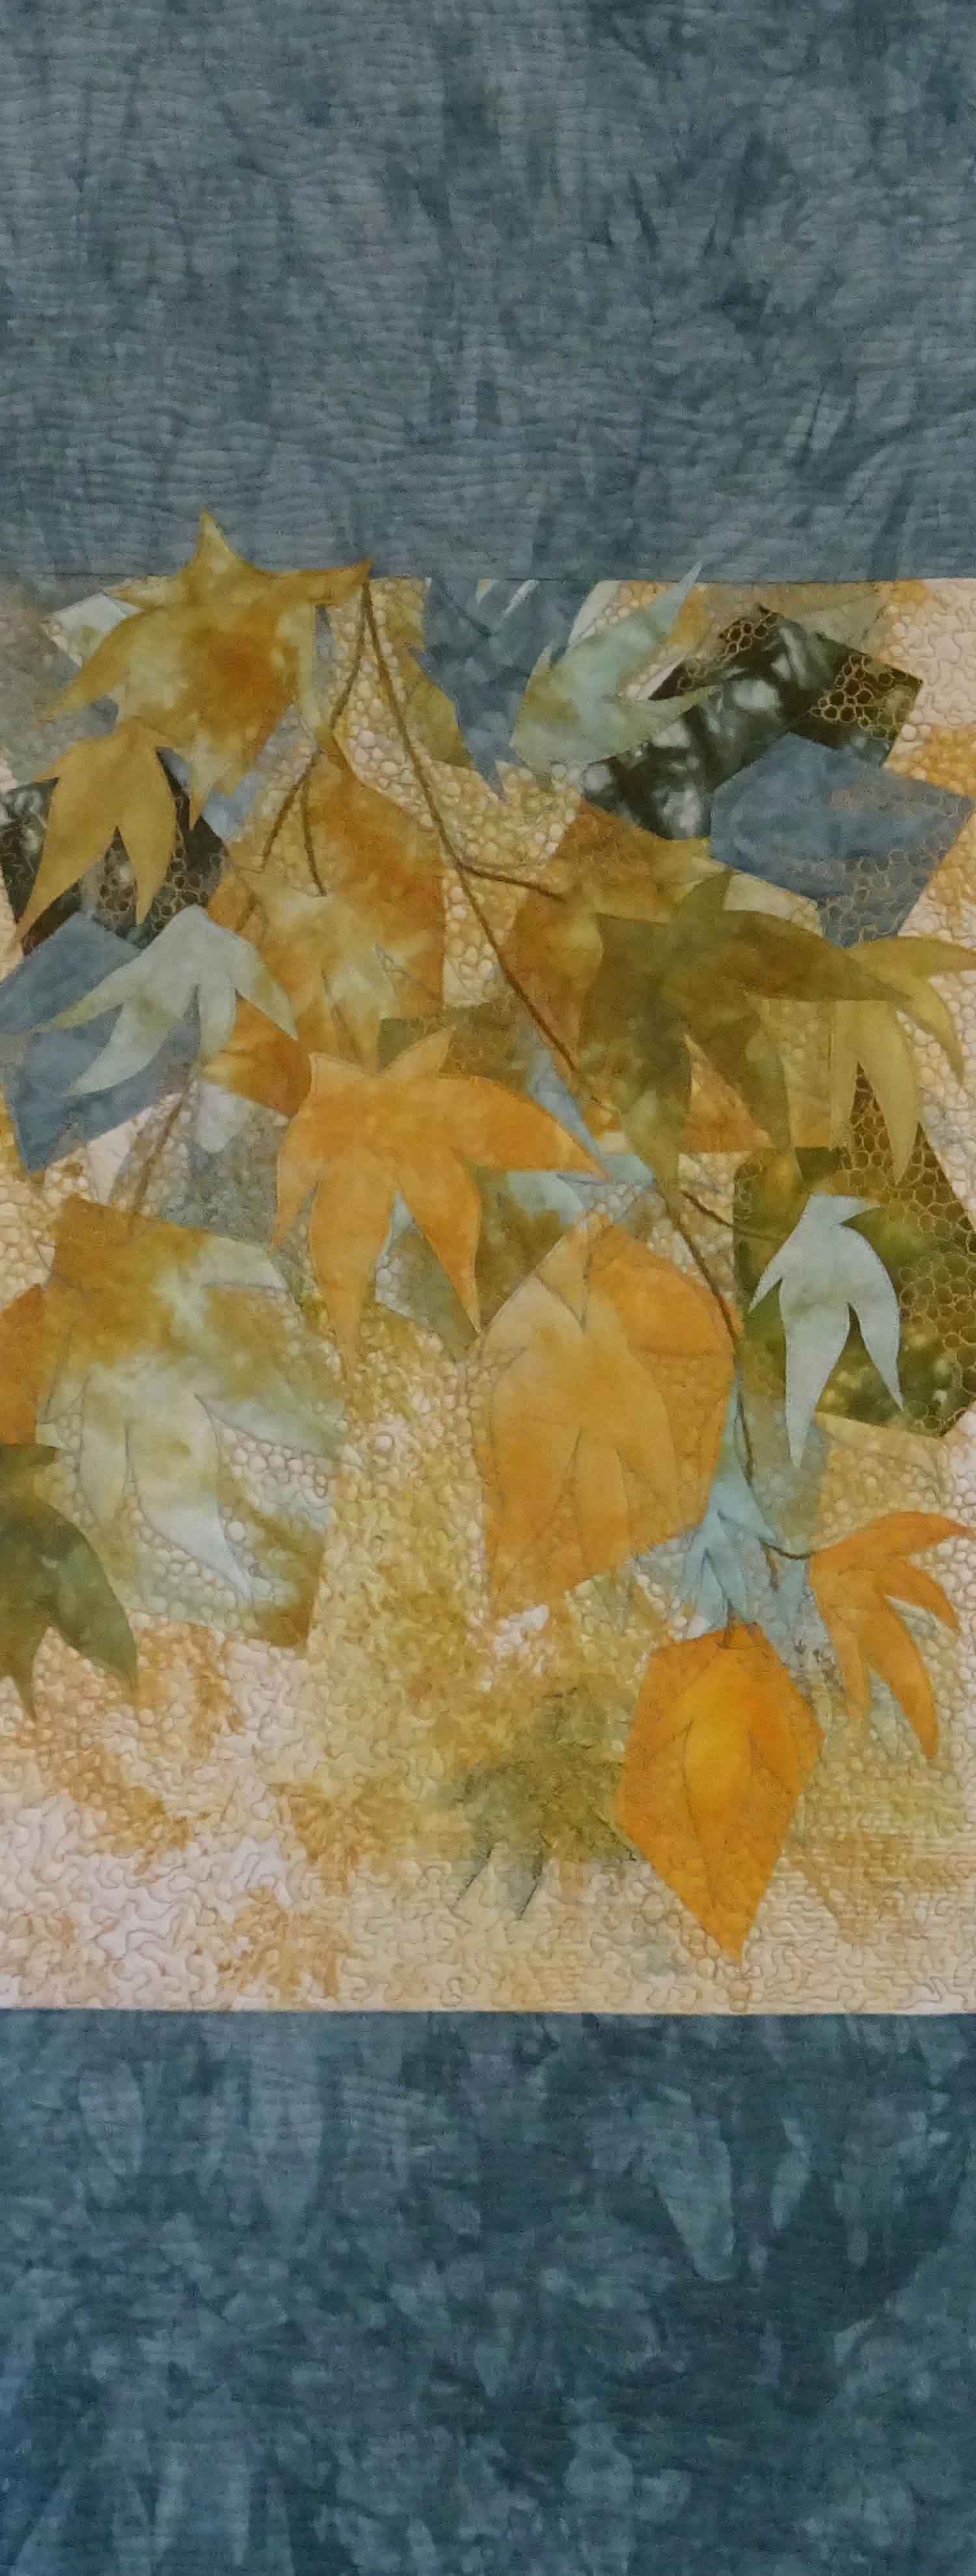
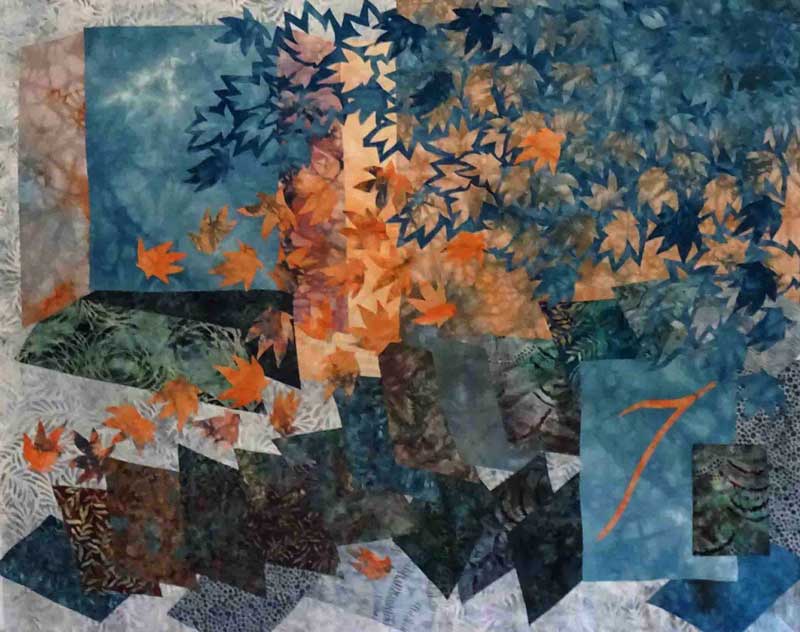
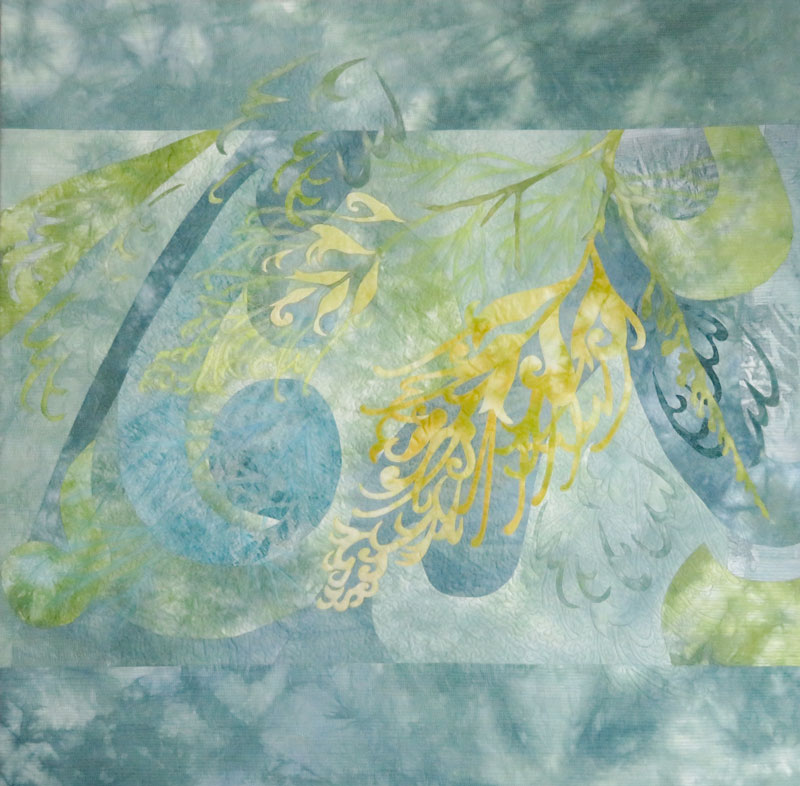
I was delighted to have two of my works included in this juried exhibition. 'Autumn Winds' (left) which I made in 2016 and 'Grevillea Moonlight' (right) which I made this year ......
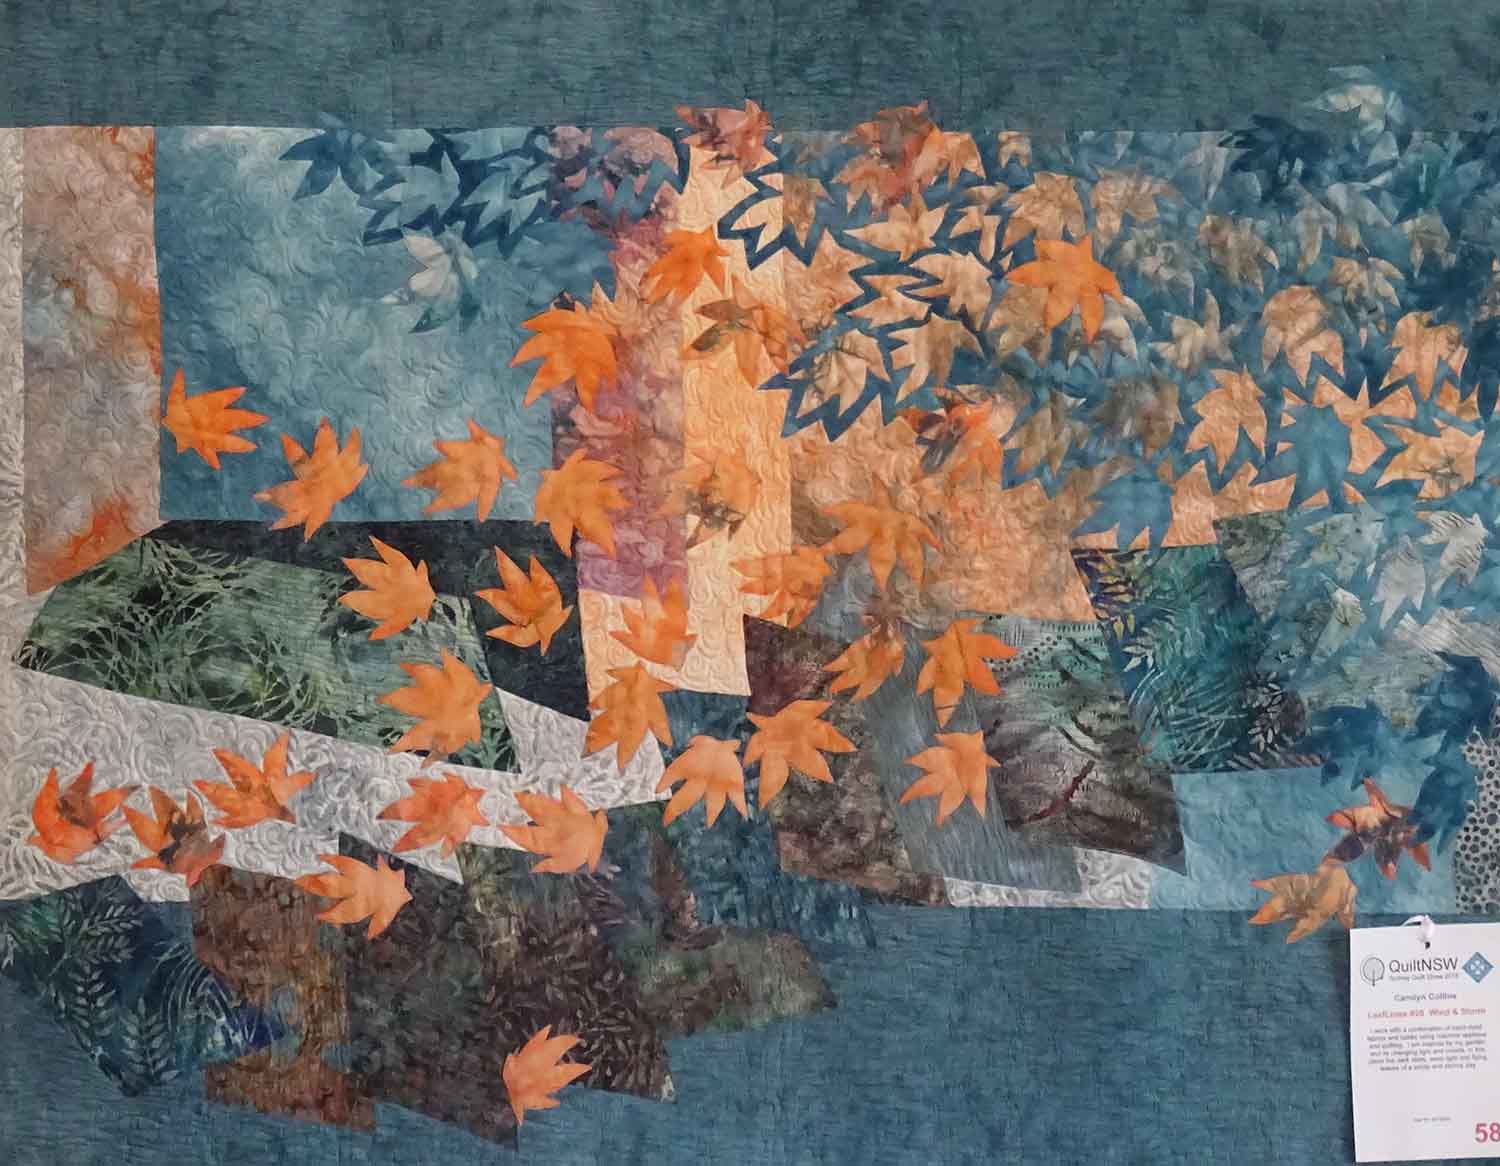
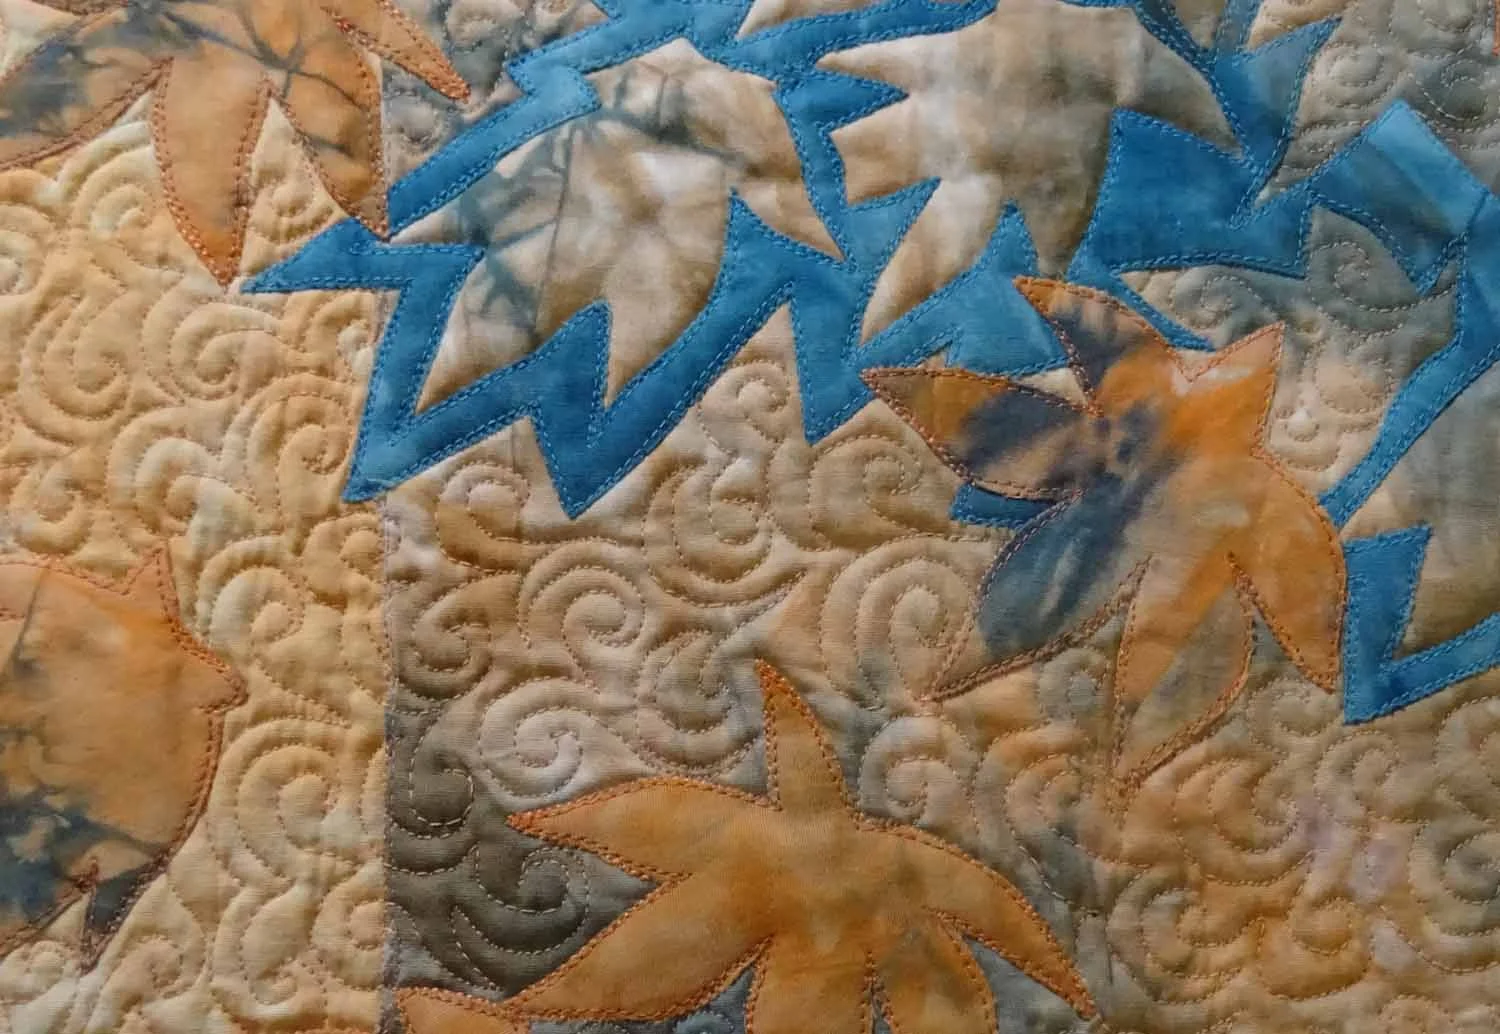
The Exhibition is an excellent showcase of the creativity and diversity of Australian textile arts and has been described as .....
"A collection of bold, intricate and colorful contemporary textile artworks .....
The materials, colors and techniques used to create this fantastic exhibition are simply incredible and there is an amazing breadth of talent on display"
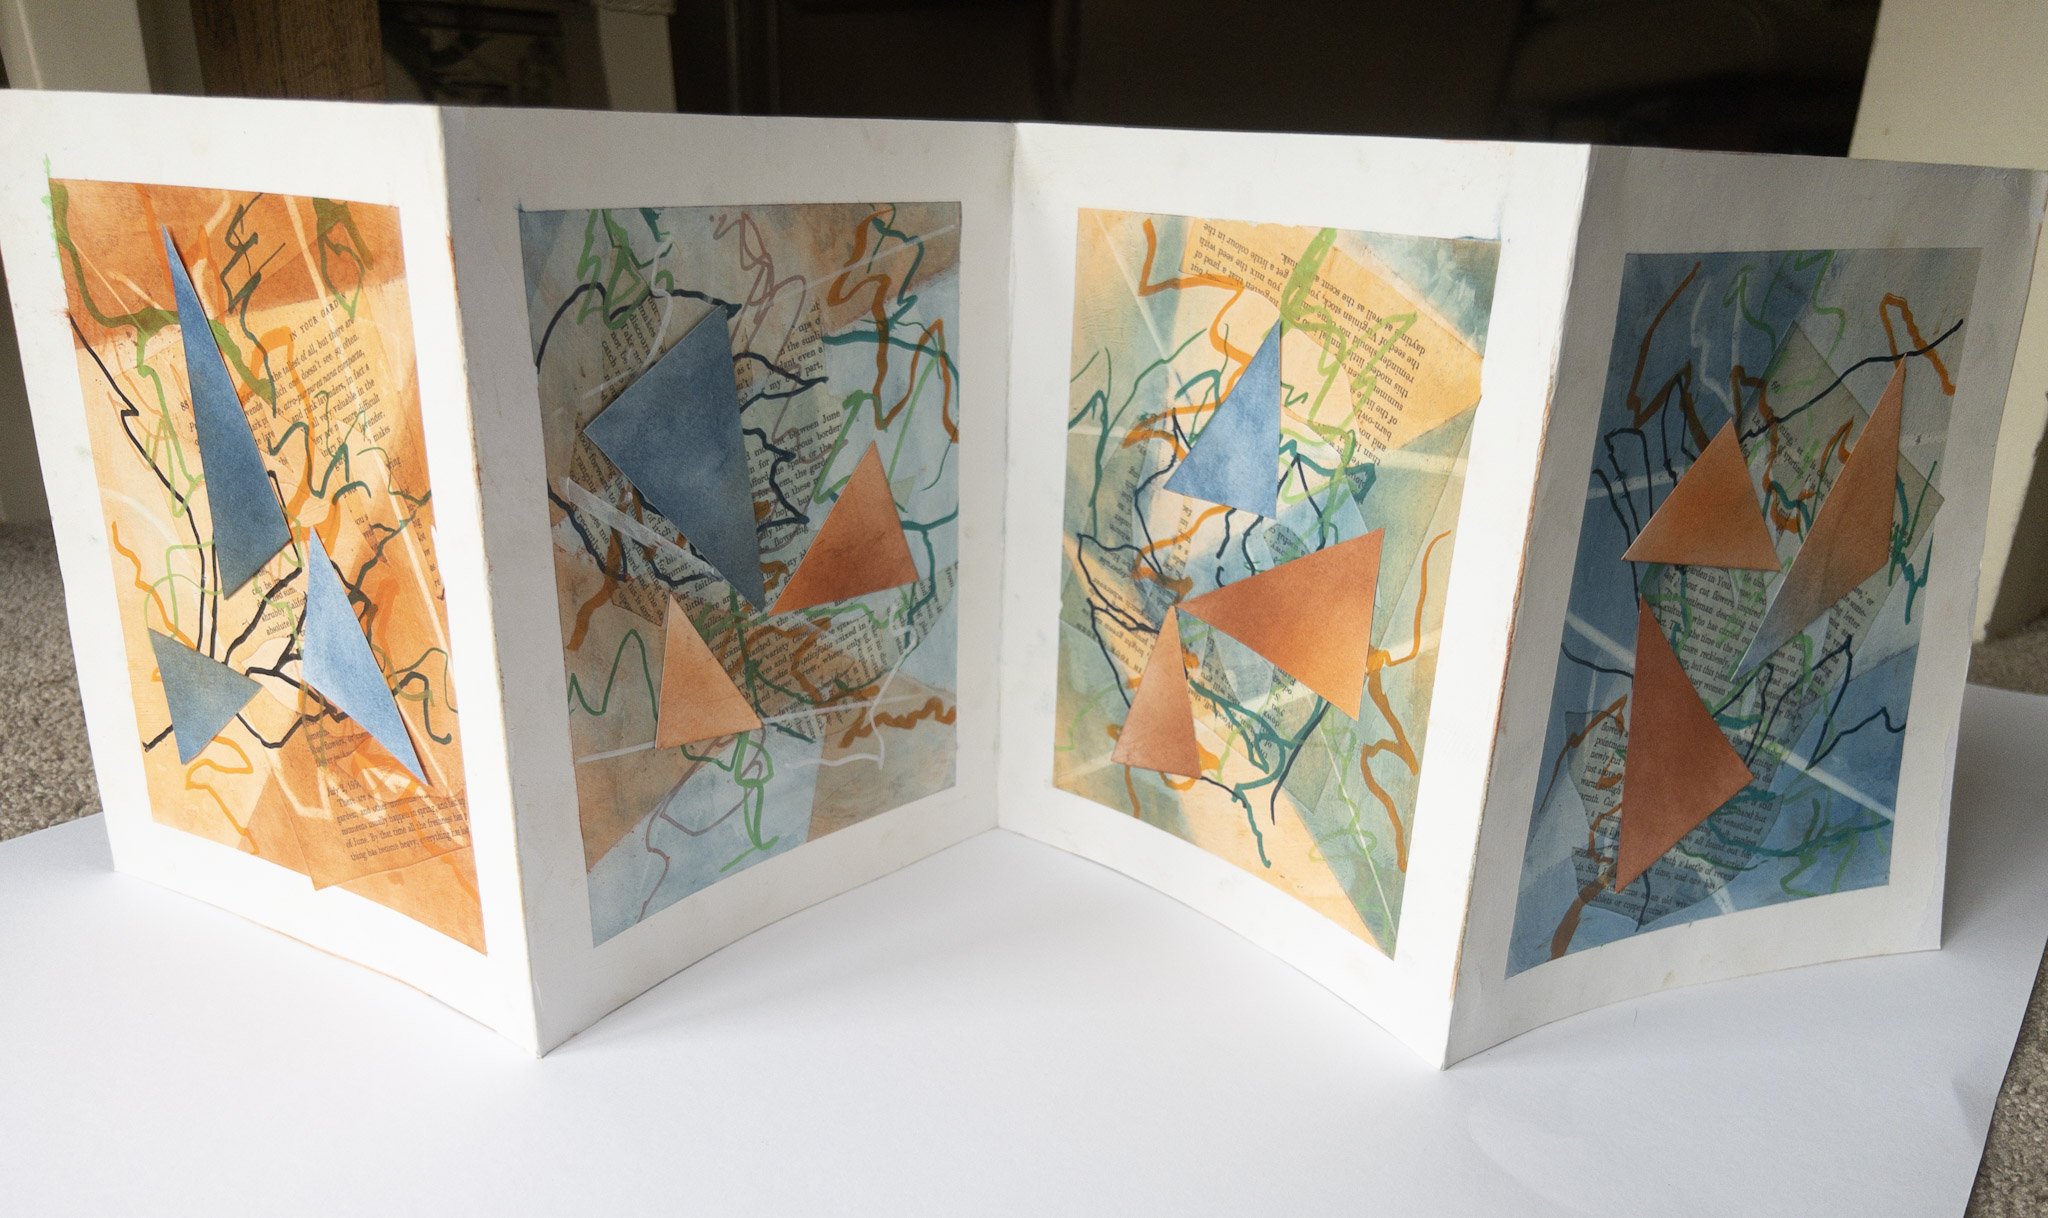
The Catalogue of the exhibition will also be available for purchase from the Ozquilt Network website. Here is an image of the Cataloque cover ...

Hope you will have a look at the amazing textile art in the online gallery!
Thanks for reading ......CC