Painting Fabric

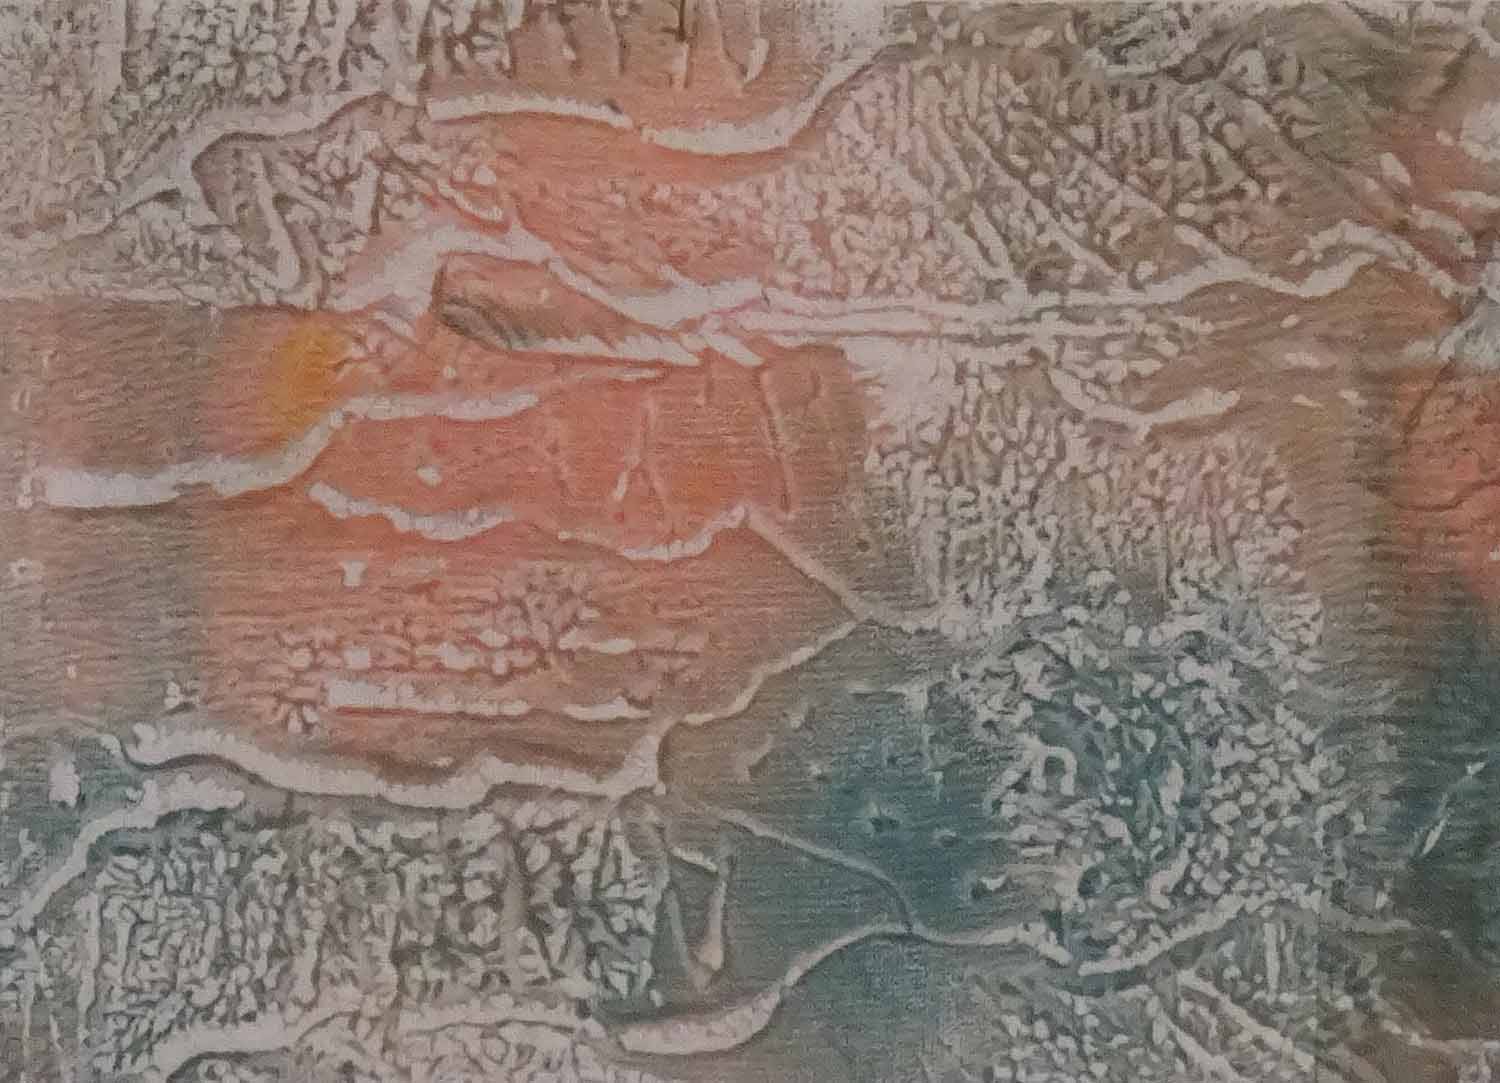
I've been trying our some ideas for painted backgrounds this week as part of my plan to only use fabrics only my own fabrics .....    In each of the samples I painted Permaset Textile Ink applied with a sponge/palette knife, a stamp and a brayer .....

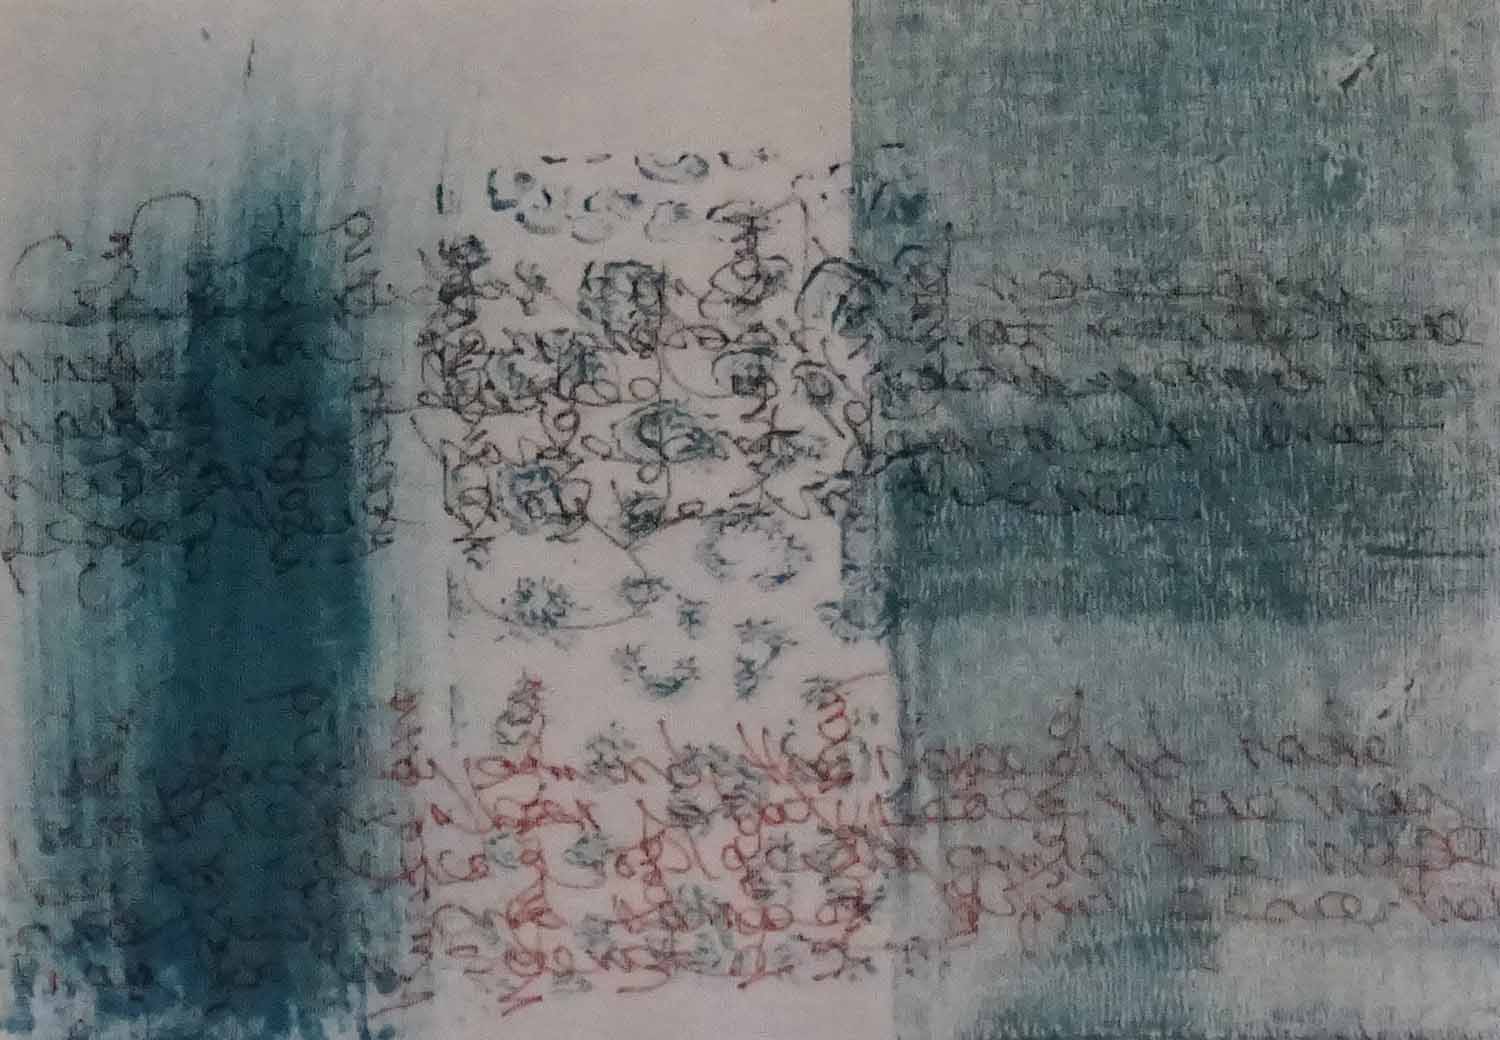
In the text sample I used a Pigma 05  micron pen in black and rust to write on the fabric before painting.  The Pigma pen works well without leaving any build up of ink.  Writing on hand dyed fabric works well ... in this sample I wanted to test the effect of painting over the written text.

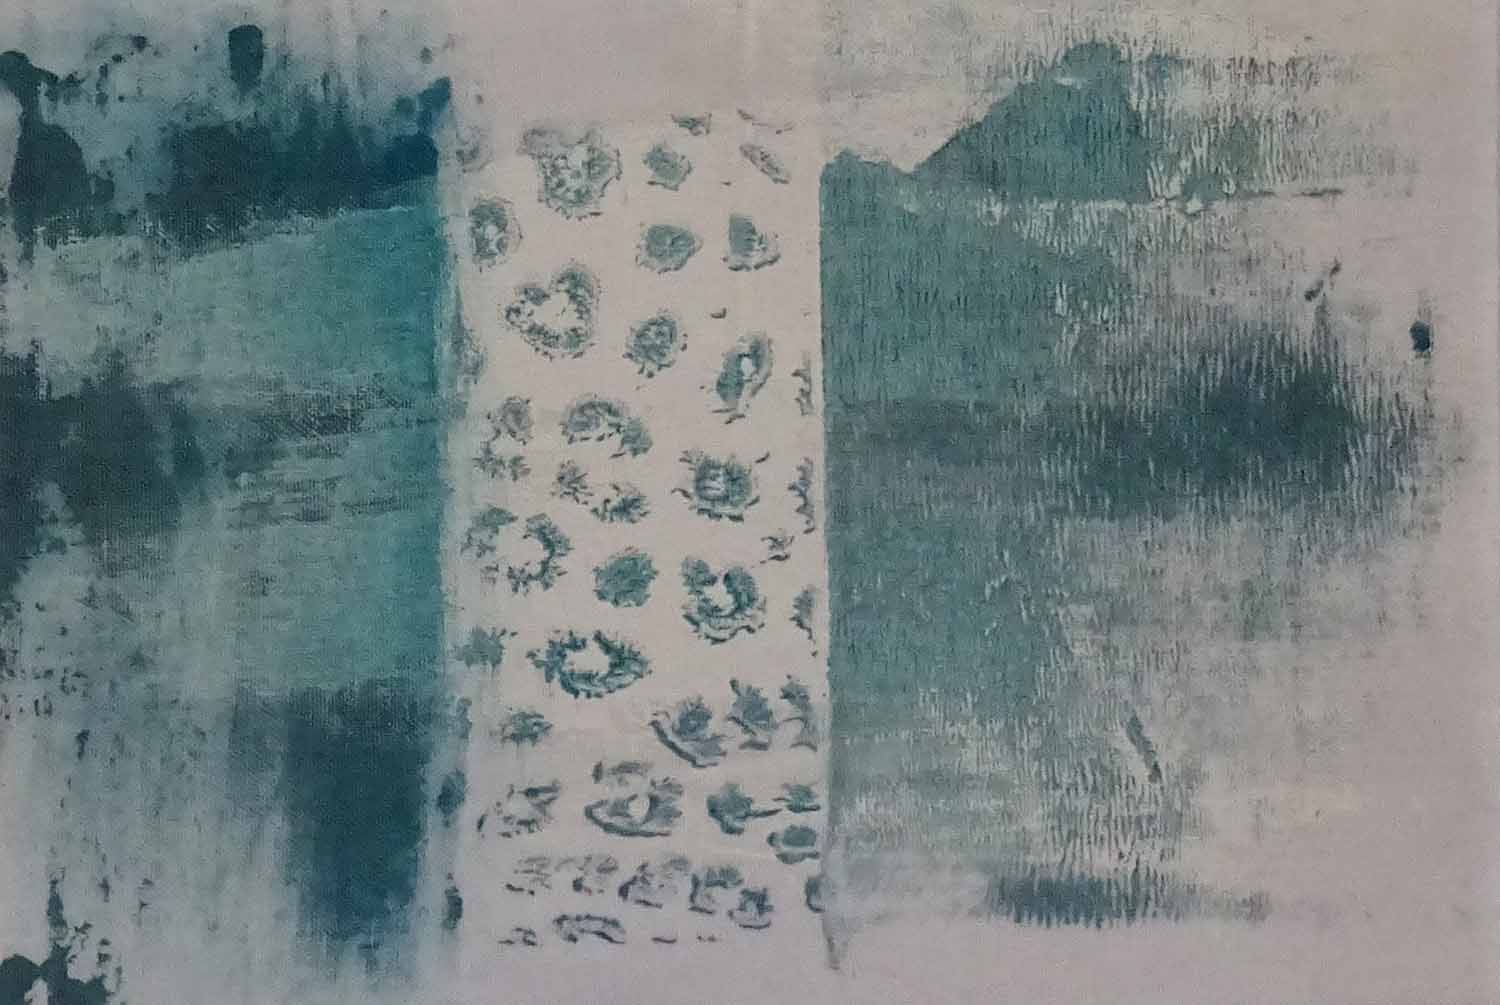
For the gesso sample I painted white gesso with a paintbrush across areas of fabric and allowed it to dry before painting.  The gesso adds a subtle texture.

The collograph plate was made with a hot glue gun - the plate didn't work as a stamp directly onto fabric, so this time I stamped onto a Gelliplate and then printed the sample as a monoprint which produced an interesting result.

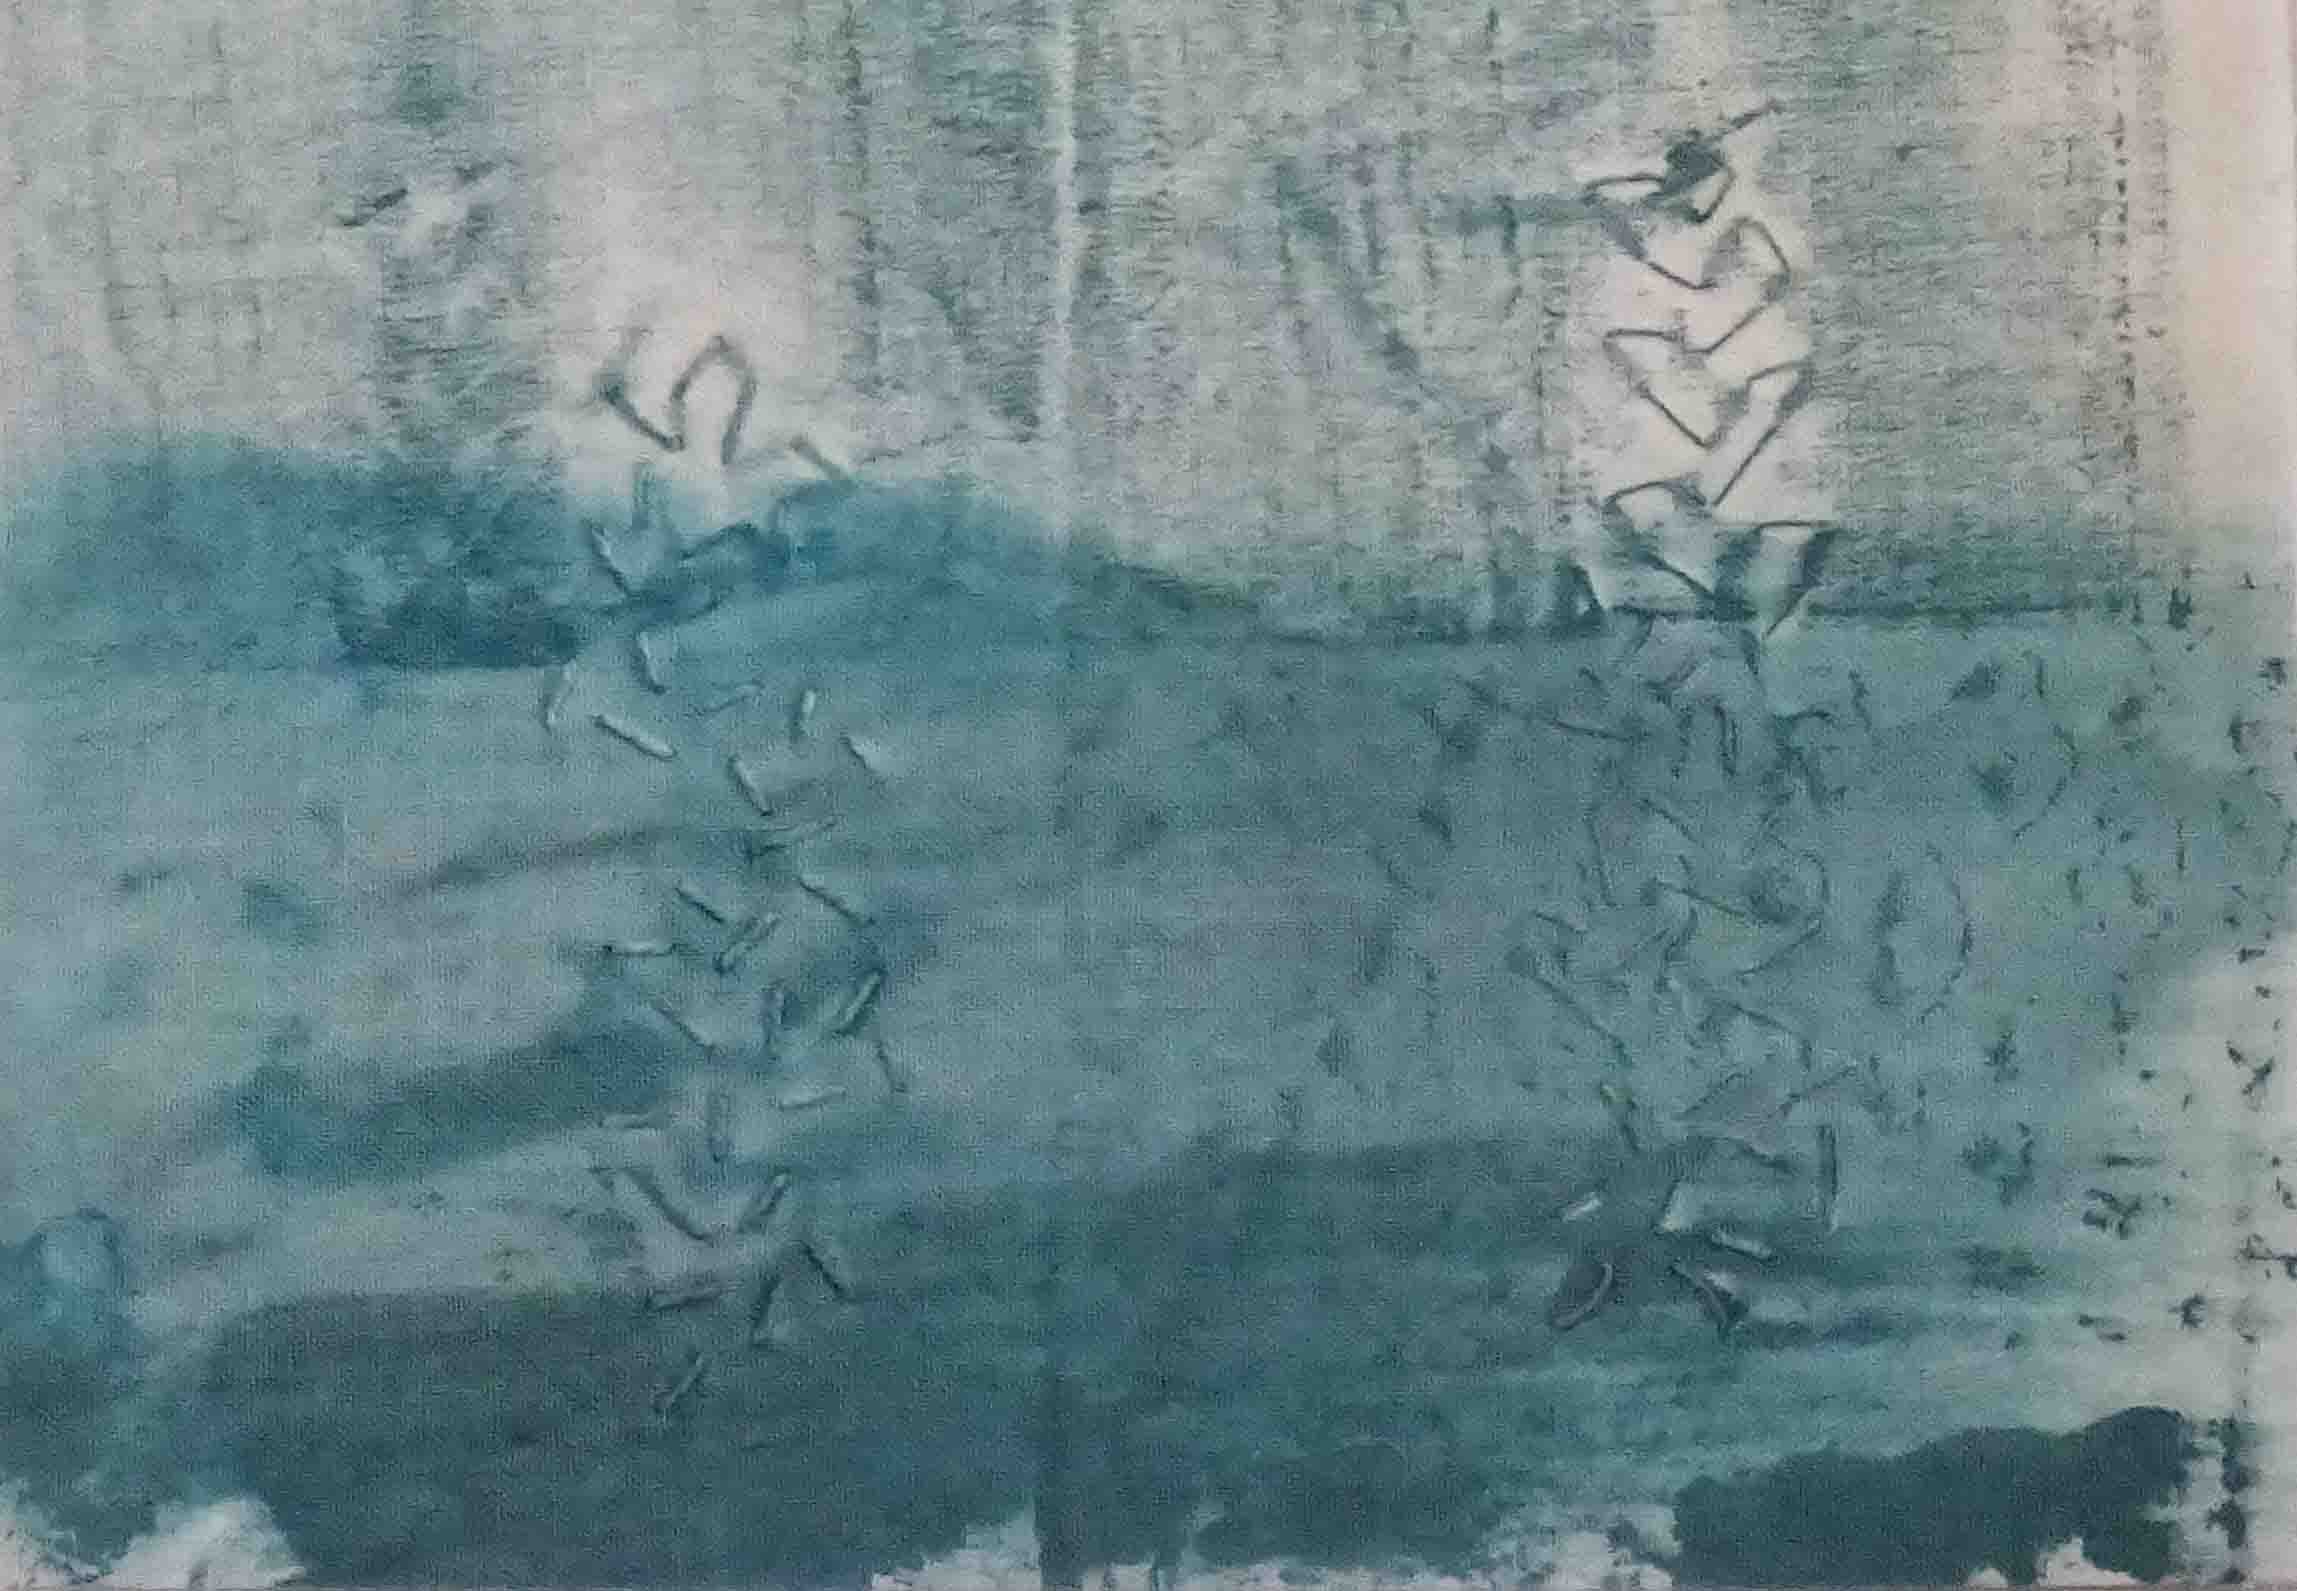
The seed stitching used Perle 8 and Perle 12 threads prior to painting. This results in a nice texture .... I have contemplated removing the stitching to see the result.

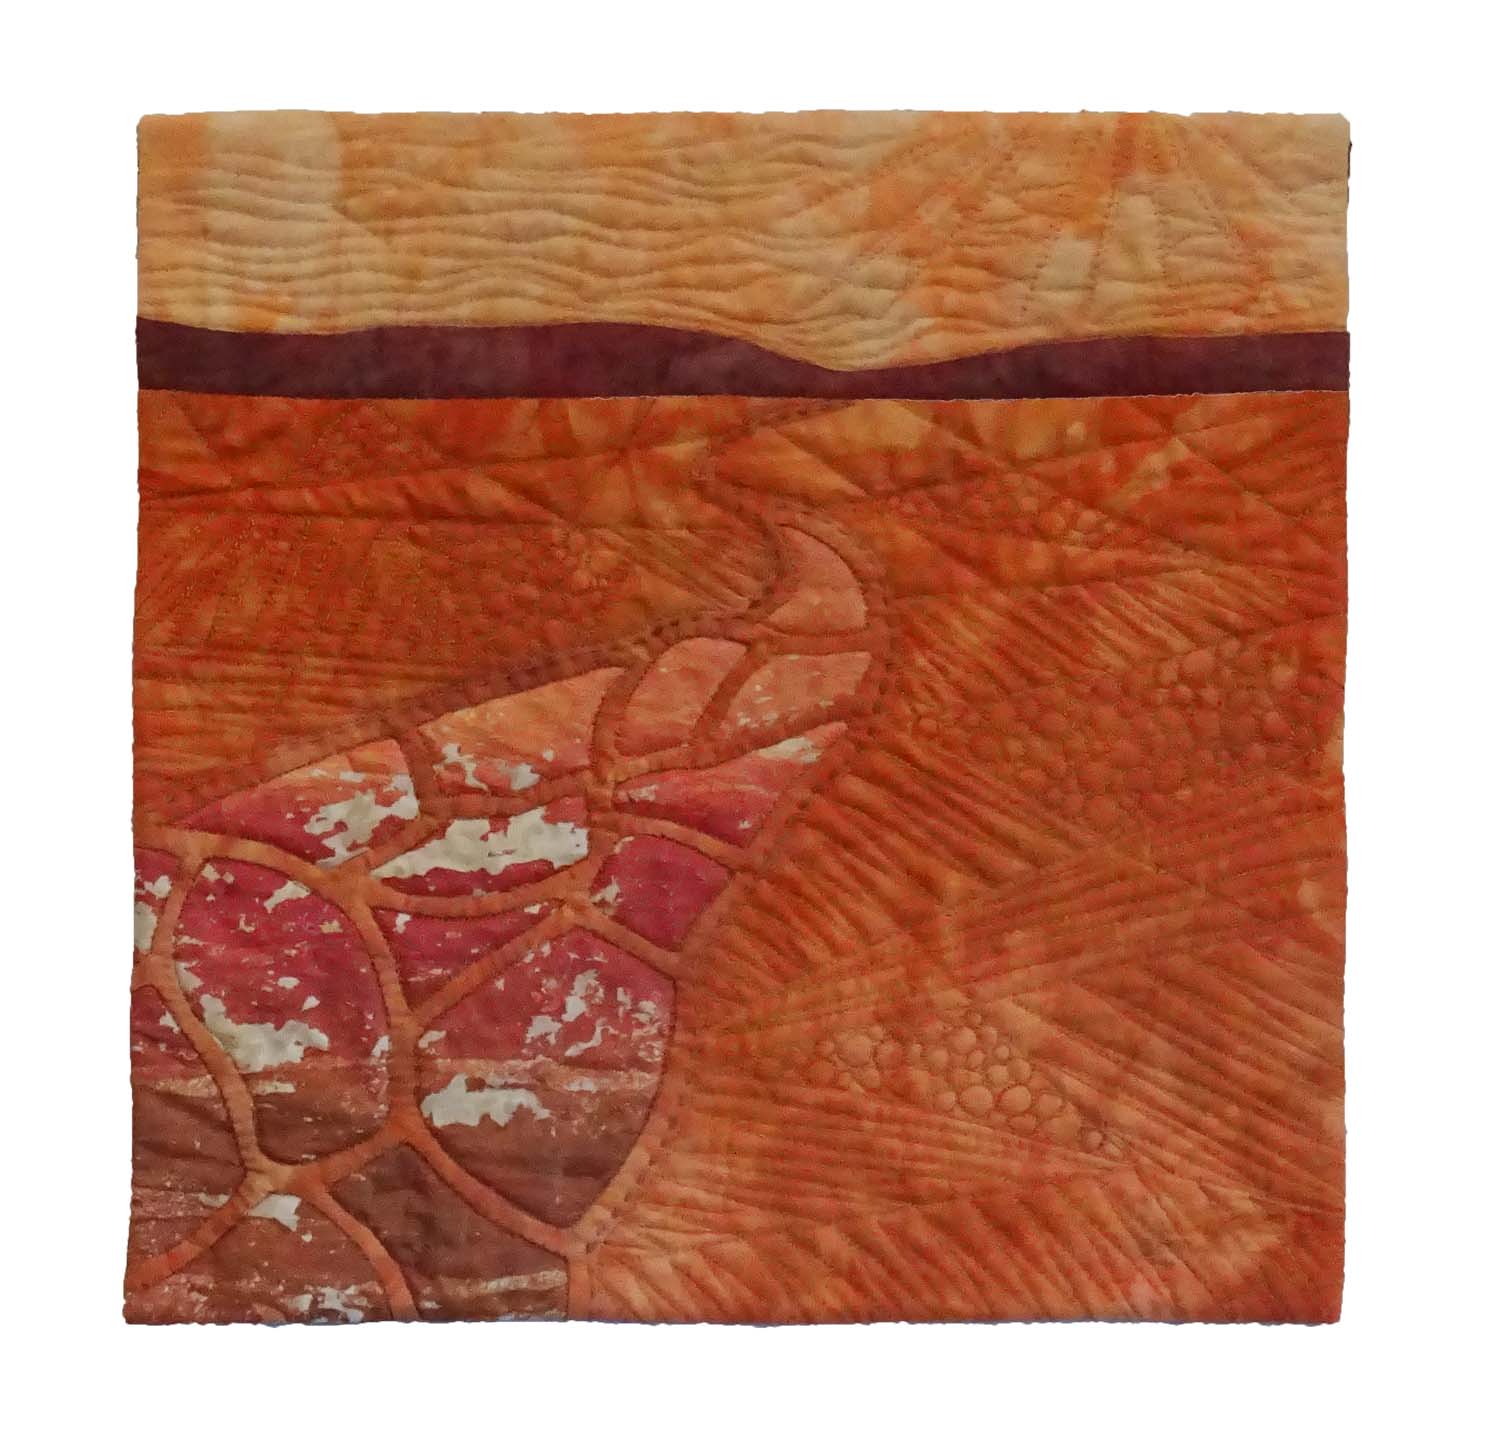
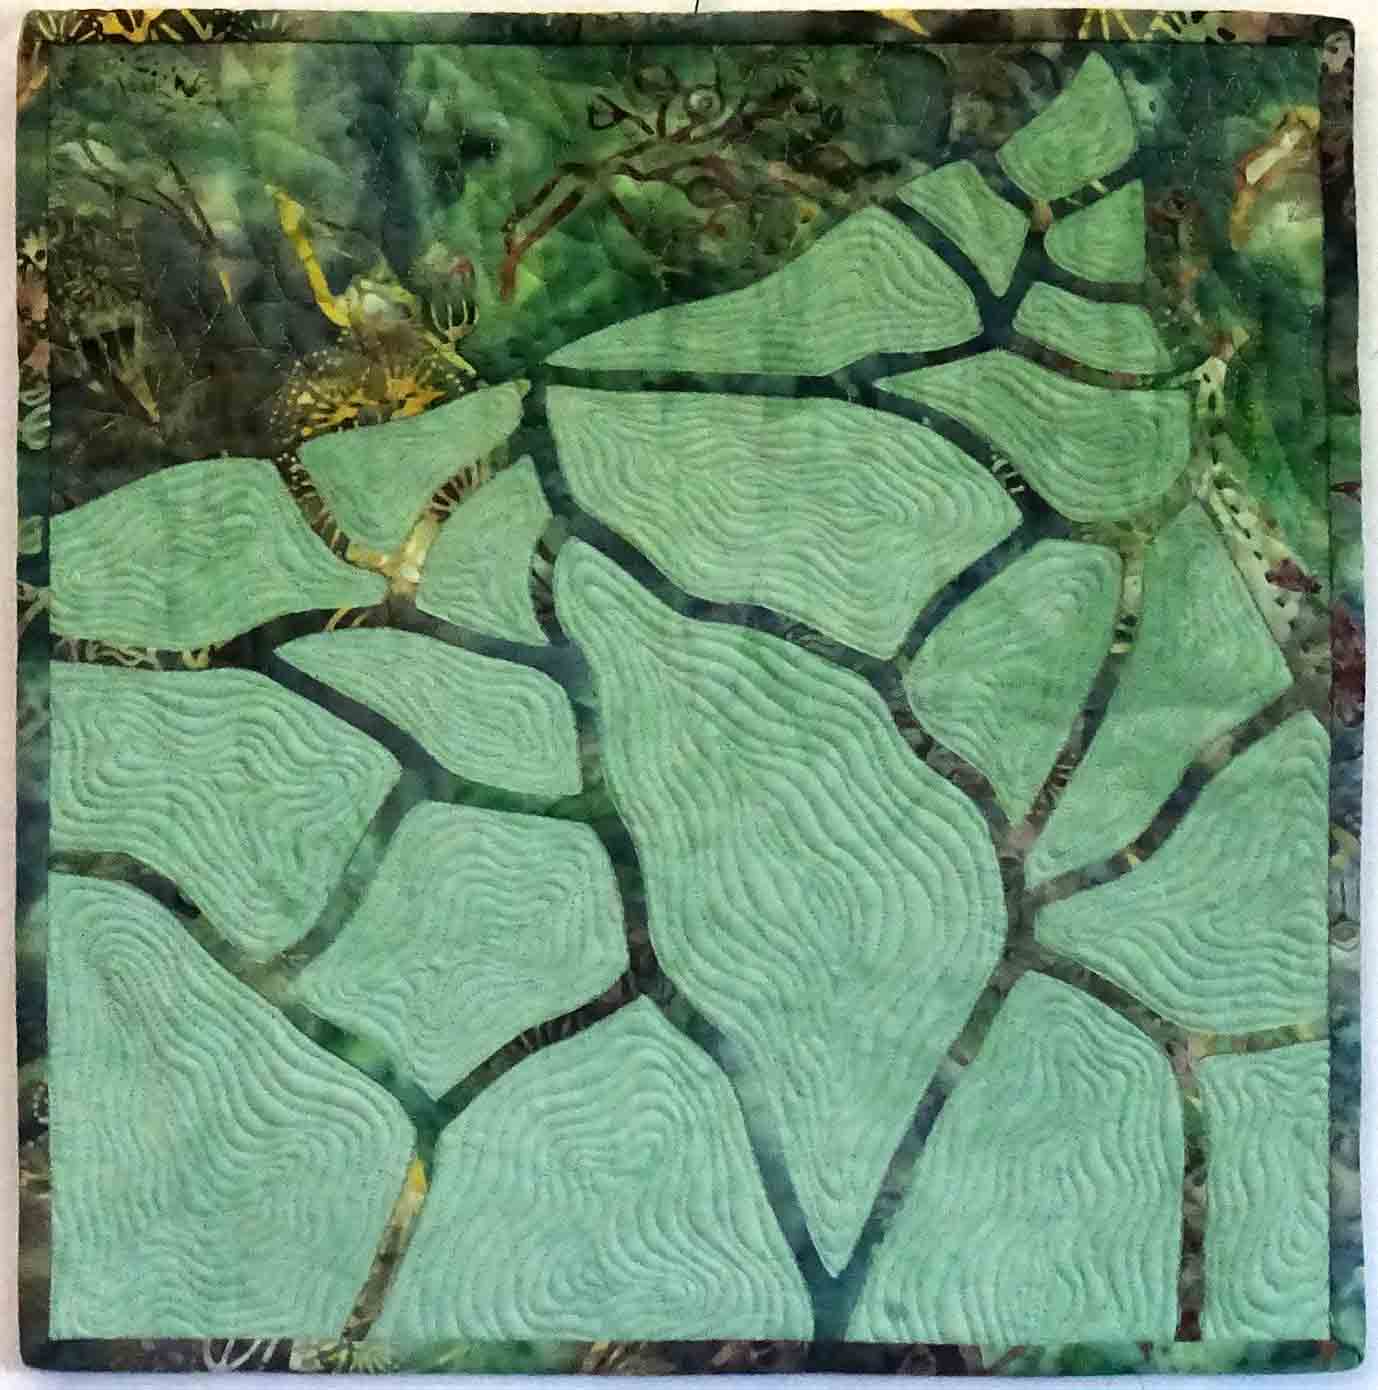
I'm going to use the handwritten text for the background in the next Stepping Stones series piece .....

A New Challenge!

Most of my art work to date has used hand dyed and painted/printed fabrics together with batik fabrics.  Recently I have been thinking that I would really like to make or create all the fabric I use in my work. This week my coach asked me what would it take?  The answer was simple ... just decide!    So I have.  There are a few pieces in the pipeline using batiks,  but from here on the challenge is to create all the fabrics I use.  

The most recent piece in the Stepping Stones series just happens meets the challenge .... the background in this piece is 'painted' ... I used painted fusible webbing to create the fabric ......

Stepping Stones # 10  Painted Road                         © CarolynCollins 2016

Stepping Stones # 10  Painted Road                         © CarolynCollins 2016

So the challenge is ahead!  I'll keep you posted.....

Drawing the Mangroves!

For last weeks drawing class we took a trip to Jervis Bay and to the board walk at the Maritime Museum.  This was a first for me ... the board walk winds it's way out through the mangroves at the edge of the bay ... its like entering another world, quiet and a little mysterious with wonderful reflections on the water and yet looking down you can see the mangrove shoots, the currents of water as the tides change and even the odd fish!  It was so easy to loose track of time sitting on the boardwalk sketching .....

The project for the day was to try and capture the feeling of the mangroves.  We started with a pale wash over gesso and then added some quick sketches of the mangroves with sgrafitto and wax followed by another wash thrown over the work ... good fun!!   This provided the background for a more drawing.  Here is my piece .... I've  started on a sketch of a mangrove branch and it's reflection in the water .... 

While there is a lot more work to do on this drawing, I am intrigued by these ideas and how I might translate them into fabric!  I'll let you know how I get on ....

Getting Ready for the Sydney Quilt Show

This week has been all about getting my entry ready for the Sydney Quilt Show, which is just a couple of weeks away (June 22-26).  I put the original composition together in the early part of the year as part of my Leaf Line Series  and submitted my entry form in March  ....  all good.  Then I had an "inspiration"  and reworked a couple of areas !!!  I'm pleased with the end result but found it was quite a stressful process with the deadline looming !!!   Now it's all quilted and facings etc done .....

 Here are some close up shots .....

Just the hanging sleeve to stitch in place.....  I've often struggled to get hanging sleeves to sit nicely with the right amount of fullness for the rod, but this time I actually ready the instructions provided by Quilt NSW and the end result is perfect and so simple and straight forward!

 I've added my version to the Resources page above if you need to know how....


A Little Monoprinting!

Inspired by an exercise at drawing class,  I decided to get out my Gelliplate and do some printing. As in our drawing exercise I chose 4 shapes ... a jug, a pear, some leaves and a ribbon and made up a number of simple stencils.  I also added some corrugated cardboard for use as a texture plate.  I decided to use a limited color palette of blue and yellow and a dash of black ... here are some of the results .....

I was a little bit rusty at first .... getting a bit too much ink on the plate but soon got into the swing of it ..... I'm quite pleased with the results but this is just the first step .... I'm thinking about some stitching and contemplating the options for finishing them ... single pieces or a collage of a number of pieces .... I'll let you know how I get on! 

I'm definitely planning more printing in the near future!

Latest Blue Trees Variation

A deadline is such a helpful thing .... I've been very focused this last week with a number of deadlines looming!!!

Finished the quilting on the latest piece in the Blue Trees Series ... its been sitting on the design wall for some time waiting for the last stitches!!! 

Blue Trees Variations # 5   © Carolyn Collins 2016   20" x 24"   Hand dyed fabric, batik

Blue Trees Variations # 5   © Carolyn Collins 2016   20" x 24"   Hand dyed fabric, batik

I am pleased with the way the quilting of the  top and bottom strips worked out.  I was just looking for texture and something that would not distract the eye.

This piece is a further evolution of the earlier representational landscapes of Blue Trees #1 and #2  and is a step larger in size.

Have yet to come up with a good name for it ..... any suggestions??

Color Wheels ....


We  painted a color wheel in art class this week ... a first for me.  I've dyed a fabric color wheel but that was more of a formula type exercise .... mixing the paint colors is much more of a challenge!   Color is such a big subject and while I've covered the basics a number of times in various classes,  there is nothing like the practical application and actually mixing the colors.... 

As well as the color wheel we also painted a 7 step value scale and chroma (intensity) scales ....  I have done these with dyes too but mixing the paint was great fun although I'm still not much good at painting between the lines!

We learnt to describe color in terms of hue, tone chroma/intensity, value and temperature and our homework is to use these characteristics to analyse its use in an artwork  !!

So now I'm looking for some good study references on color.....


Finished ... really finished!


These last couple of weeks I've been coming to terms with what it means to finish a piece of work .... happy with the composition,  quilting done, facing/binding completed ... it's finished?  

Well no not  really!! (I admit to having a stack of pieces at this stage!)  .... but I still need to sign and label, sort out the hanging mechanism, photograph and record, and hang or store the piece.  What I've learned is that all these steps take time!!  and I need to factor that in to my process of making art! 

This piece is from my Stepping Stone series  and is called 'High Road'. You can see more of the series in the Gallery.   It is my donation to the SAQA Benefit Auction 2016  and is on its way to  the USA!  

Good feeling to be able to say it's finished ! 

Thanks for visiting   .....


Stepping Stones # 8  ' High Road'

Stepping Stones # 8  ' High Road'

Labelled and Hanging Sleeve added

Labelled and Hanging Sleeve added